Blog

utility style quilts...book tour

happy holiday's everyone!

today i'm excited to share my thoughts on, "utility style quilts: quilts for everyday living."

i've known the author, sharon holland for some time now, meeting her, like many others on social media. sharon is one of the most genuine artists in our industry and is just as you imagine in person: kind, warm, and uber talented. her work can be seen in several magazines and in quilt shops across the globe. her fabric collections for art gallery fabrics are stunning.

her new book, "utility style quilts: quilts for everyday living," published by landauer publishing features 12 beginner-friendly quilt projects that honestly, after reading through the book, could be completed in a weekend. i'm in love with her modern-traditional style and the photography is gorgeous!

sharon also walks you through how to chose the right fabrics, piecing techniques, and one of my favorite features: how to finish your quilt project where she beautifully describes one technique called tying, which i learned from my great grandmother and grandmother.

the main theme of the book is using our quilts everyday: loving, laundering, and repeating. i couldn't agree with her more! i don't think i've had one quilt that hasn't been well loved.

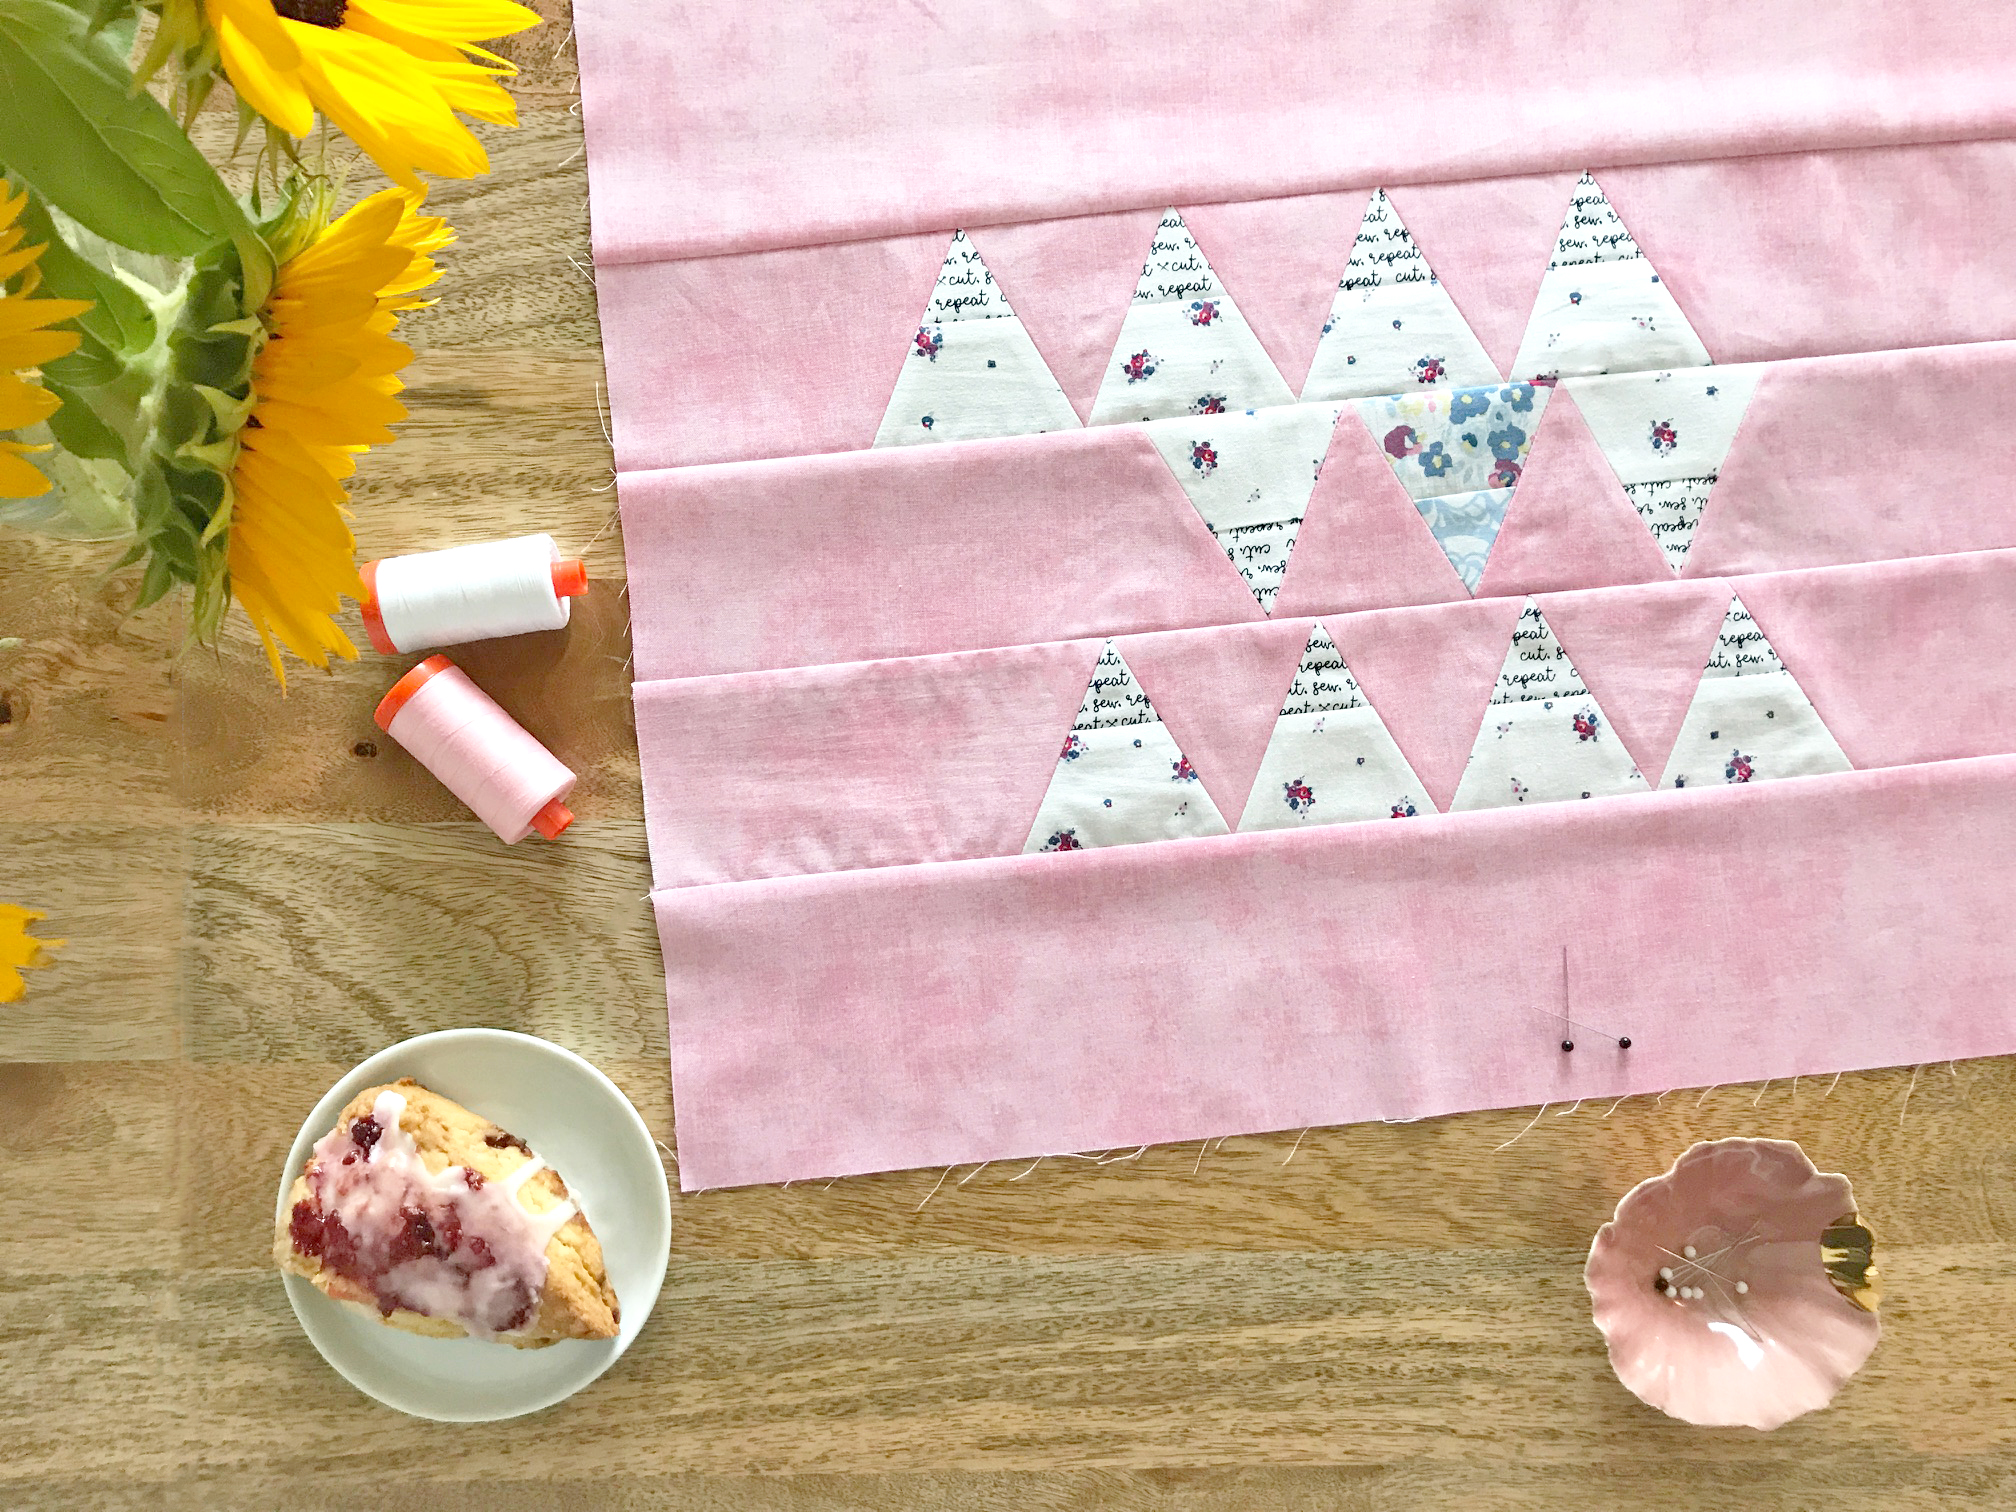
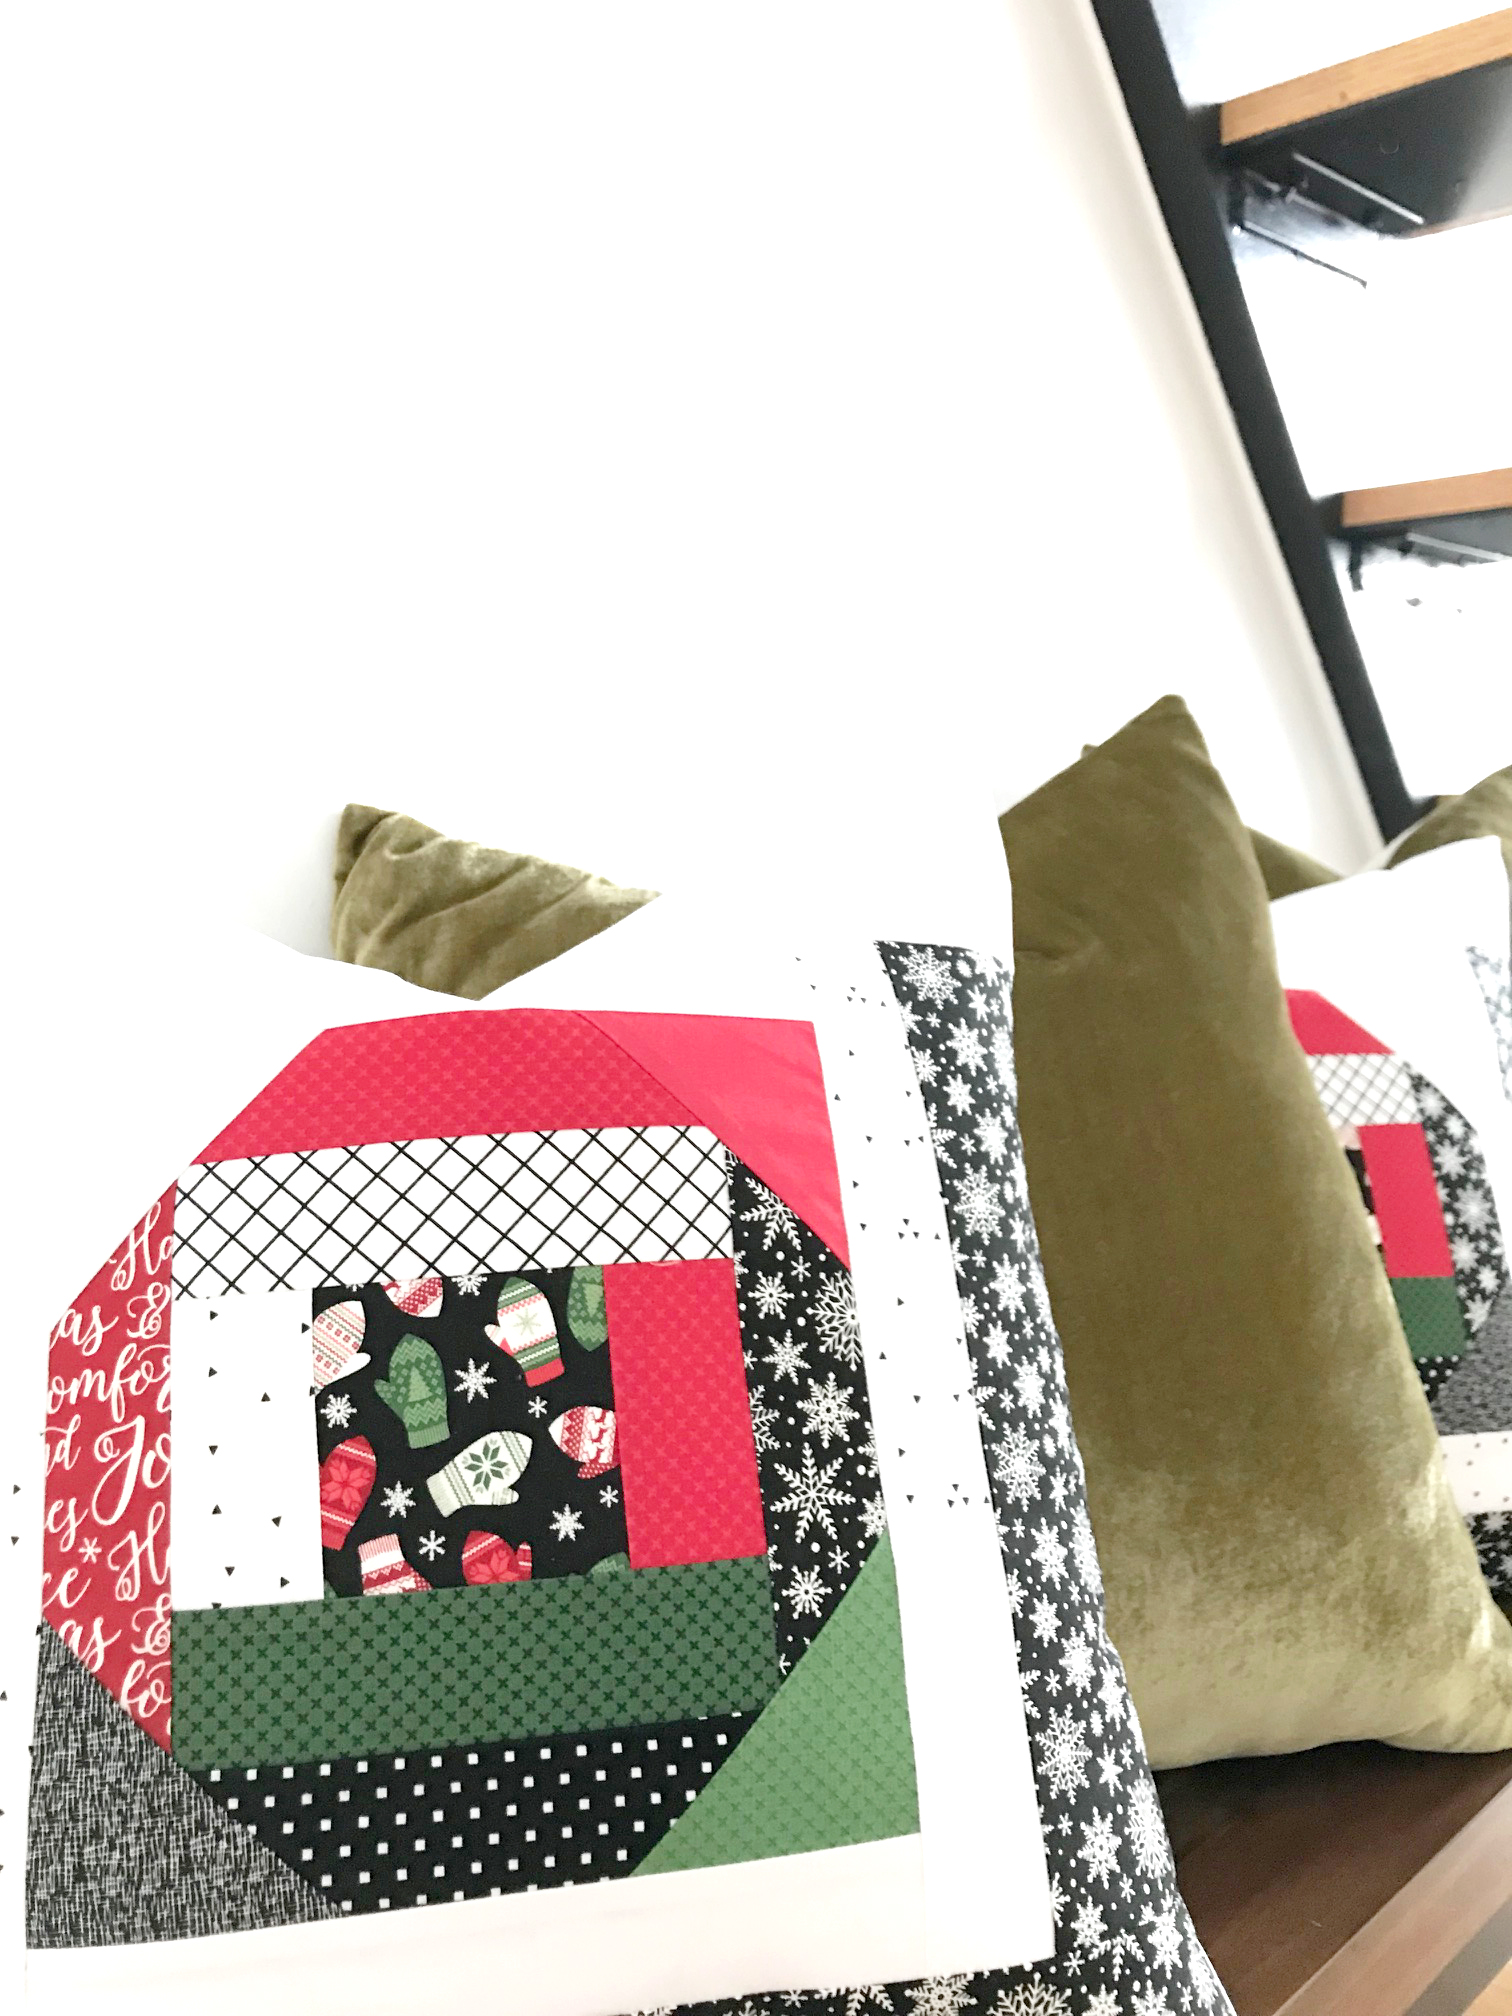
one of my favorite quilt projects is "tracery" and i decided to make two holiday themed pillows. i adjusted the measurements on the last two rows to get the perfect 18 1/2'' square i needed for my pillow forms. i really love how versatile this block is. one of my other favorites is "bobbin." i can totally seeing myself making a mini version in the near future. 

i hope you consider picking up a copy of sharon's new book. it's a great gift for someone starting out in quilting and is the perfect refresher for those a little more advanced. i also hope you enjoyed my "tracery" pillows as much i enjoyed making them.

i wish you and yours the best in the new year. xo!

the tattooed quilter

dessert first...

hi y'all and happy almost turkey day!

i don't know about you, but dessert is my weakness and whenever possible, dessert first! so today, i'm sharing how i made this chic, modern table runner, perfect for your turkey day tablescape.

materials needed:

finished size 13'' x 49 1/2'' and is totally adjustable depending on your table size.

i used the cricut maker to cut my flying geese pieces. you need (2) 6 3/4'' inch background squares and (1) 6 3/4'' x 13'' printed rectangle. when using your cricut maker, you'll need to use the 12x24 fabricgrip mat. for those of you without the circut maker (not sure what you're waiting for, haha!) you'll need to cut your squares and rectangles to the sizes above.

this project was sewn together using 1/4'' seam allowances.

sew together 6 flying geese blocks, use this simple method. sew (2) flying geese blocks together to create (1) 13'' x 13'' block. repeat to make (3) 13'' x 13'' blocks. sew the (3) 13'' x 13'' blocks together. sew (1) 6 3/4'' x 13'' rectangle to each end of the runner. for the backing, cut (1) 13'' x 49 1/2'' backing piece.

with right sides together, sew the backing to the table runner top, leaving a 3'' opening. trim each corner piece and turn the table runner right side out, gently poking out your corners with a chop stick. sew your 3'' opening closed by hand or by machine, which ever method you prefer.

tad-da! isn't this table runner fab?

using your cricut standardgrip cutting mat and foil iron-on, create the dessert first saying in cricut design space. you can customize your new table runner with any font you'd like! i made mine with a final size of 4'' tall by 10'' wide. refer to my circut sewing post when working with iron-on and design space.

your new, snazzy table runner is perfect for turkey day or any occasion requiring dessert to be served first. but wait, isn't that any occasion.

and those napkins, cute, right? i'll be sharing a tutorial with those soon. stay tuned.

hope you enjoyed this fun, easy afternoon project as much as i enjoyed making it.

cut, sew, repeat..

the tattooed quilter

This is a sponsored conversation written by me on behalf of Cricut. The opinions and text are all mine.

cricut maker review...

"with the right tools, anyone can be a maker!" -cricut

my friends at cricut invited me to their make-a-thon event back in early august and while i assumed they would launching a new product, i had no clue how big it would be! three new products, including the maker!

in my opinion, the maker is unlike any craft machine on the market. featuring a brand new adaptive tool system, the maker cuts with a force 10x greater than previous cricut machines. with these updates you can cut so much more, including fabric without stabilizer. say whaaaaaa?

that's right, the maker will cut tons of fabric as well as leather and balsa wood.

the maker also comes equipped with a rotary blade, a new feature that made this quilter giddy. the rotary blade uses a gear system that will give you precision cuts each and every time. cricut also updated their mats to include a fabric mat to use with the rotary blade. it comes in two sizes 12'' x 24'' and 12'' square.

cricut also developed a washable fabric marker (which you can purchase separately) that will mark your fabric. it's the perfect accessory to the updated cricut design space which includes make-it-now digital projects from riley blake designs and simplicity.

cricut design space, for those of you new to the magical world of cricut is a free, easy-to-learn design program that allows you to design your own projects. it's also cloud-based so you can work on your designs and create new ones from your mobile devices, even offline. at first, i thought it was a bit intimidating, but once you learn the shortcuts, you'll be making in no time!

the design of the cricut maker is new too! there's extra storage for all your tools. they even redesigned the tool compartments making one more shallow, perfect for blades and smaller tools. they also removed the smart dial. from design space you can now select the material, blade, and cutting pressure.

the addition of the docking slot is perfect for your mobile devices. there's also a USB port where you can charge your mobile devices and/or connect your bright pad (details on the bright pad below). you can binge watch your favorite shows while cutting out your latest projects. so rad!

i'm obsessed with the new sewing kit. scissors, a leather thimble, pins, the most adorable pin cushion, and so much more, it's the perfect starter kit, especially for those new to sewing.

cricut also introduced the easy press with it's ceramic-coated 9'' x 9'' heat plate. with the exact tempature you need, this little guy has the speed of a heat press with the convenience of an iron.

they also introduced the bright pad. with it's slim profile and adjustable LED lights, this little guy let's you view every detail and is perfect for foundation paper piecing. i've had mine for a couple of months and it's awesome, especially while foundation paper piecing in the evening.

i can't wait to continue to explore the cricut maker. the possibilities are endless. i think this machine will change the way we look at fabric and creating. in the photos above you can see a mini quilt i've been working on. i love that it cuts through seams like a dream. i also love the make-it-now projects including the quilts from my friends at riley blake designs. i've been able to cut squares, triangles, and half-hexagons with the cricut maker and while it might not be as fast as cutting them yourself, they are precise.

the cricut maker would make a great addition to your craft room. if you're interested in seeing the cricut maker in action, please visit circut's website. you can also do a simple google search and find lots of great blog posts, including free projects and downloads. what will you make today?

cut, sew, repeat...

the tattooed quilter

This is a sponsored conversation written by me on behalf of Cricut. The opinions and text are all mine.