Blog

zipper pouch "hack"...

okay, i'll admit it, i cannot make a zipper pouch. sooooo, i bought one (or four) and i'm excited to share with you how to create this zipper pouch "hack" using the cricut maker, foil iron-on, as well as faux leather.

personalized gifts are everywhere, so instead of buying one, why not make one yourself? michael's arts and crafts has an awesome "do-it yourself personalized" department right now. there are so many fun things including these zipper pouches.

here's what you'll need to "hack" your own zipper pouch:

  1. cricut maker & cricut easy press
  2. cricut iron-on (i used foil iron-on, so shiny!)
  3. cricut faux leather
  4. zipper pouch (you could also make your own!)
  5. fan pull chain with connector (i bought mine at a hardware store)
  6. png files
  7. pom-poms or additional zipper pull accessories

here are the step by step instructions for adding the iron-on:

  1. start by measuring your zipper pouch, leaving 1 or 2'' as a frame around the pouch.
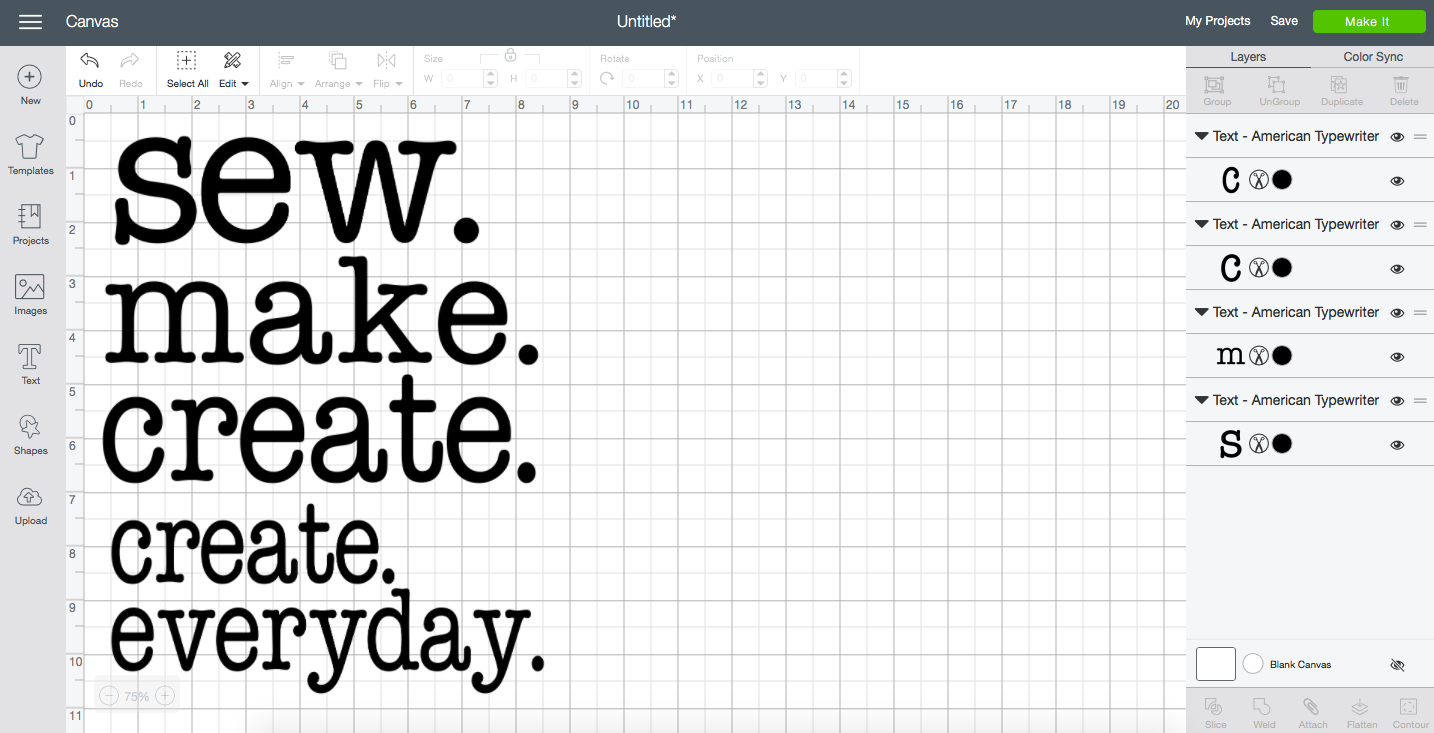
  2. design your creative sayings in cricut's design space. i used the american typewriter font, adjusting the width and height as i designed the sayings. create, make, and sew are chic and classic. you can also upload the png files from here.
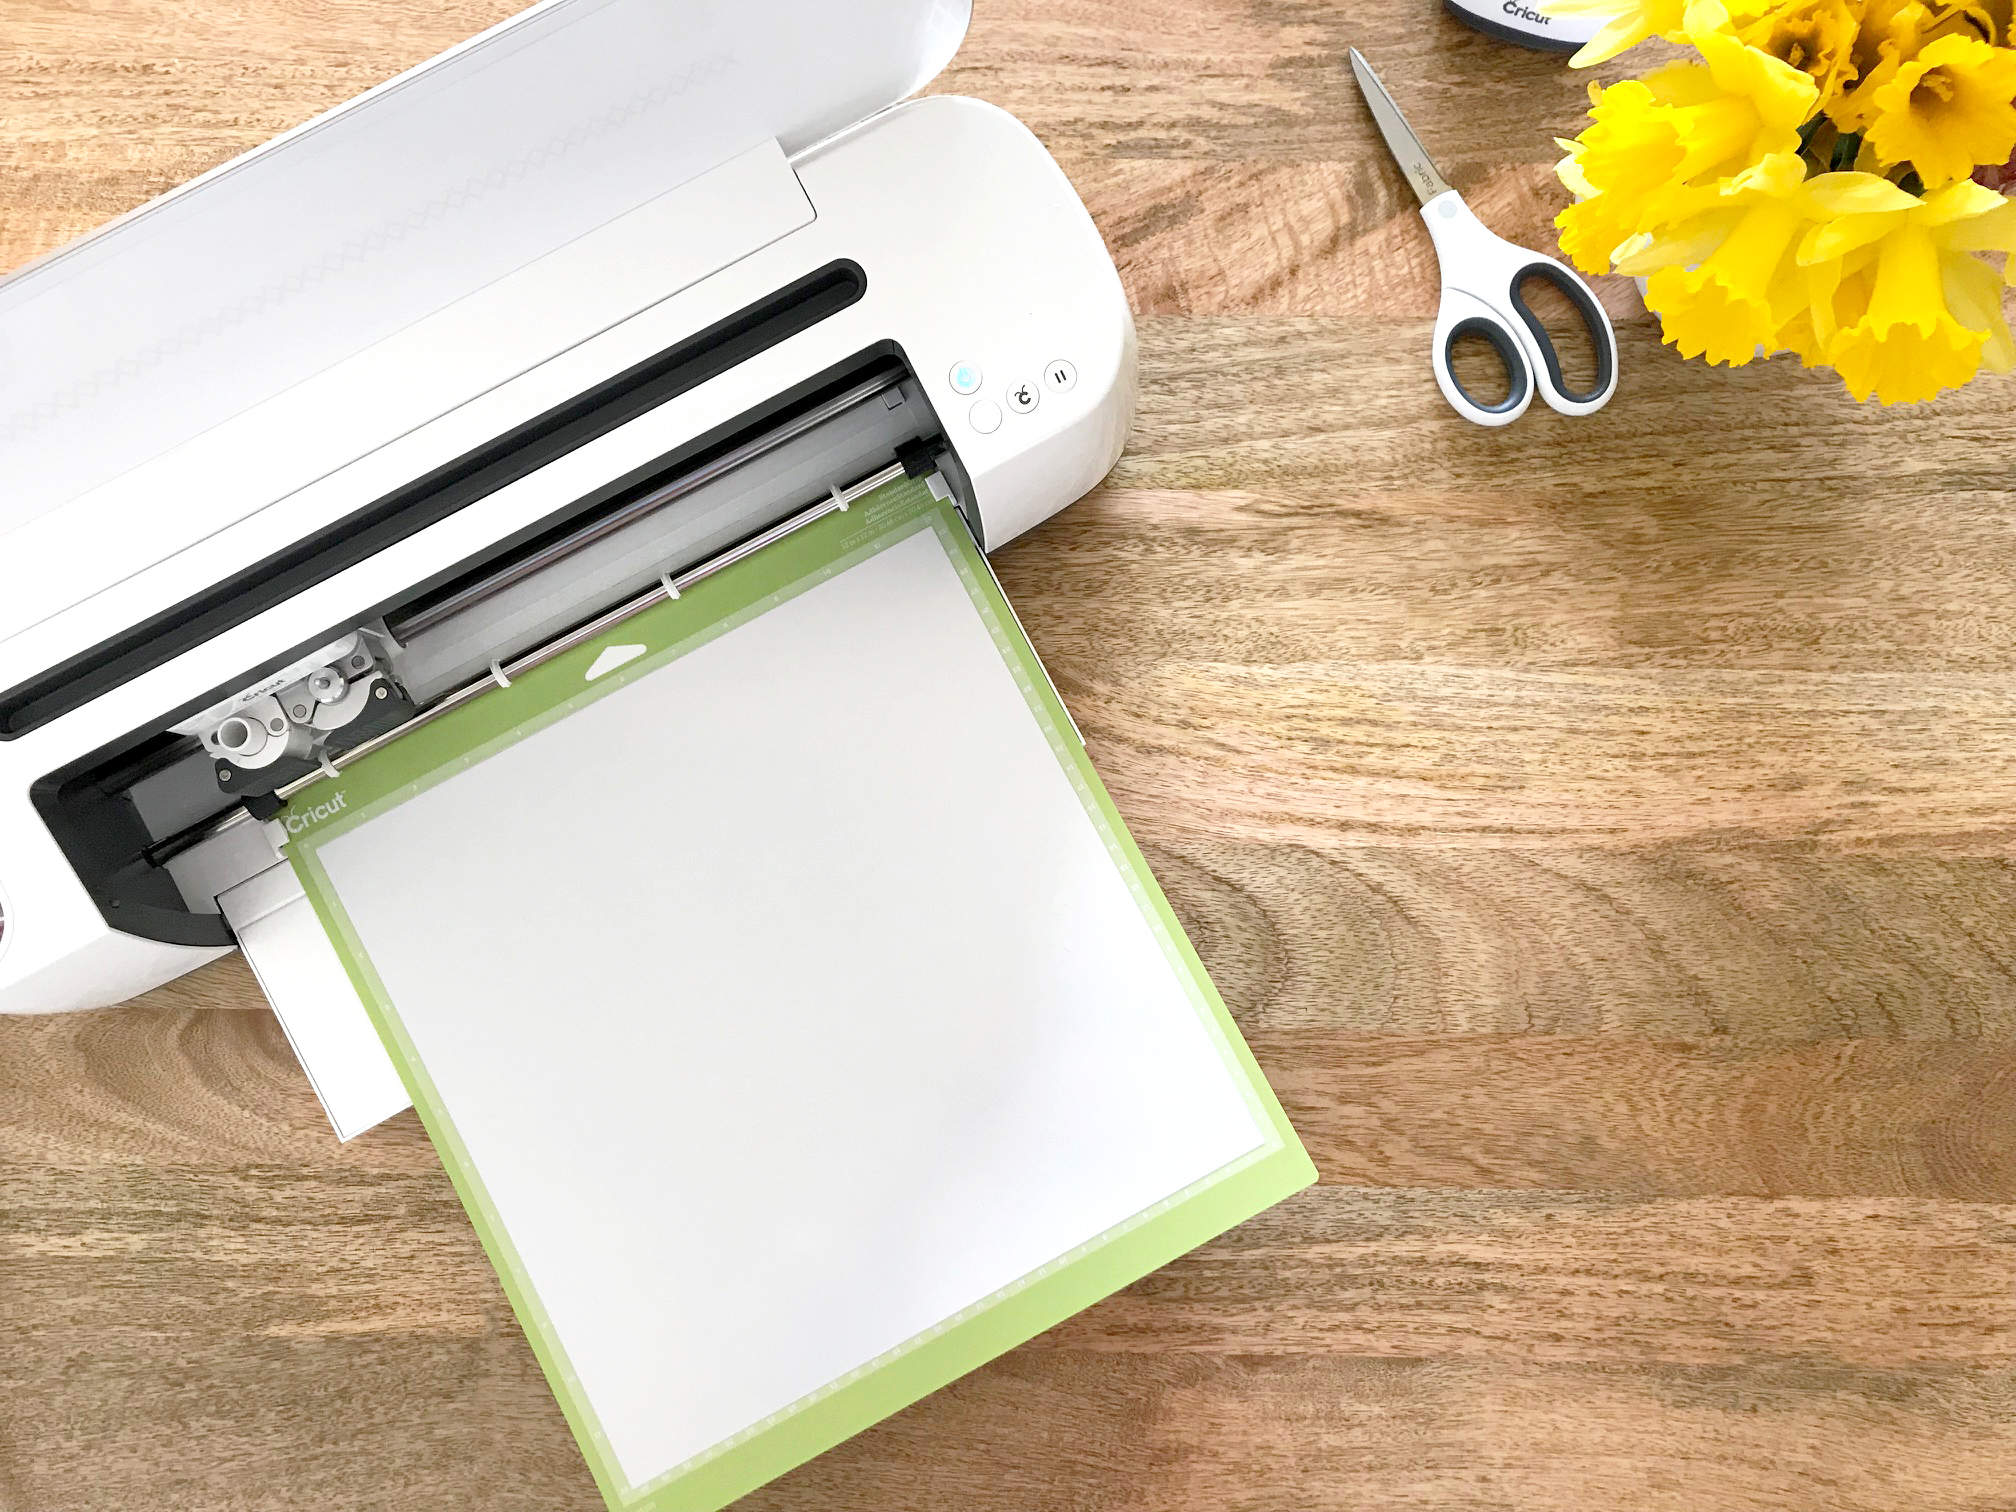
  3. once your satisfied, click "make" and follow the instructions, making sure you select mirror.
  4. using the standard mat, place your iron-on shiny side down.
  5. load your mat into the cricut maker and press the blinking light.
  6. once it's finished, unload your mat and weed your creative sayings. i cut mine apart from each other so it would be easier to iron on the zipper pouches.
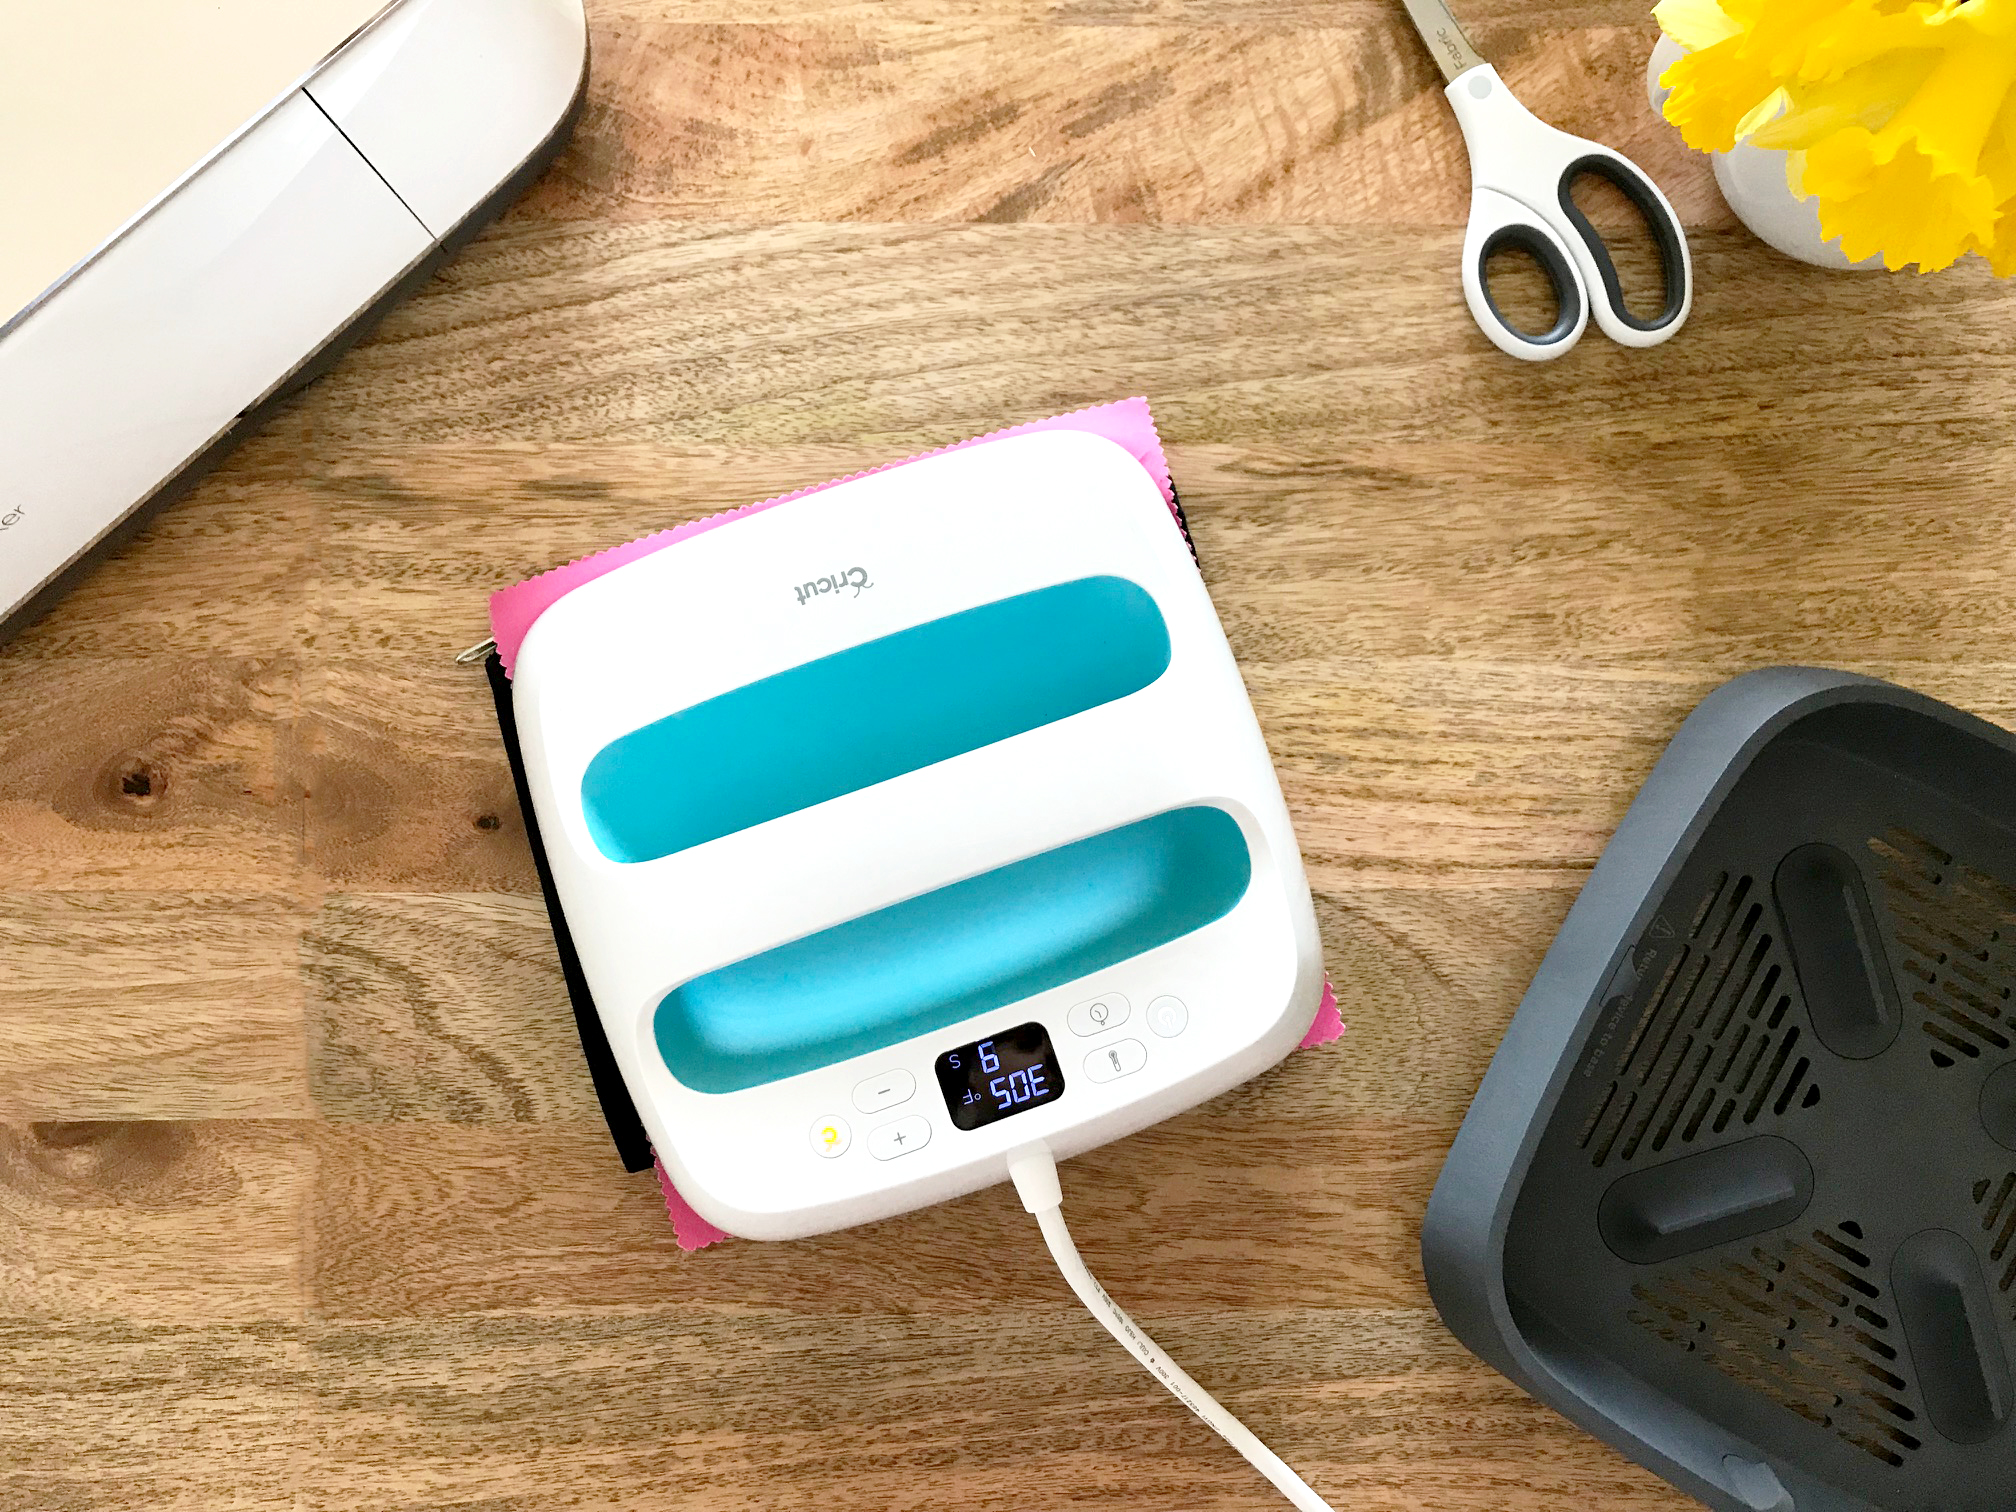
  7. using cricut's easy press and a scrap piece of fabric, iron your creative saying onto the pouch, applying pressure for 30 seconds at 320 degrees.
  8. let the iron-on completely cool before removing the clear top layer.
  9. add your zipper trim and gift your new personalized gift. it's it awesome?

to create the faux leather zipper pull accessory, follow these steps:

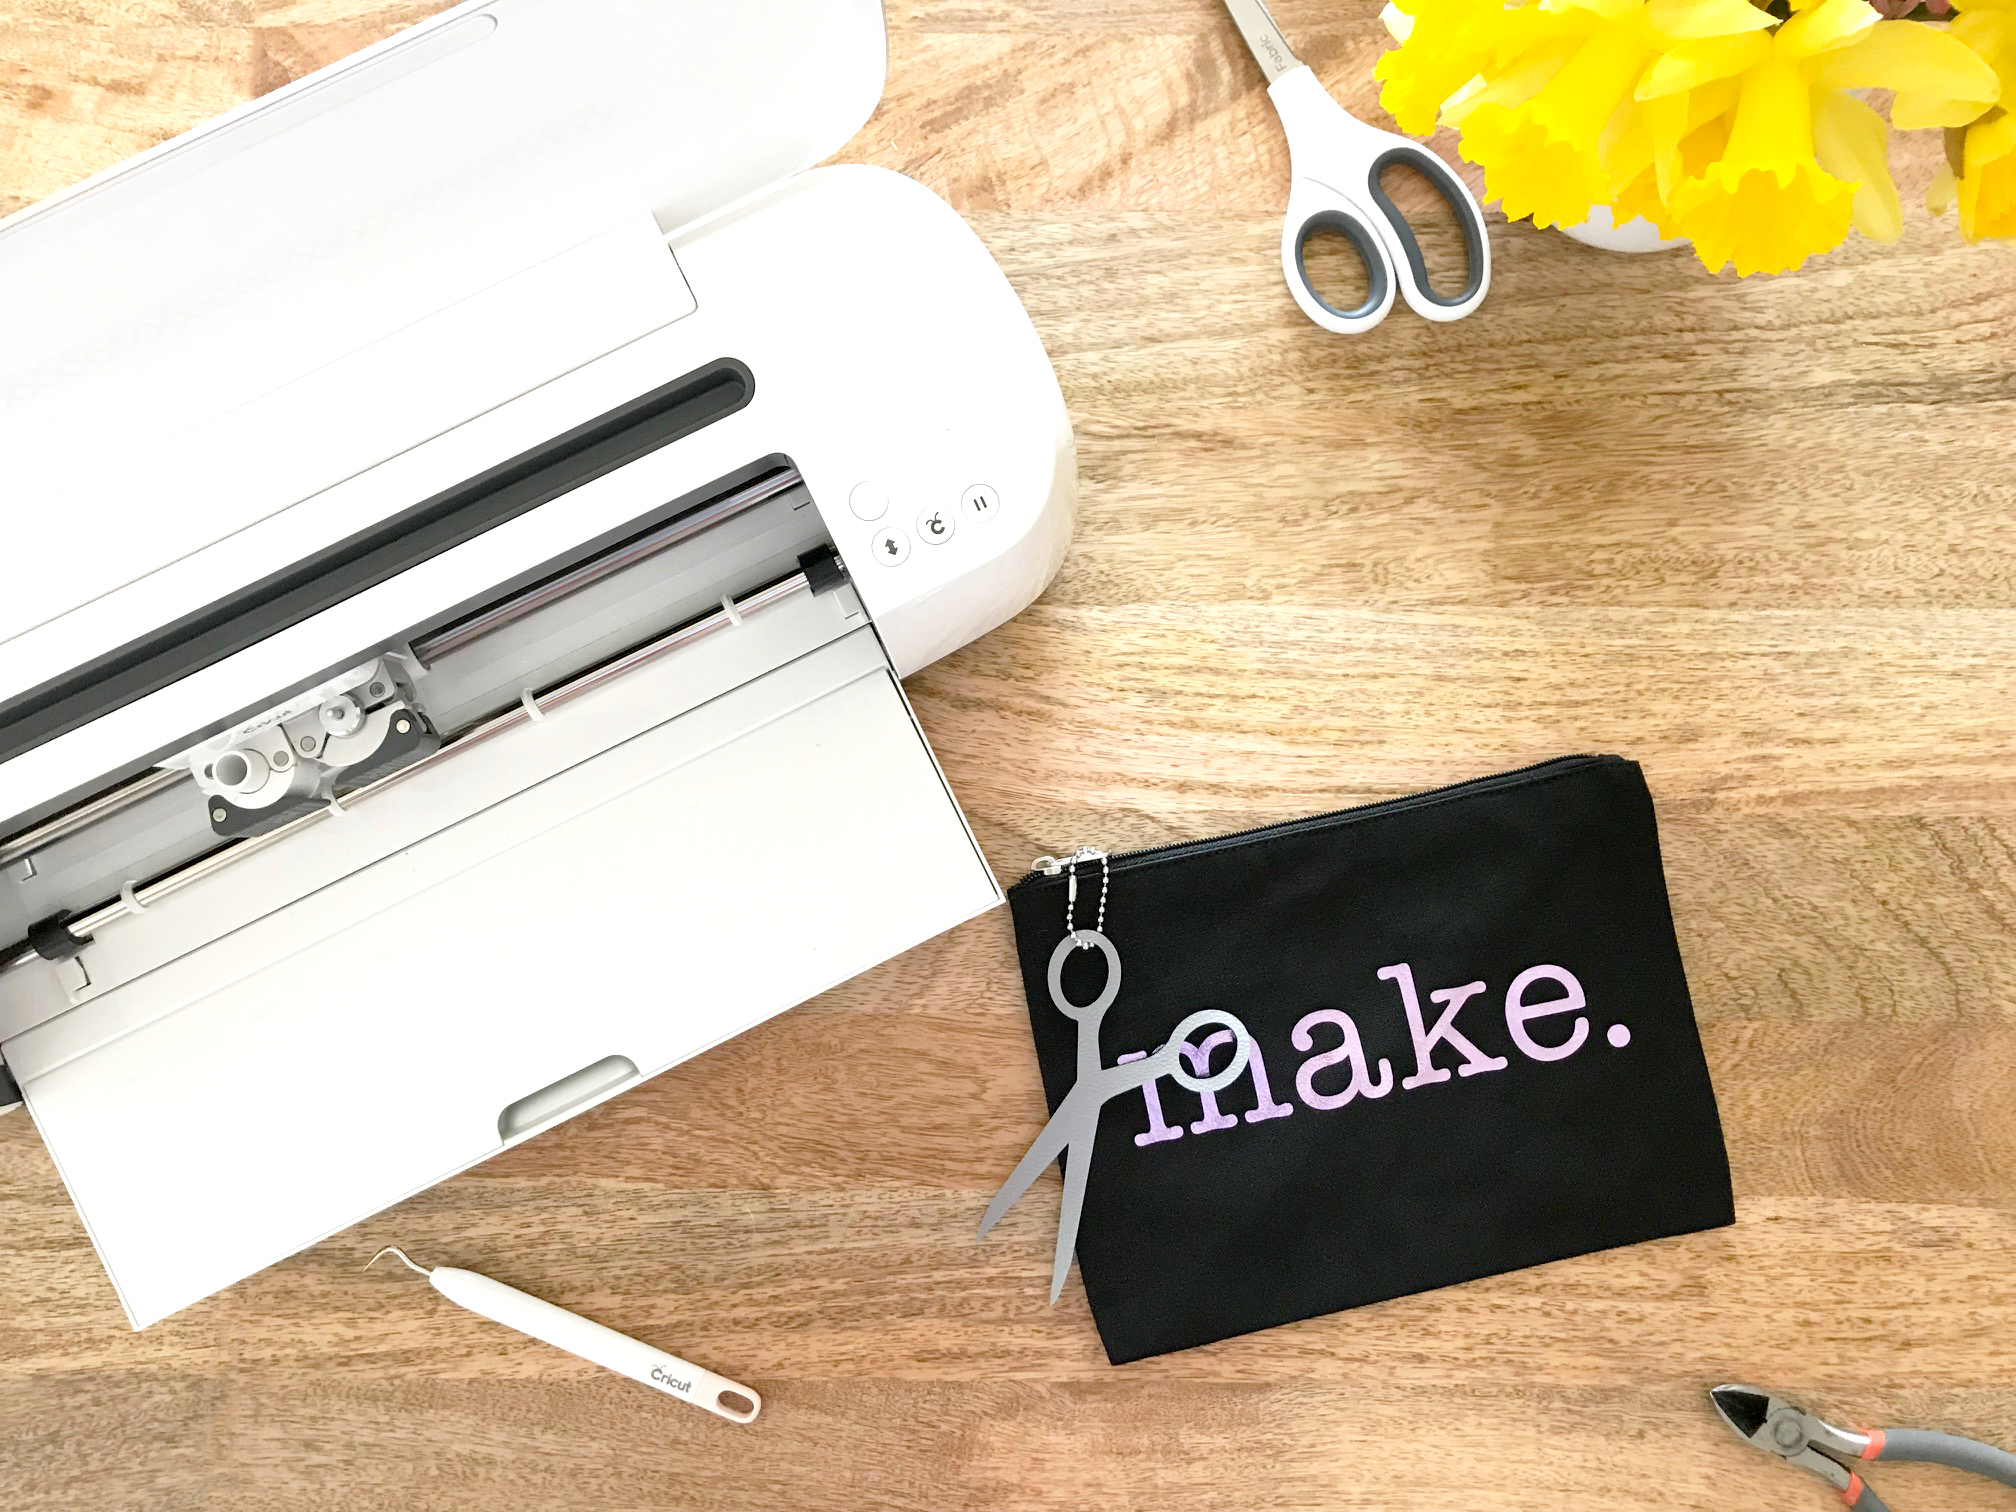
  1. in cricut's design space, upload the png file or using shapes to create zipper pull accessory.
  2. if you decide to use a shape, add a small circle, slicing as necessary.
  3. using the standard mat, place your faux leather, leather side down.
  4. load your mat into the cricut maker and press the blinking light.
  5. once it's finished, unload your mat and weed.
  6. cut the pull chain to the desired length, threading it through your zipper pull shape.
  7. ta-da, you've just created a faux leather zipper pull accessory! how cute are they?

these zipper pouches are perfect for holding your favorite sewing supplies or to give as adorable personalized gifts. the possibilities are endless with cricut's iron-on and the easy press makes it a snap! i hope you enjoyed this tutorial as much as i enjoyed making it.

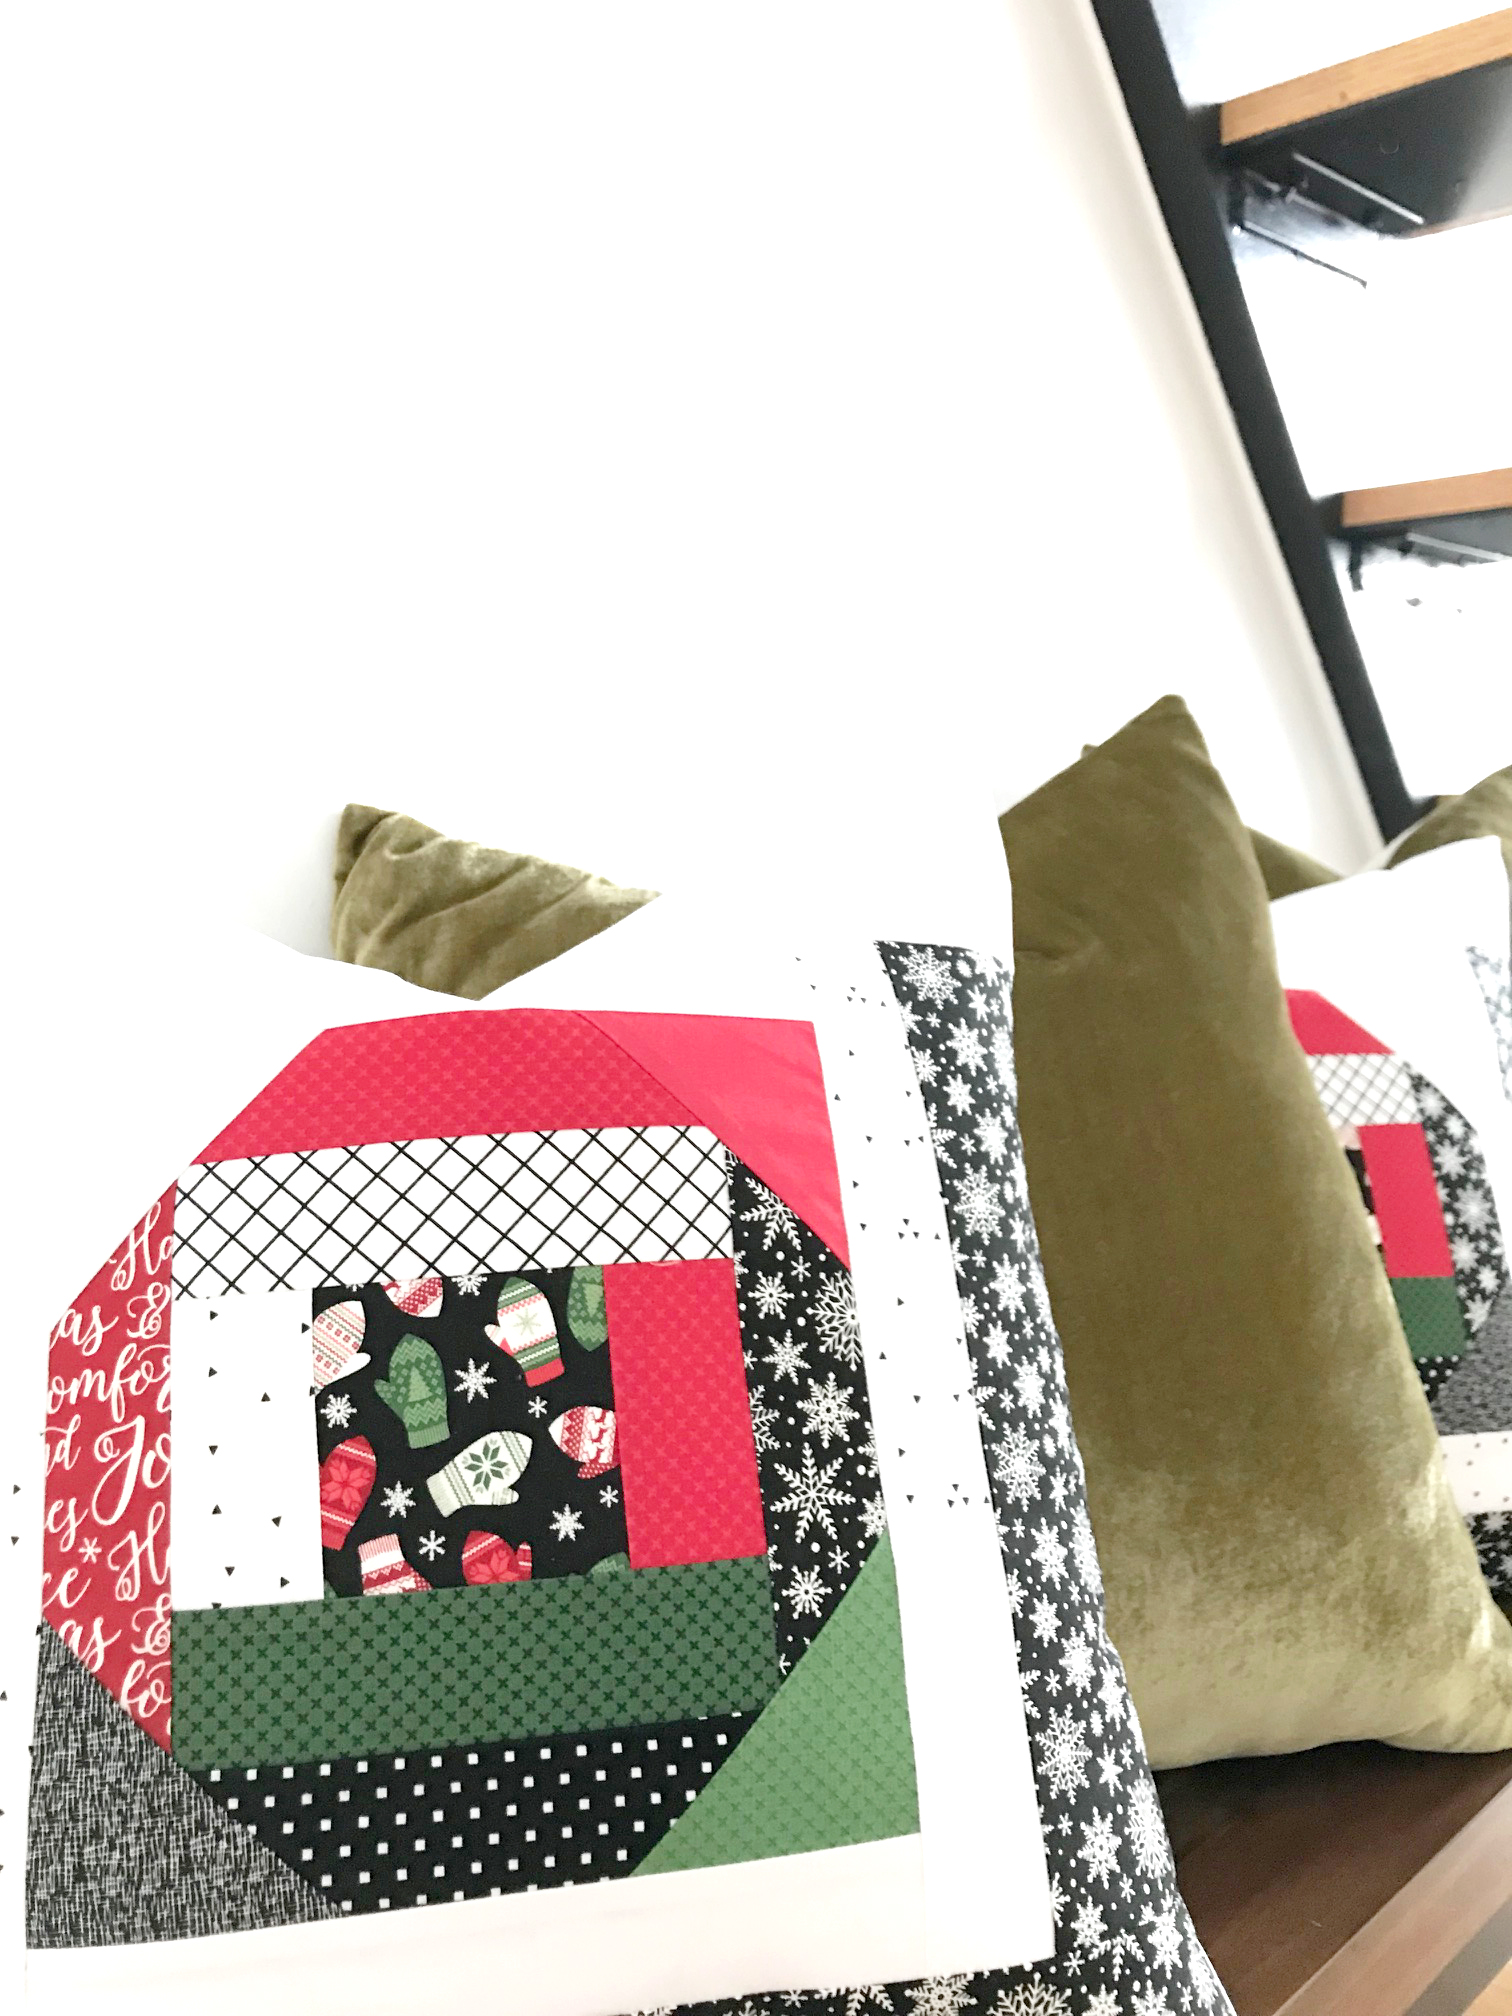
here are some behind the scenes photos to brighten your day! #reallife

cut, sew, repeat...

the tattooed quilter.

This is a sponsored conversation written by me on behalf of Cricut. The opinions and text are all mine.

READER COMMENT DISCLAIMER 

Comments submitted may be displayed on other websites owned by the sponsoring brand.

sorbet fabric...

happy new year everyone! i hope this post finds your year off to a great start!

today i'm sharing my love for leonie bateman and her new collection for penny rose fabrics (a division of riley blake designs) named sorbet. the collection is just as delicious as it sounds. featuring a range of soft, yet bright colors, it's perfect for just about any project. the main print is one my favorites!

i had the pleasure of meeting leonie last may at quilt market. she's honestly one of the most genuine people in the industry. her laugh is infectious and she's just as personable as she is talented (check out her works with wool...drool!). she might disagree (haha!) but i think we're long distant relatives now.

branching out from my typical clean and simple designs, i decided to create a mini medallion quilt (inspired by my friend erin's new book). i chose to create with the red and pink prints from the collection and mixed them with my favorite confetti cotton solids, which are my main go-to basics from riley blake designs.

like most of my designs, i never know what i'm going to make until i'm making it. i started with a sawtooth block as my center, added foundation paper pieced flying geese-like rows next and for one short minute thought i'd make this a much larger quilt, I ended with a solid border. i always have the greatest intentions of making larger quilts, but for some reason my mind freaks out around the 24-30'' mark and i stop. ahhhh...one day.

reminiscent of my traditional roots, i learned a lot making this mini quilt. its by no means perfect, but it was the best exercise for me to stretch my quilting muscles.

i hope you'll check out leonie's awesome work and pick up a bundle of her collection that's available in stores and online now. she's really a gem and if you dig through the world wide web, you might find a video of us singing and dancing to Abba at Missouri Star Quilt Company.

cut, sew, repeat...

the tattooed quilter

utility style quilts...book tour

happy holiday's everyone!

today i'm excited to share my thoughts on, "utility style quilts: quilts for everyday living."

i've known the author, sharon holland for some time now, meeting her, like many others on social media. sharon is one of the most genuine artists in our industry and is just as you imagine in person: kind, warm, and uber talented. her work can be seen in several magazines and in quilt shops across the globe. her fabric collections for art gallery fabrics are stunning.

her new book, "utility style quilts: quilts for everyday living," published by landauer publishing features 12 beginner-friendly quilt projects that honestly, after reading through the book, could be completed in a weekend. i'm in love with her modern-traditional style and the photography is gorgeous!

sharon also walks you through how to chose the right fabrics, piecing techniques, and one of my favorite features: how to finish your quilt project where she beautifully describes one technique called tying, which i learned from my great grandmother and grandmother.

the main theme of the book is using our quilts everyday: loving, laundering, and repeating. i couldn't agree with her more! i don't think i've had one quilt that hasn't been well loved.

one of my favorite quilt projects is "tracery" and i decided to make two holiday themed pillows. i adjusted the measurements on the last two rows to get the perfect 18 1/2'' square i needed for my pillow forms. i really love how versatile this block is. one of my other favorites is "bobbin." i can totally seeing myself making a mini version in the near future. 

i hope you consider picking up a copy of sharon's new book. it's a great gift for someone starting out in quilting and is the perfect refresher for those a little more advanced. i also hope you enjoyed my "tracery" pillows as much i enjoyed making them.

i wish you and yours the best in the new year. xo!

the tattooed quilter