Blog

handmade gift stockings with the cricut maker...

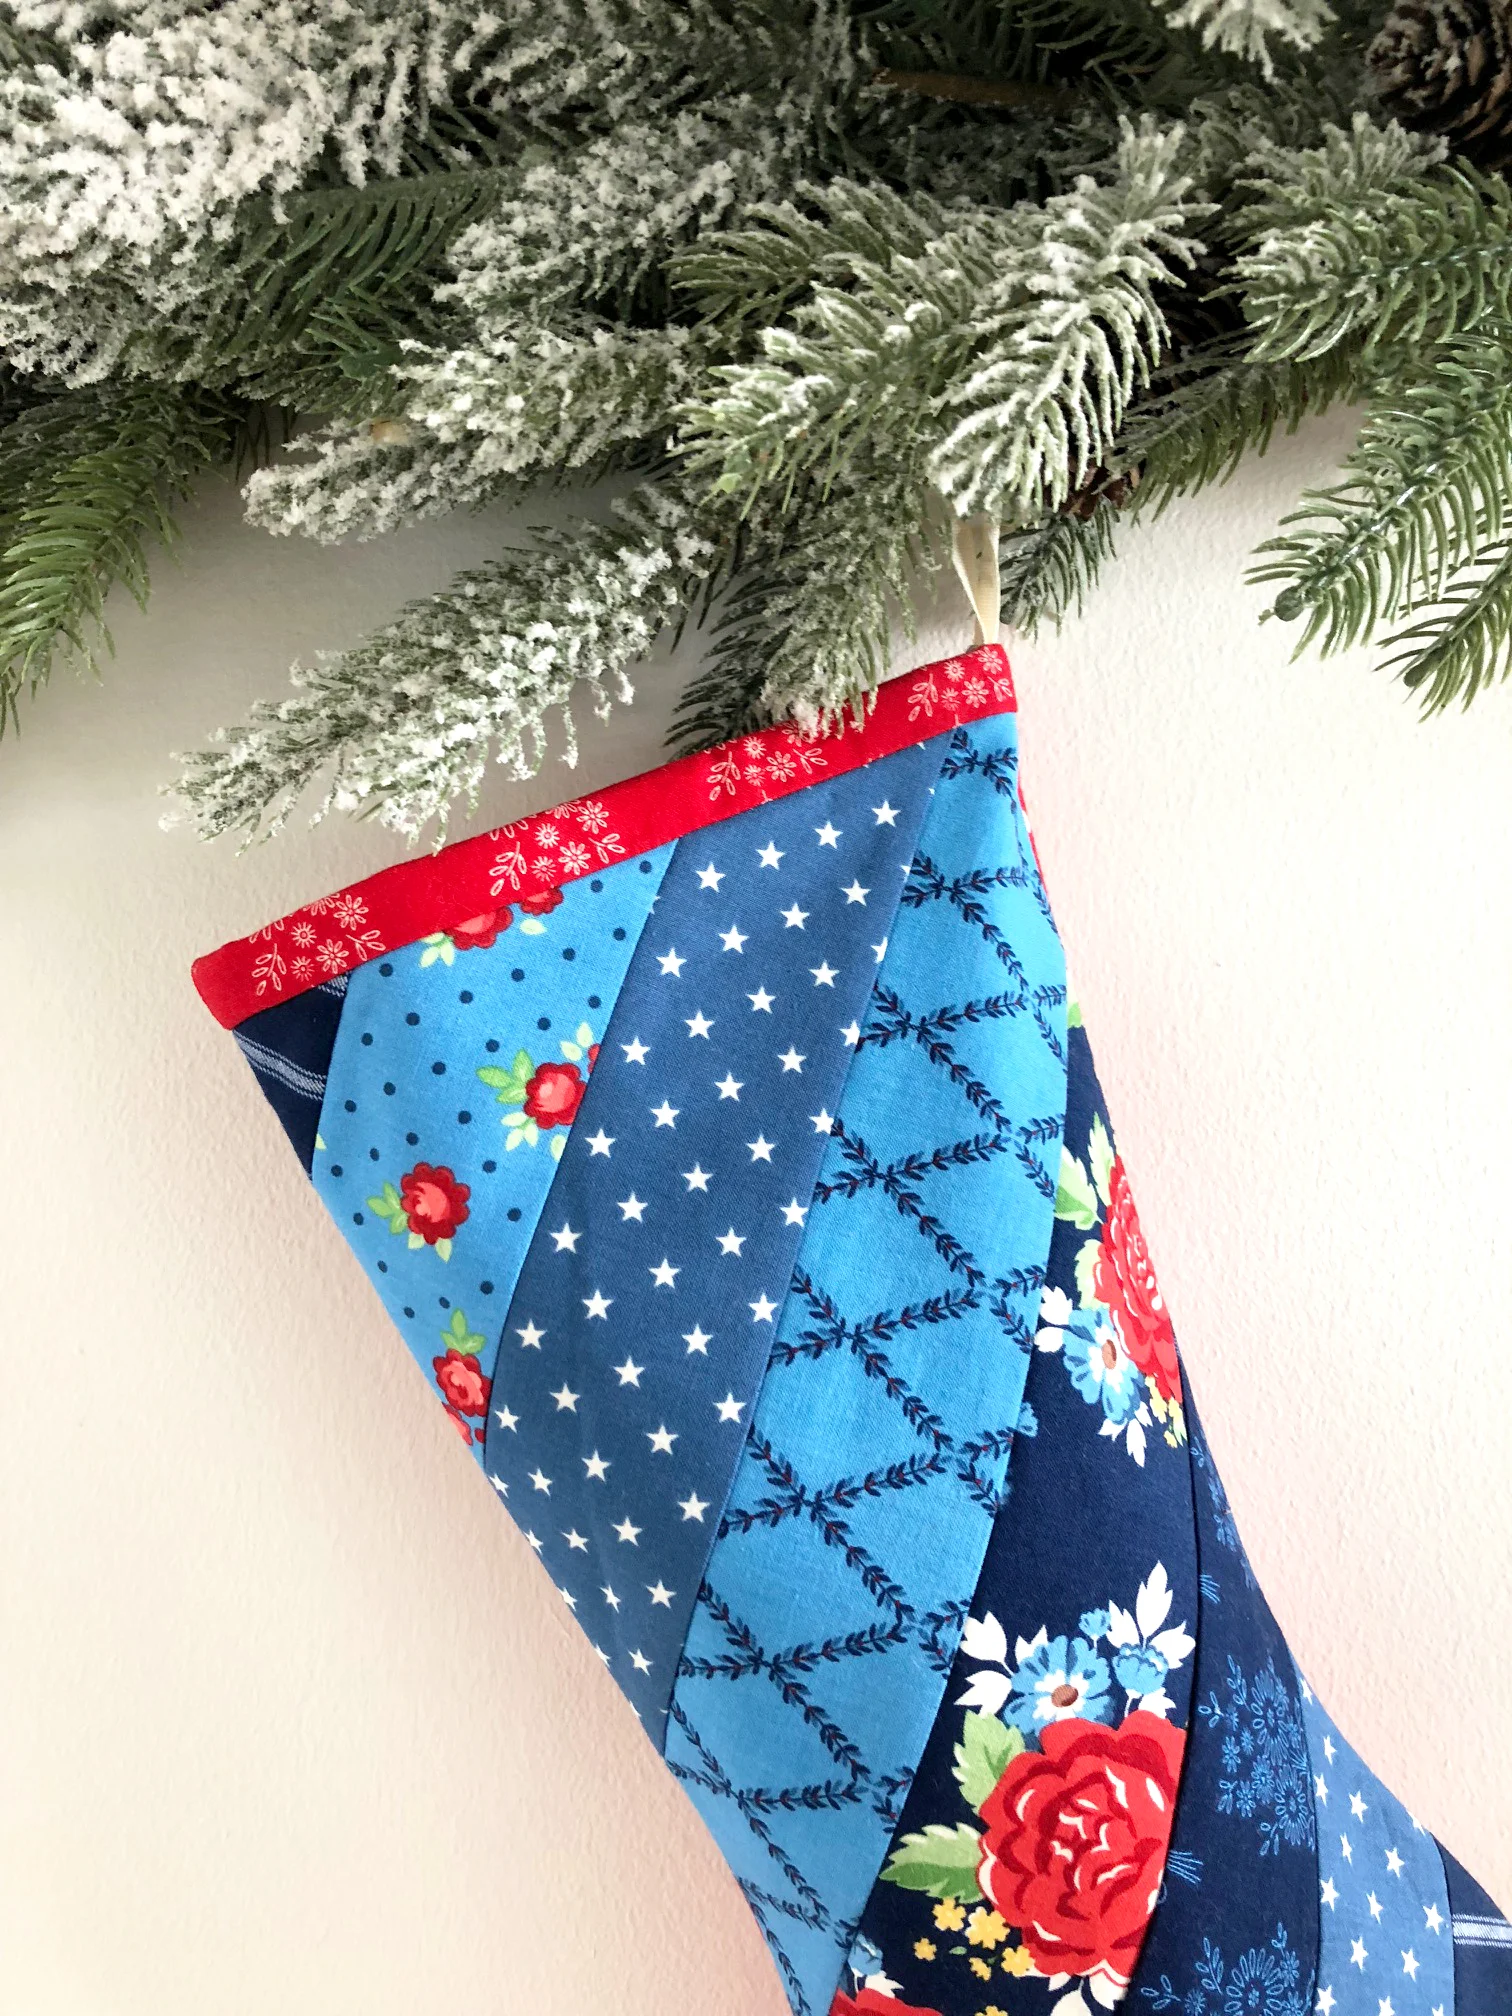
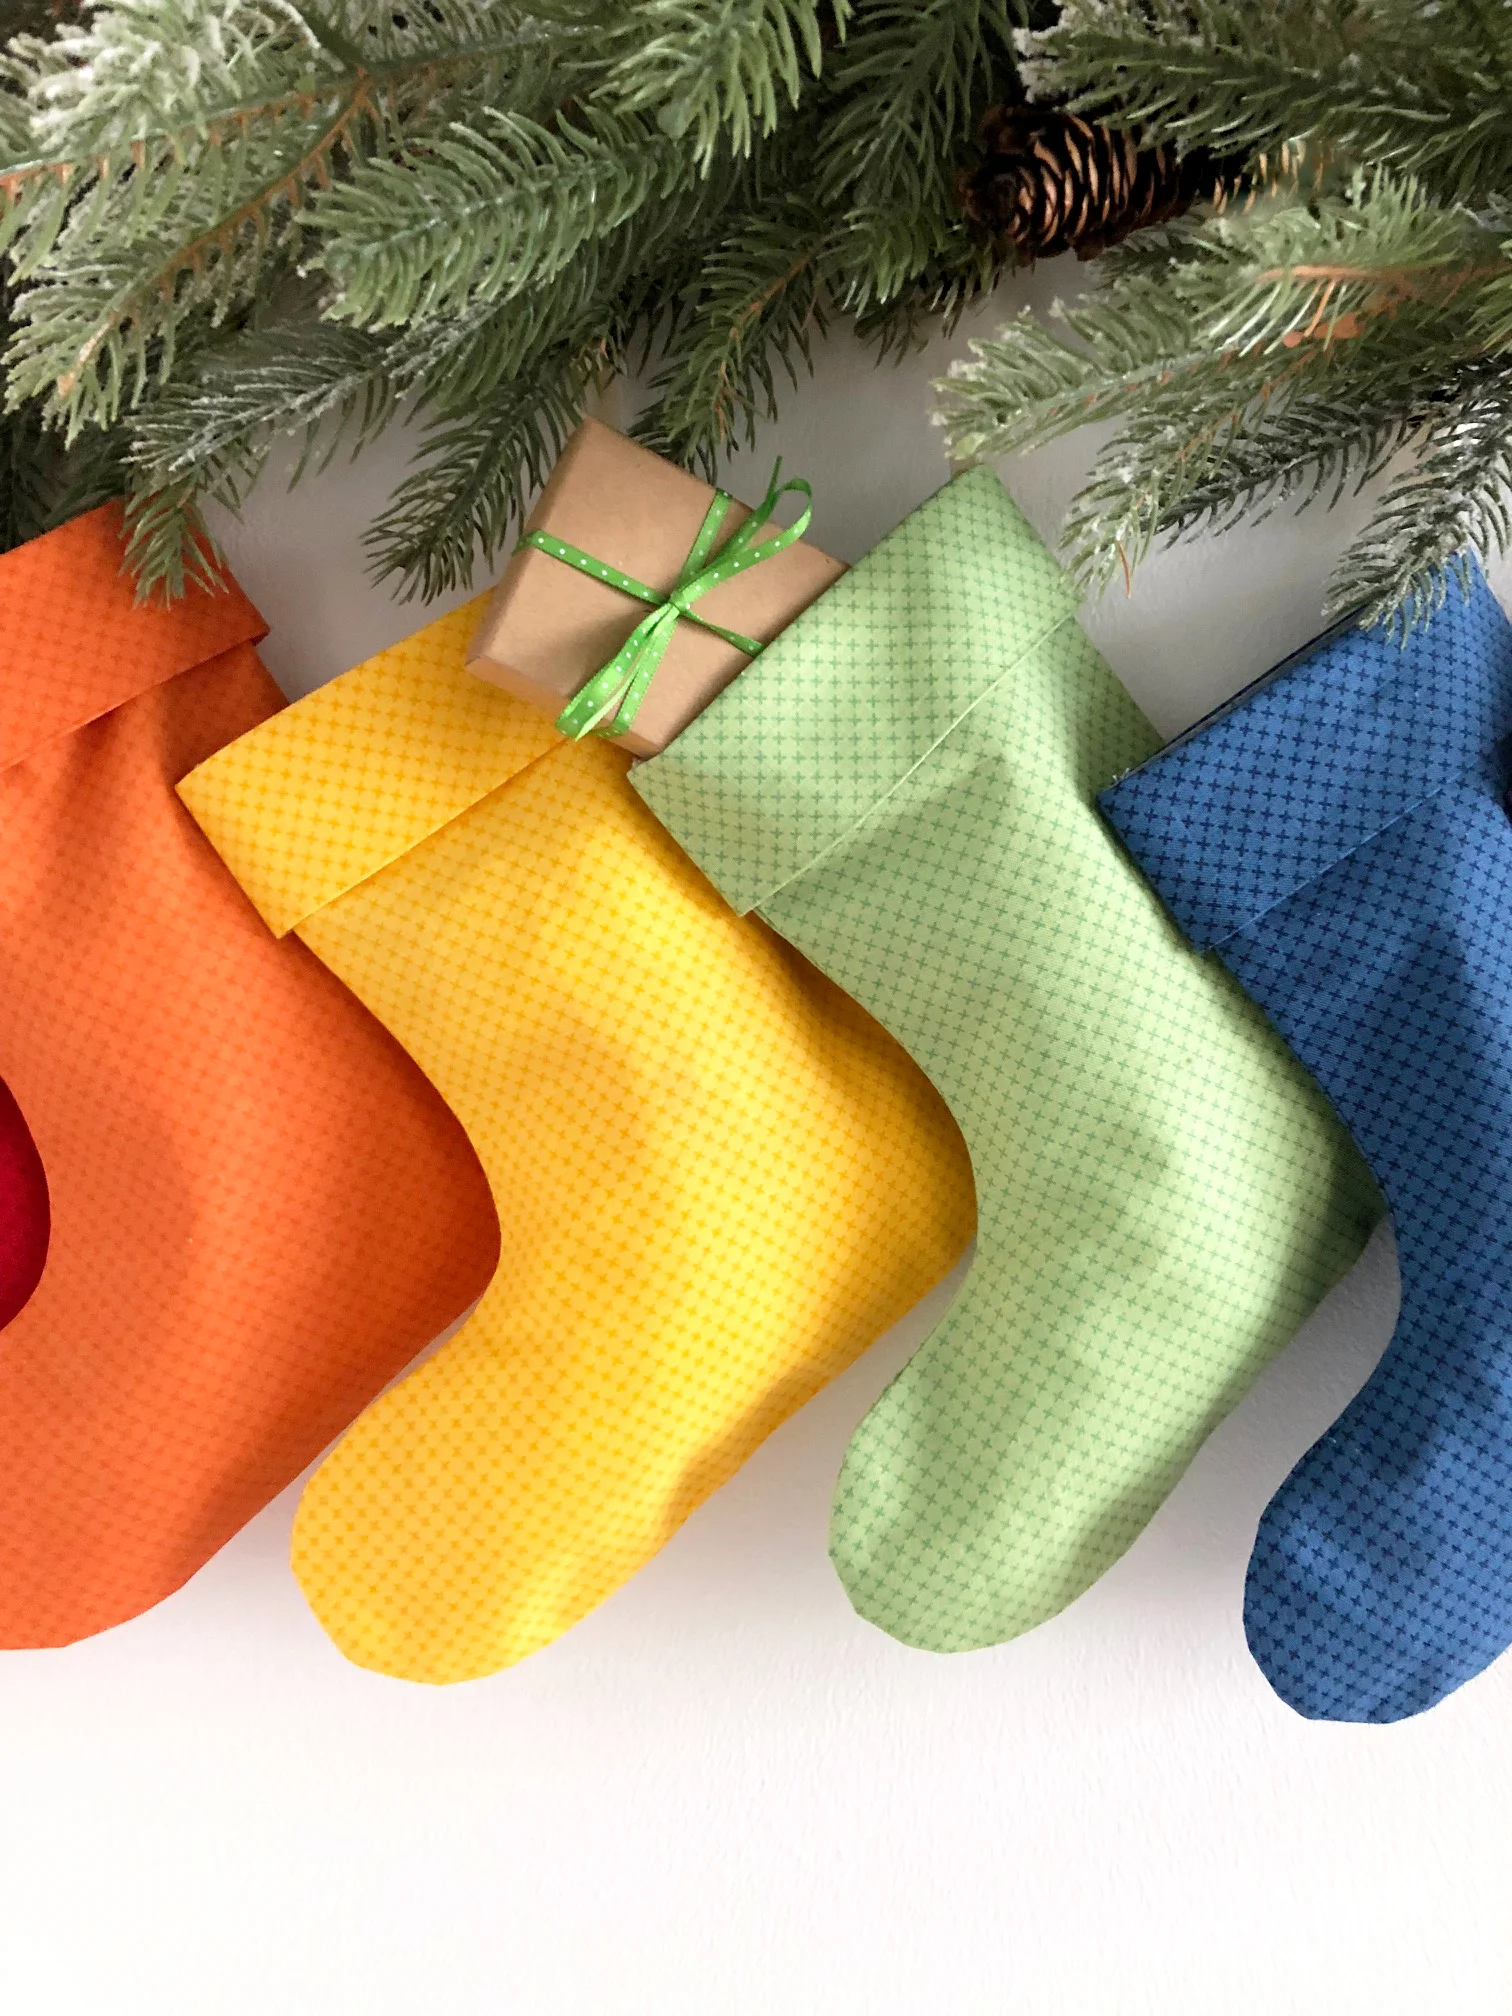
share the love this holiday season with these adorable handmade gift stockings.

they’re perfect for small gifts like gift cards, candy, small toys, and with the cricut maker, a beginner friendly project that sews together super fast!

the maker cuts through just about any fabric and makes decorating for the holidays a snap, especially with the rotary cutter and easy press 2. imagine how cute these would be in felt or velvet?!

and you know something else? you can totally personalize these. how cute would an iron-on vinyl monogram be? yes, yes, yassss!

here’s what you need to make your own:

  • cricut maker

  • cricut maker rotary blade

  • cricut fabric mat

  • red solid color cut down to (2) 12'' x 12'' squares

  • orange solid color cut down to (2) 12'' x 12'' squares

  • yellow solid color cut down to (2) 12'' x 12'' squares

  • green solid color cut down to (2) 12'' x 12'' squares

  • blue solid color cut down to (2) 12'' x 12'' squares

  • violet solid color cut down to (2) 12'' x 12'' squares

  • repeat the color order above but you need (1) 5’’ x 12’’ rectangle

  • 2’’ to 3’’ ribbon loop for each gift stocking (optional)

  • misc. sewing supplies, including thread, iron, and cricut sewing tools

*i used riley blake designs kisses basics for this project. it’s the perfect little modern print.

here are the cutting instructions:

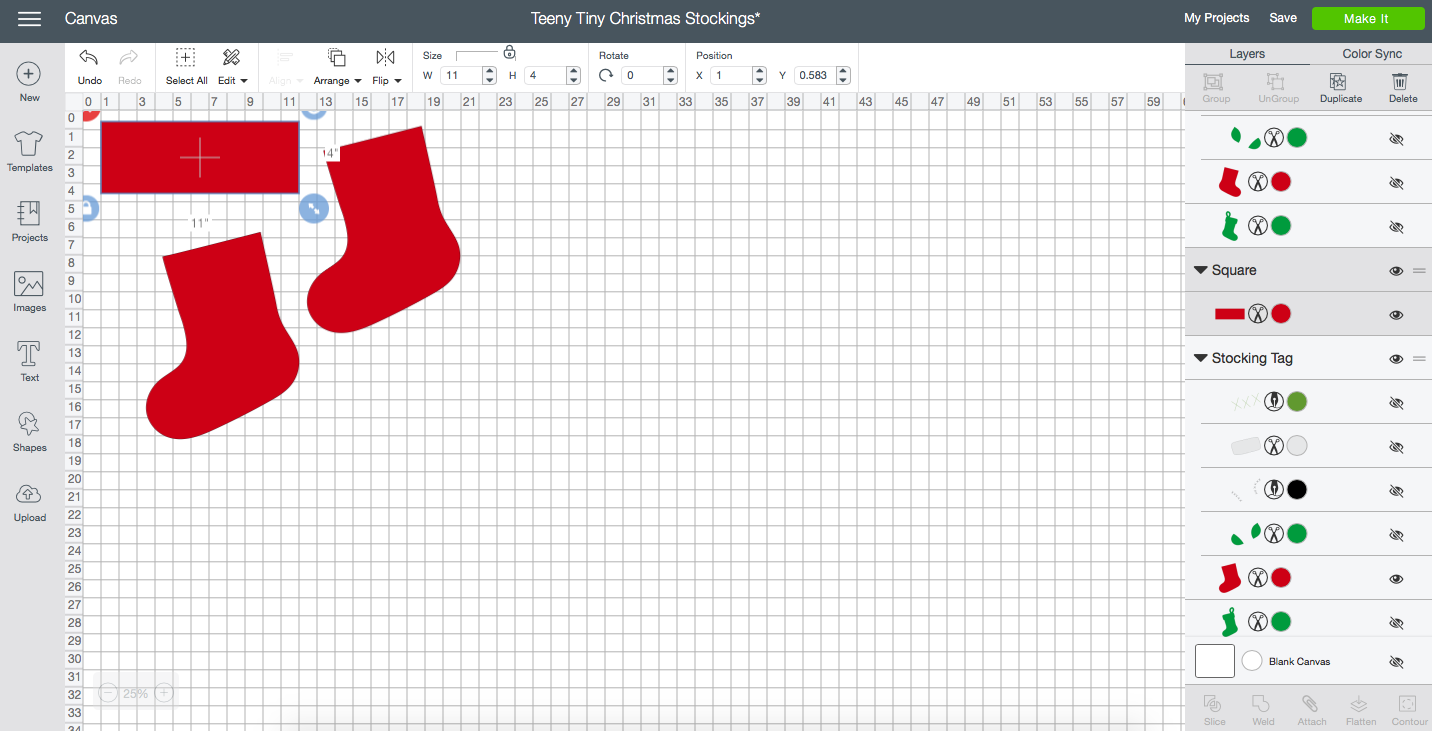
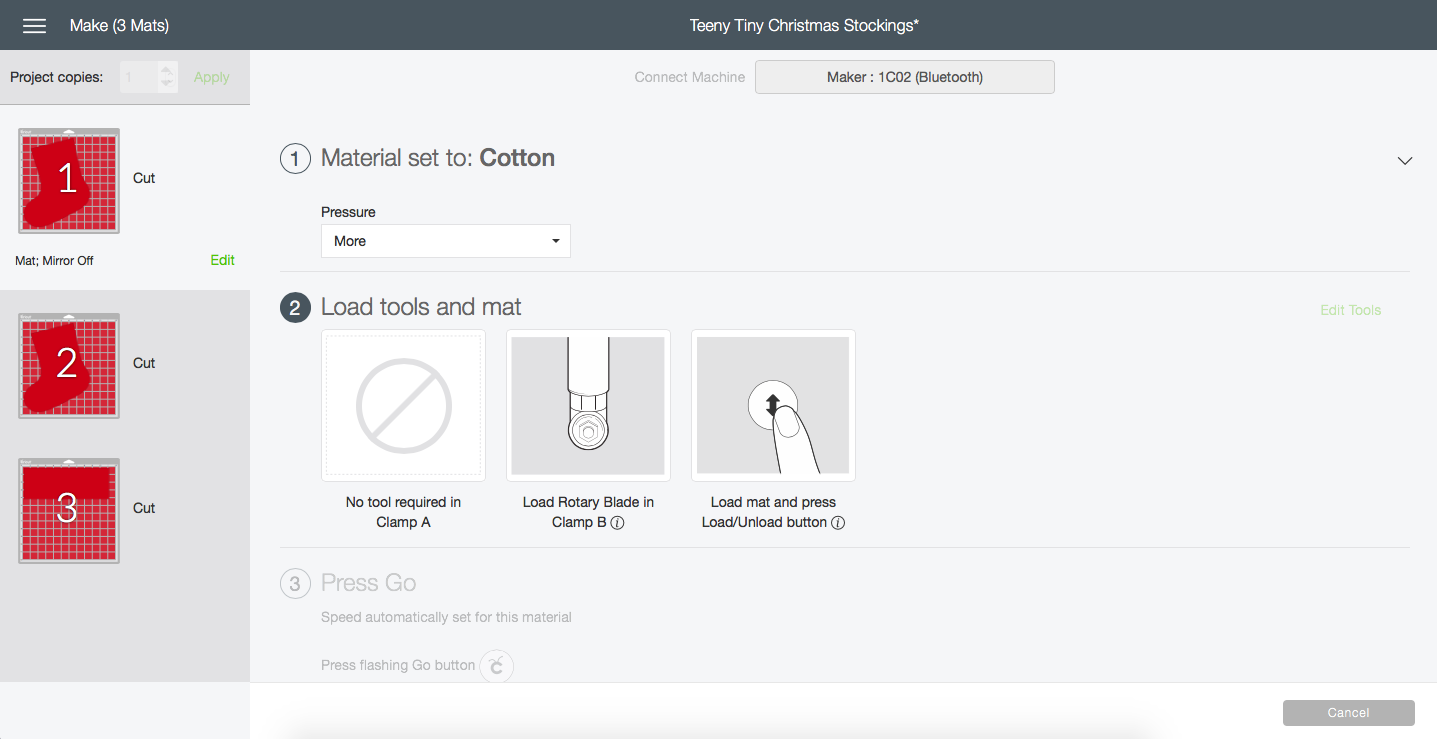
  • open the teeny tiny christmas stocking project in cricut design space

  • double check the that the measurements are as follows:

    • stocking: 11.5’’ x 8.5’’

    • stocking cuff: 4’’ x 11’’

  • make sure you unlock and lock your measurements so the sizes won't change as you create the additional squares and rectangles

  • you're all set, click on "make it"

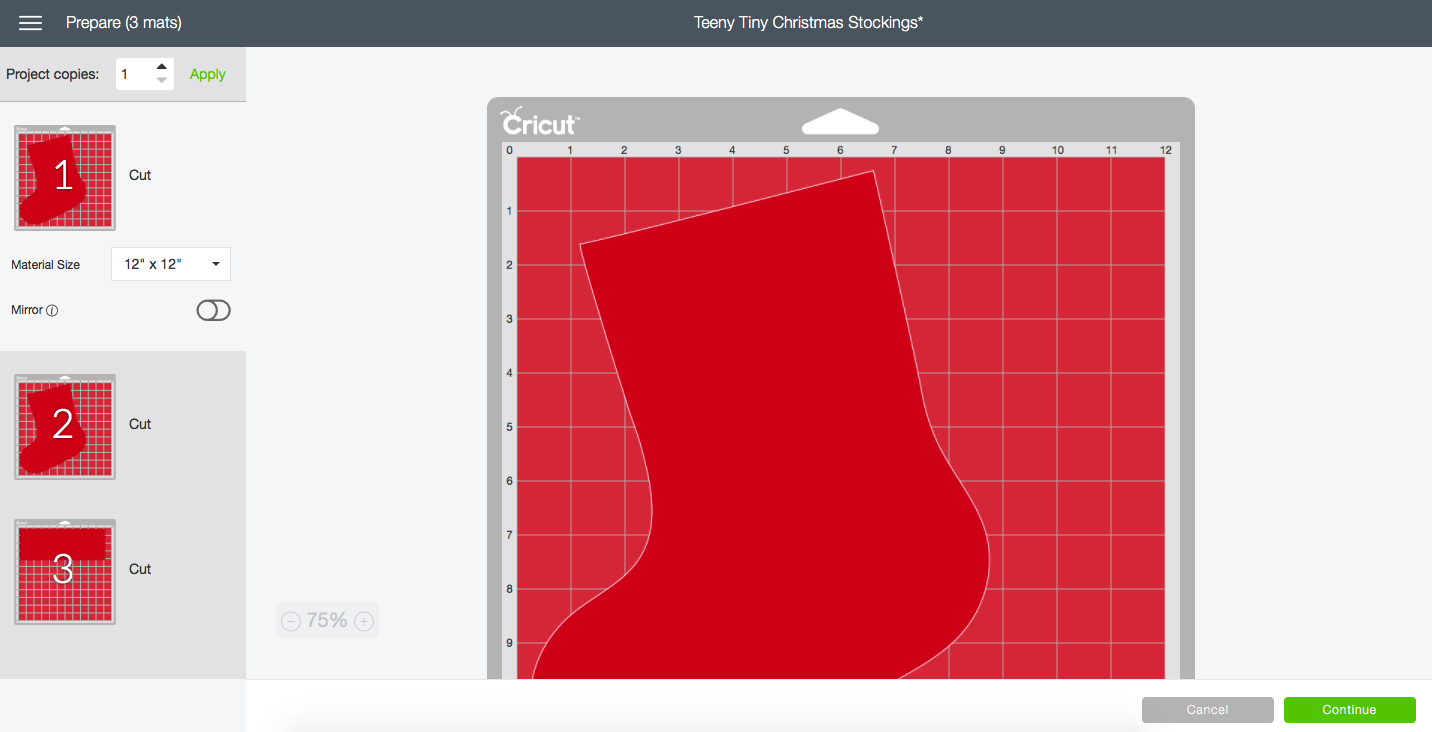
  • you'll see your stockings (front and back) and cuff broken out by mat

  • you should have (3) 12'' x 12'', one for each stocking and one for the cuff

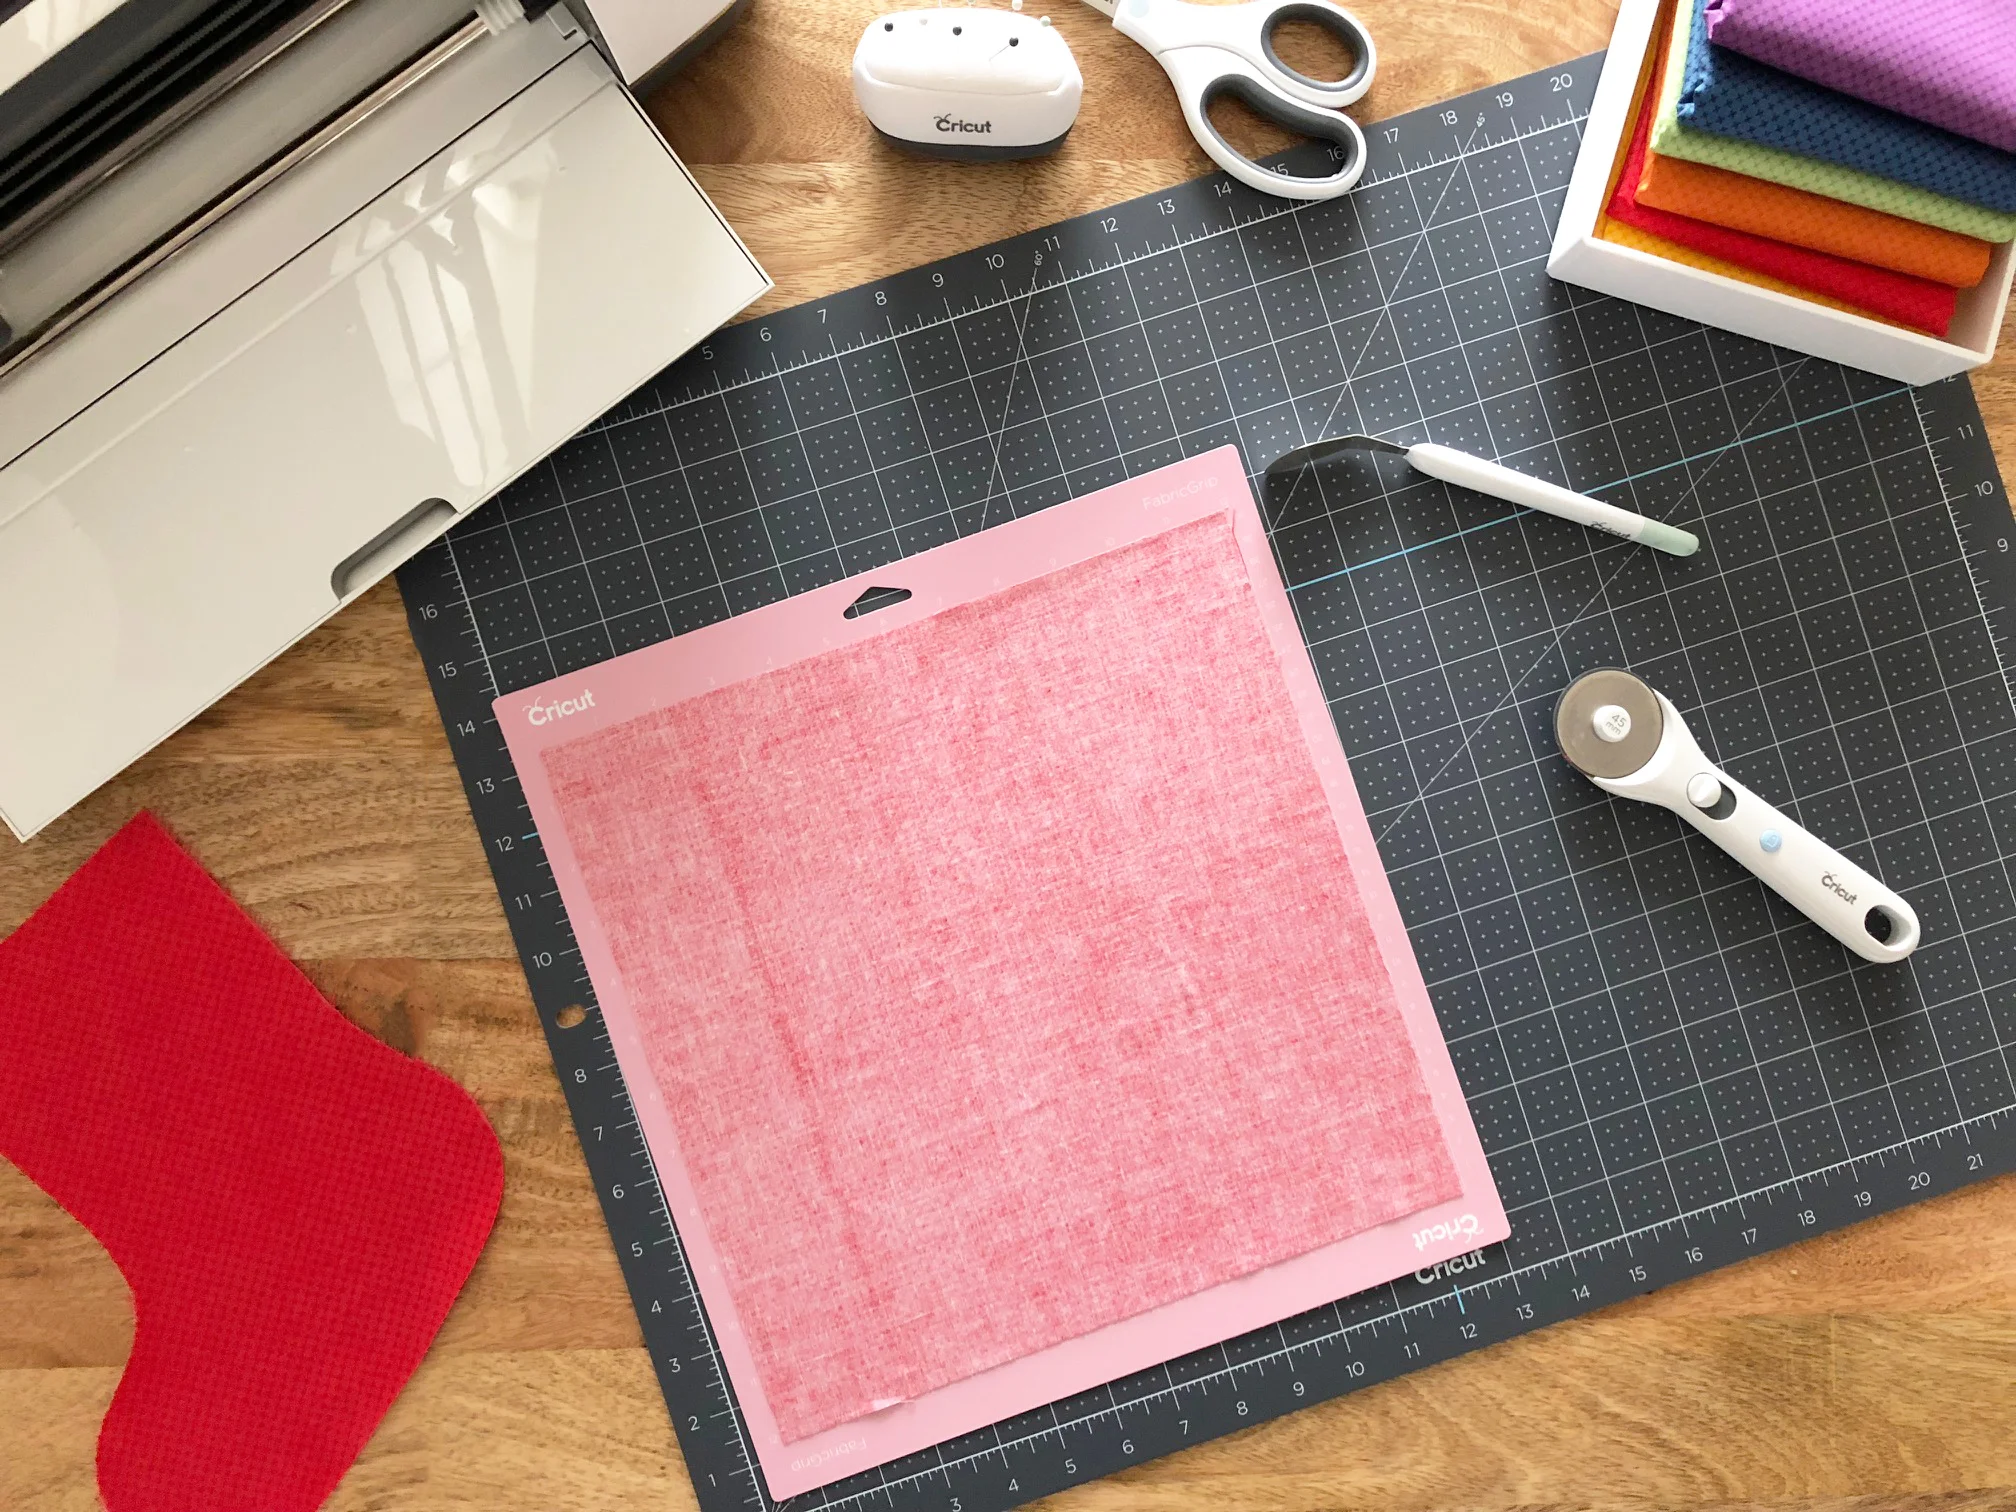
  • place your pre-cut fabric on the fabric mat in order of mat

    • for the second stocking mat, place your fabric right side down on the fabric mat

    • it was easier to keep it on separate 12’’ x 12’’ mats versus 12’’ x 24’’ mats, but you can decide which method you like better

  • select cotton fabric, insert your cricut rotary cutter, and GO!


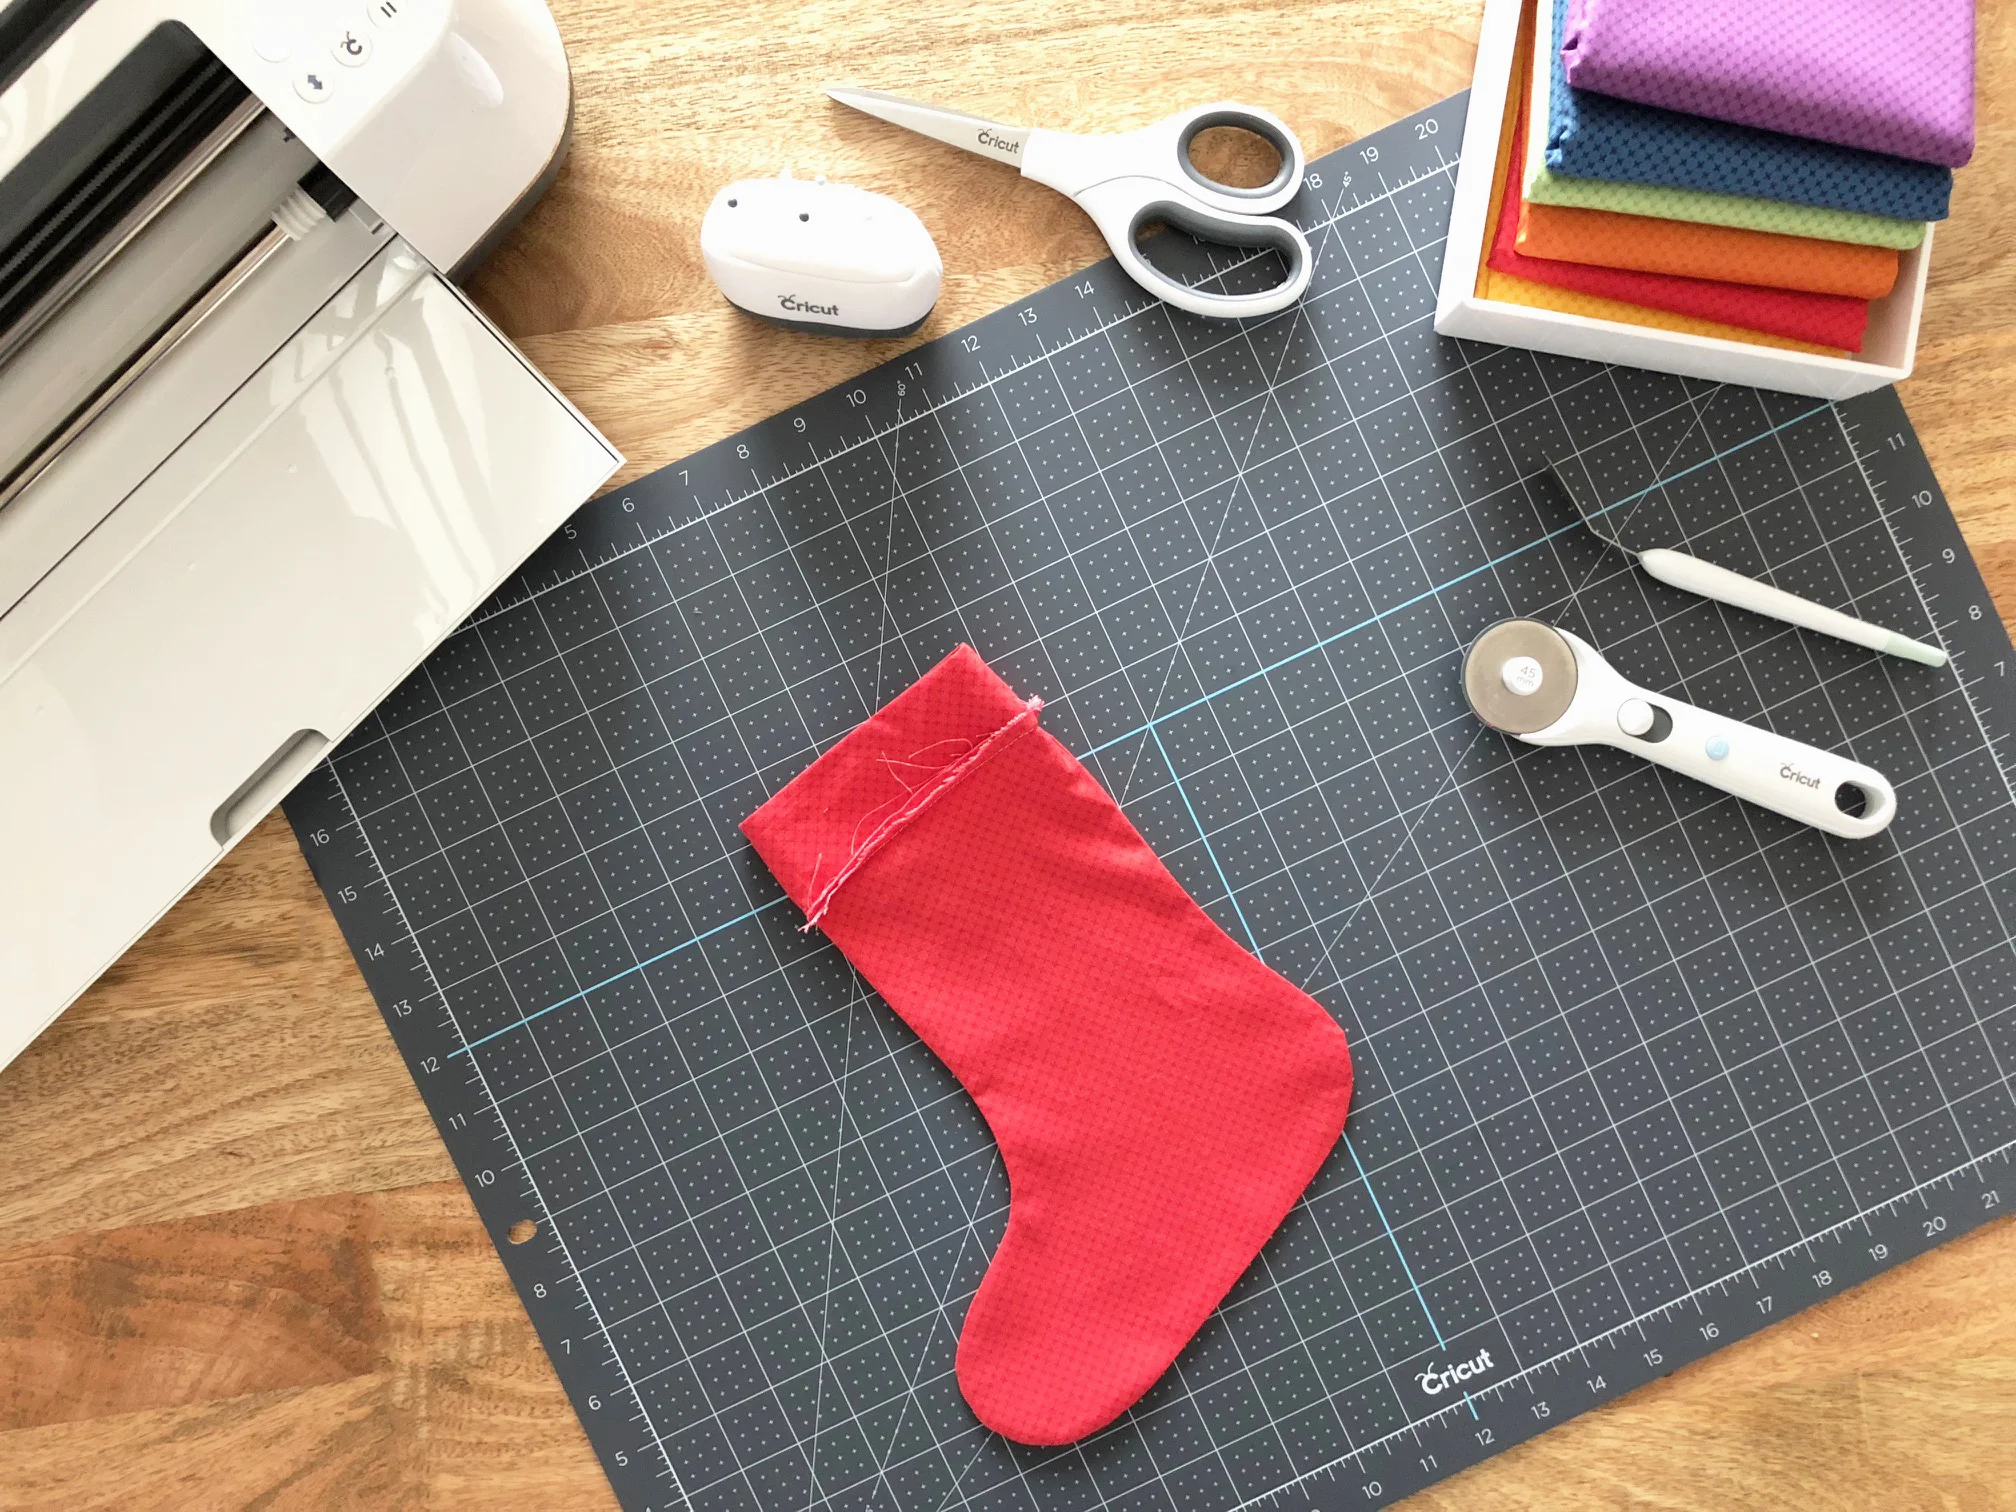
here are the sewing instructions (use a 1/4'' seam allowance unless other wise noted):

  • pin the stocking front and back together

  • sew along the edges of the stocking, leaving the top open

  • clip around the curves of the stocking and press

  • fold the stocking cuff in half, pin and sew along the short edge

  • lining up seams, place the cuff on the inside of the stocking and pin

  • sew around the cuff and stocking with a 1/4’’ seam allowance

  • flip the cuff to the outside of the stocking and press

now i have to admit i had some help with mine. while i did the designing and cutting, jack, my fiancé did the sewing. it’s the perfect project to make as a team! so grab your spouse, your partner, or your kids and create!

happy ho-ho-holiday’s everyone!

cut, sew, repeat…

the tattooed quilter

this is a sponsored conversation written by me on behalf of cricut. the opinions and text are all mine.

harry and alice fabric...

today i’m excited to share amanda herring design’s latest collection, harry and alice with you. this beautiful collection from penny rose fabrics features reds, blue’s, and delightful greens. classic designs with a cute story that you can read more about over on amanda’s blog.

i purchased this june taylor quilt-as-you-go stocking kit from fat quarter shop a few months ago and just knew this collection would be perfect for it. i think harry and alice would approve?! hehe!

one evening after work, i asked jack, my fiancé to make these with me. just like harry and alice, we enjoy spending time together and because jack works nights on broadway, our time together is very limited.

jack and i picked out the fabric combos together, pulling from the 7 designs and 3 color ways. my combo reads more holiday with classic reds and greens while jack went more blue with a pop of red. don’t tell my stocking, but jack’s combo is my favorite.

with both of our sewing machine’s ready to go, we went to work. sharing a cutting mat, we both cut the strips and pieced the stocking fronts. after that step was complete, jack helped me sew on the backing and binding, because, well, i’m 3D challenged. if it’s not a quilt, i have a hard time wrapping my brain around how to put it all together. i know, i’m terrible. hehe!

while listening to christmas music, we snacked on cheese, diet cokes, and had the fake fire playing on the tv too. it was the perfect way to spend time together and these stockings are the cutest!

have you ever asked your partner to make something with you? comment below with your best story! i would love to hear!

cut, sew, repeat…

the tattooed quilter

RBDNotSoBasic Project #3

invite your best gal pals over to celebrate fall with the latest #RBDNotSoBasic project!

the inspiration for this project is the traditional maple leaf block…made modern with riley blake designs shades basic collection. each designer knocked it out of the park with their table runner!

the shades collection features a mottled print that will blend into projects beautifully. trust me, it’s subtle but adds a lot of great depth.

my version of the table runner was a happy accident. i started making traditional maple leaf blocks and when i wasn’t happy with the outcome, decided to break out the seam rip. well, one thing lead to another and slicccccccce. i sliced right through part of the first block. doh.

since life handed me lemons, i started making another block. but after successfully sewing the rows together, realized that i missed the color center squares. wahhhhh. the outcome looked modern, chic and a new take on the traditional block, so i kept going!

i made (1) 12’’ x 12’’, (1) 9’’ x 9’’, and (1) 6’’ x 6’’ block. i added 2 1/2’’ strips between the blocks to create additional negative space. i used riley blake design’s kisses basic for the backing and you know what? it all came together pretty darn perfectly!

the shades collection is just one of many basic collections riley blake designs has to offer. have you seen crayola kaleidoscope? it’s arriving soon!

follow the #rbdnotsobasic hashtag to see more awesome projects, including project #1 and #2.

cut, sew, repeat…

the tattooed quilter