From Mini Quilts to Miniatures...


From mini quilts to miniatures. That’s right, The Tattooed Quilter is going miniature.
I’ve always been fascinated by miniatures.
My grandmother had a replica of the Walton’s home in 1:12 scale. It was big. In fact, it was so big that she kept it in her sewing room. Her sewing room just so happened to be in the garage. I remember sneaking out there with the keys so I could play with it. Gently sliding the plexiglass to the side, I would rearrange the furniture and accessories. Reflecting on it now, I have no doubt that’s where my passion for interior design and architecture came from.
In the late 90s, I acquired my own dollhouse. I purchased it via layaway from a local miniature shop.
My dad and I spent several evenings and weekends putting it together, including our attempt to add electricity. The color palette represented the era very well — burgundy and hunter green. There was also lots of plaid, dark wood accents, and of course mallard ducks. Unfortunately, we never finished and it was eventually sold.
For the past several years, I’ve been peeking at the latest and greatest from the world of miniatures. From Traditional to Modern and DIY to 3D Printing, there’s something for just about every miniature enthustist.
I’ve visited and purchased miniature accessories from Tiny Dollhouse NYC and Lynlott Miniatures, but never purchased a dollhouse until a few weeks ago.
And by dollhouse, I mean the Display Vignette Kit by Hobby Builder Supply.
This tiny space was just what I needed to swiftly transport me back to 1:12 scale.

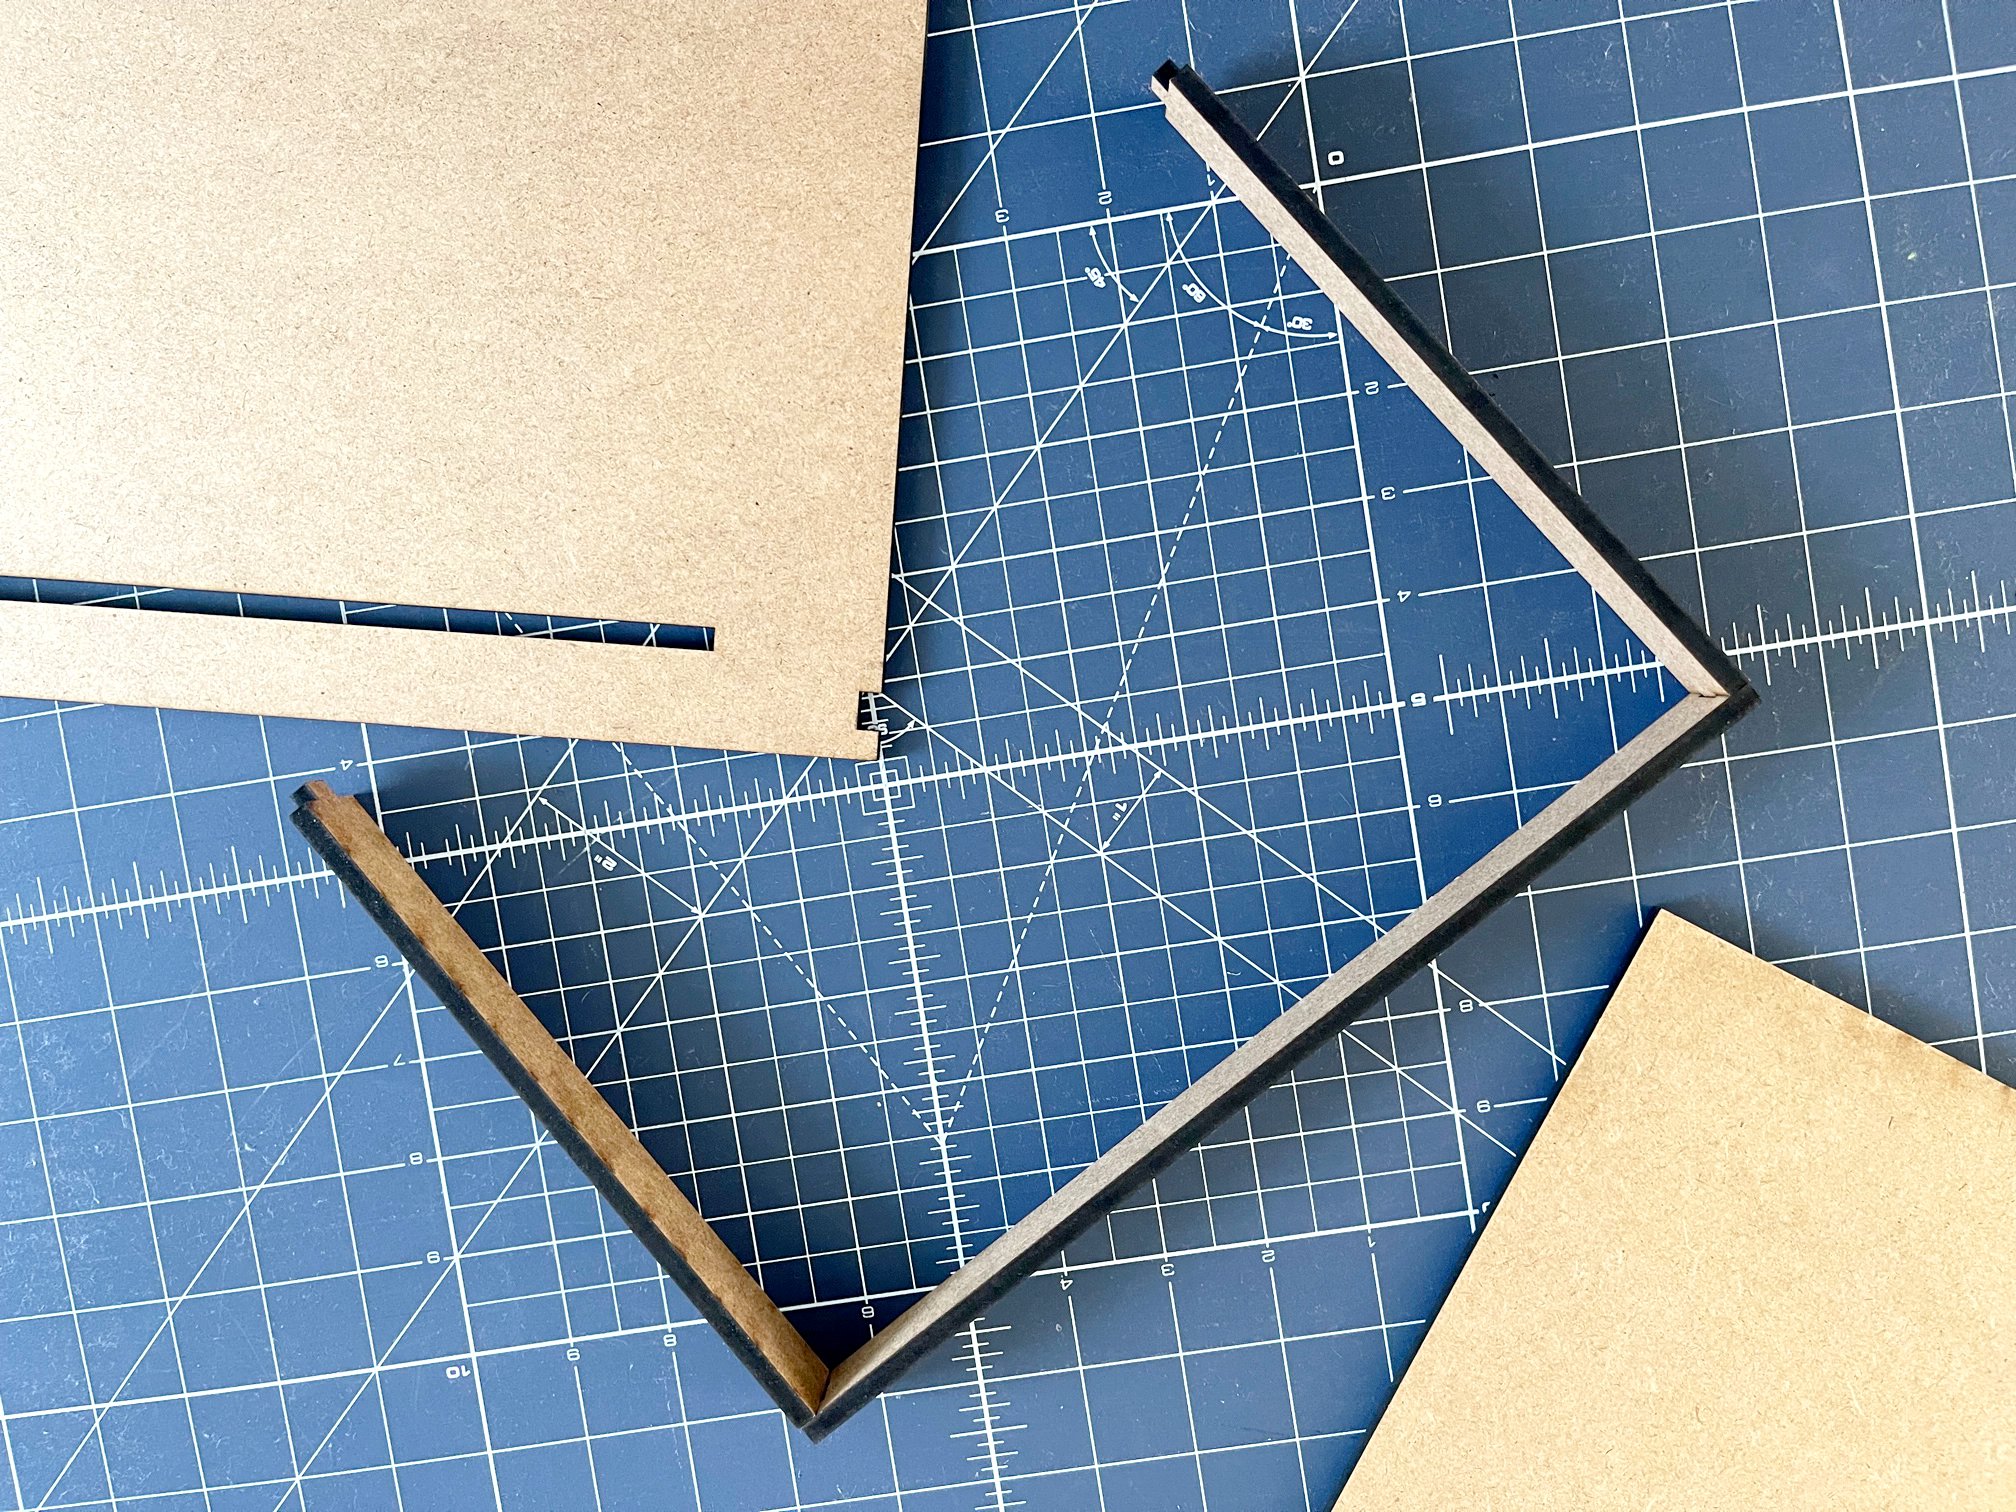


I’m by no means an expert builder, but for a small kit such as this one, you won’t need many supplies. In fact, you’d be surprised what you already have in your sewing room! And yes, I love my Olfa cutting products!
The kit glues together fairly easy with five connection points. Check out their video tutorial here.


After the connection points fully cured; I cut, glued, and painted the faux plastic brick for the vignette base. I proceeded to stain and glue down the wood floor. I finally cut and painted the wall, paneling, and trim. After those cured, I glued them onto the vignette interior wall. Easy, peasy, right?
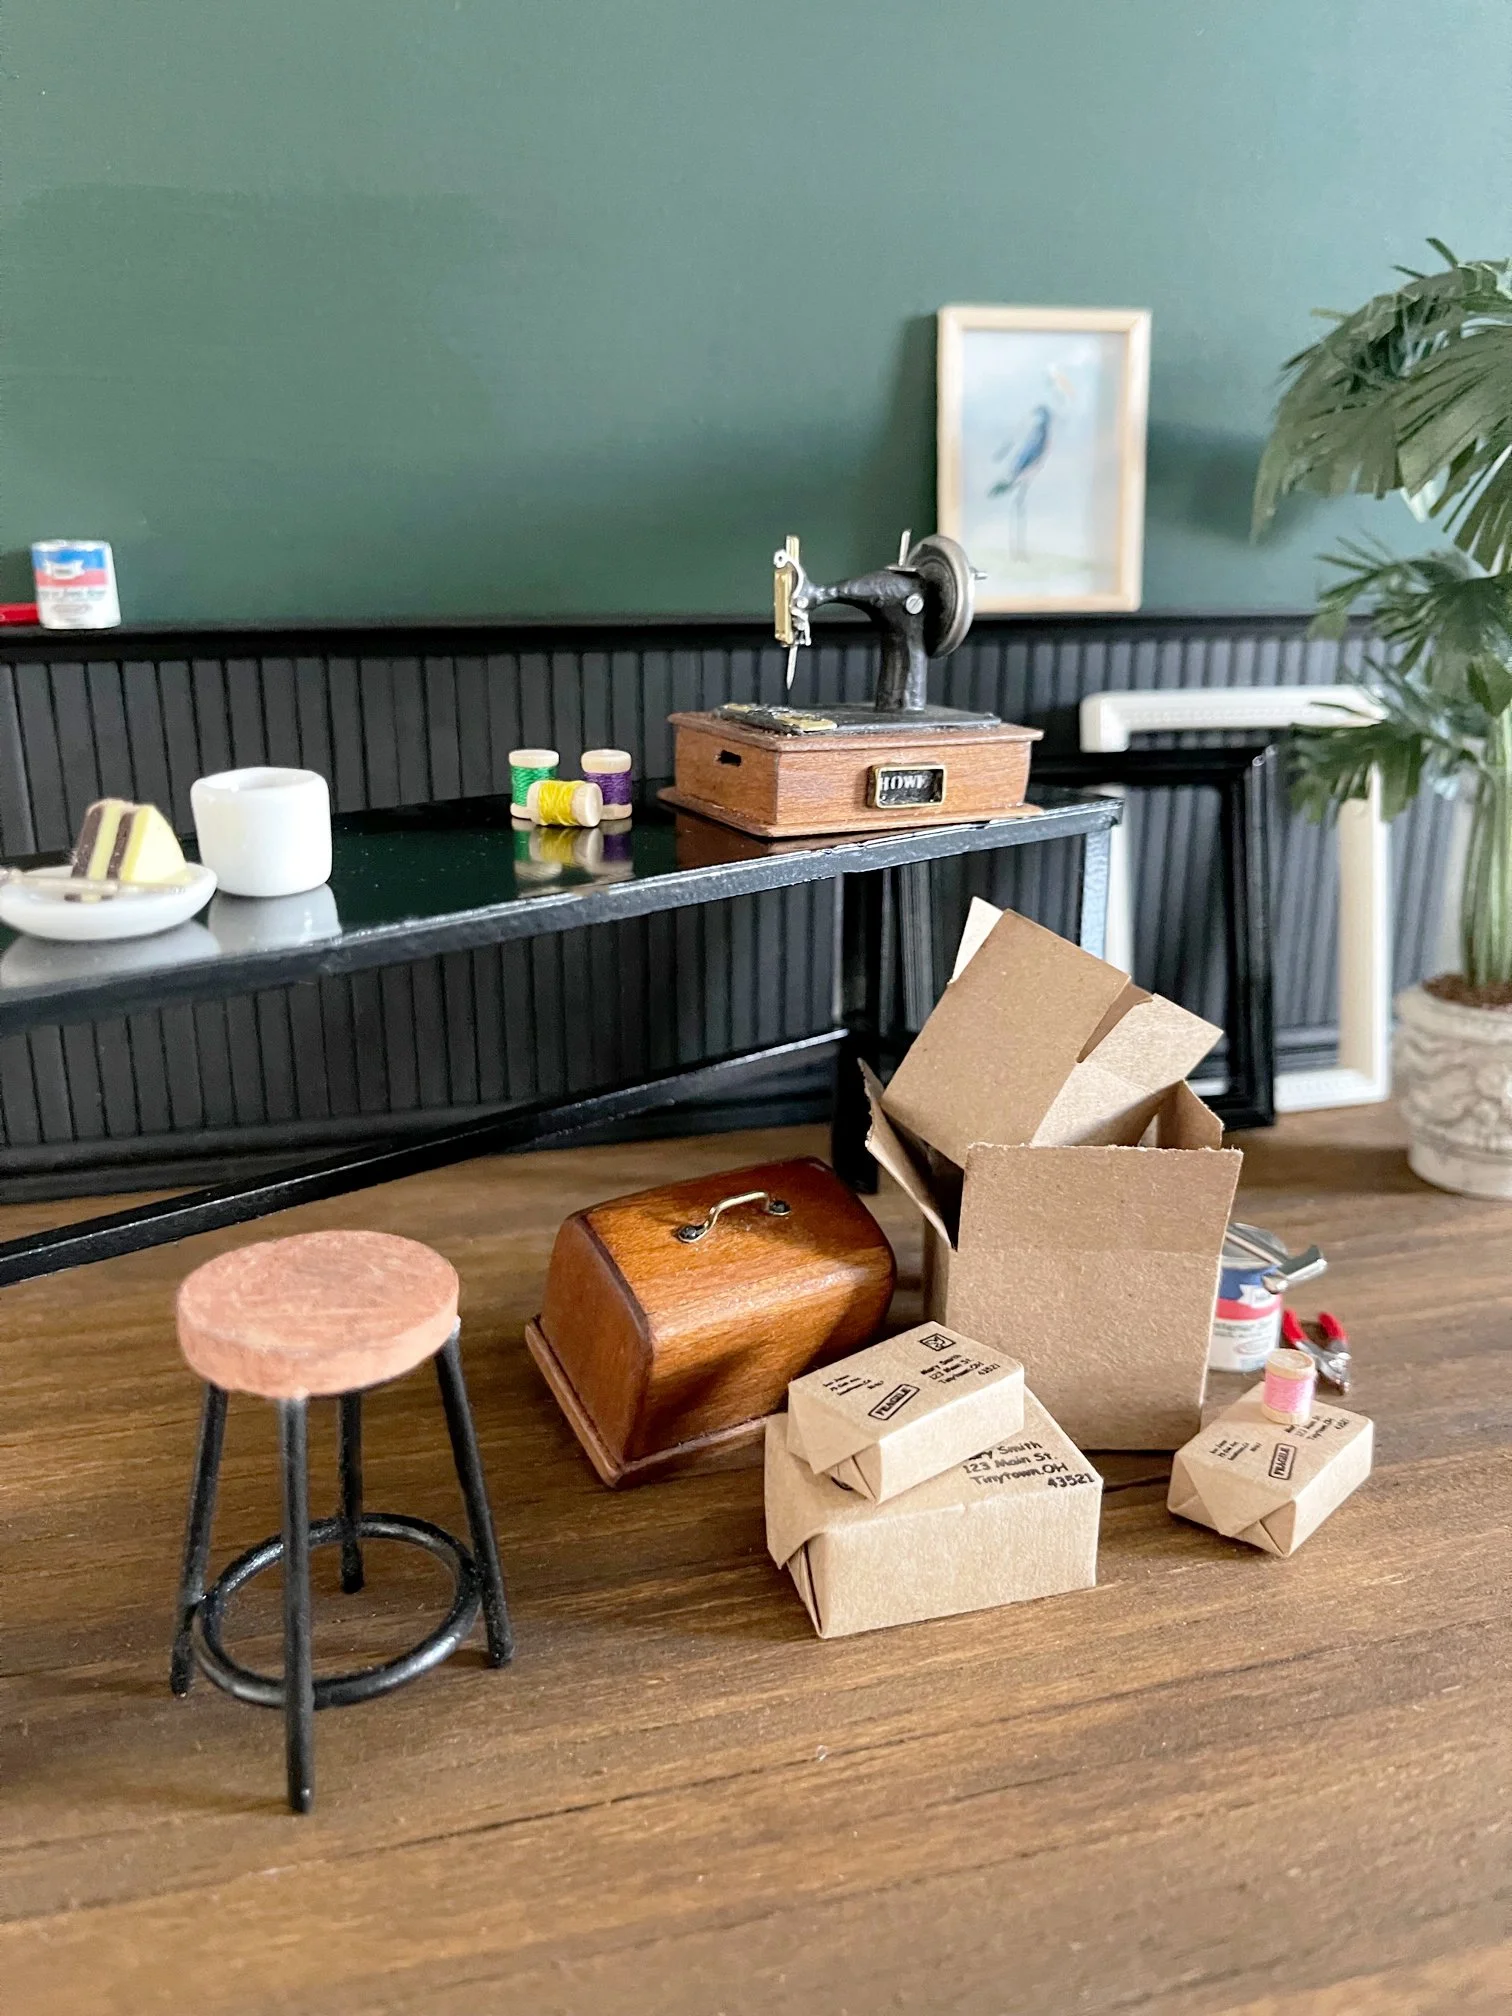
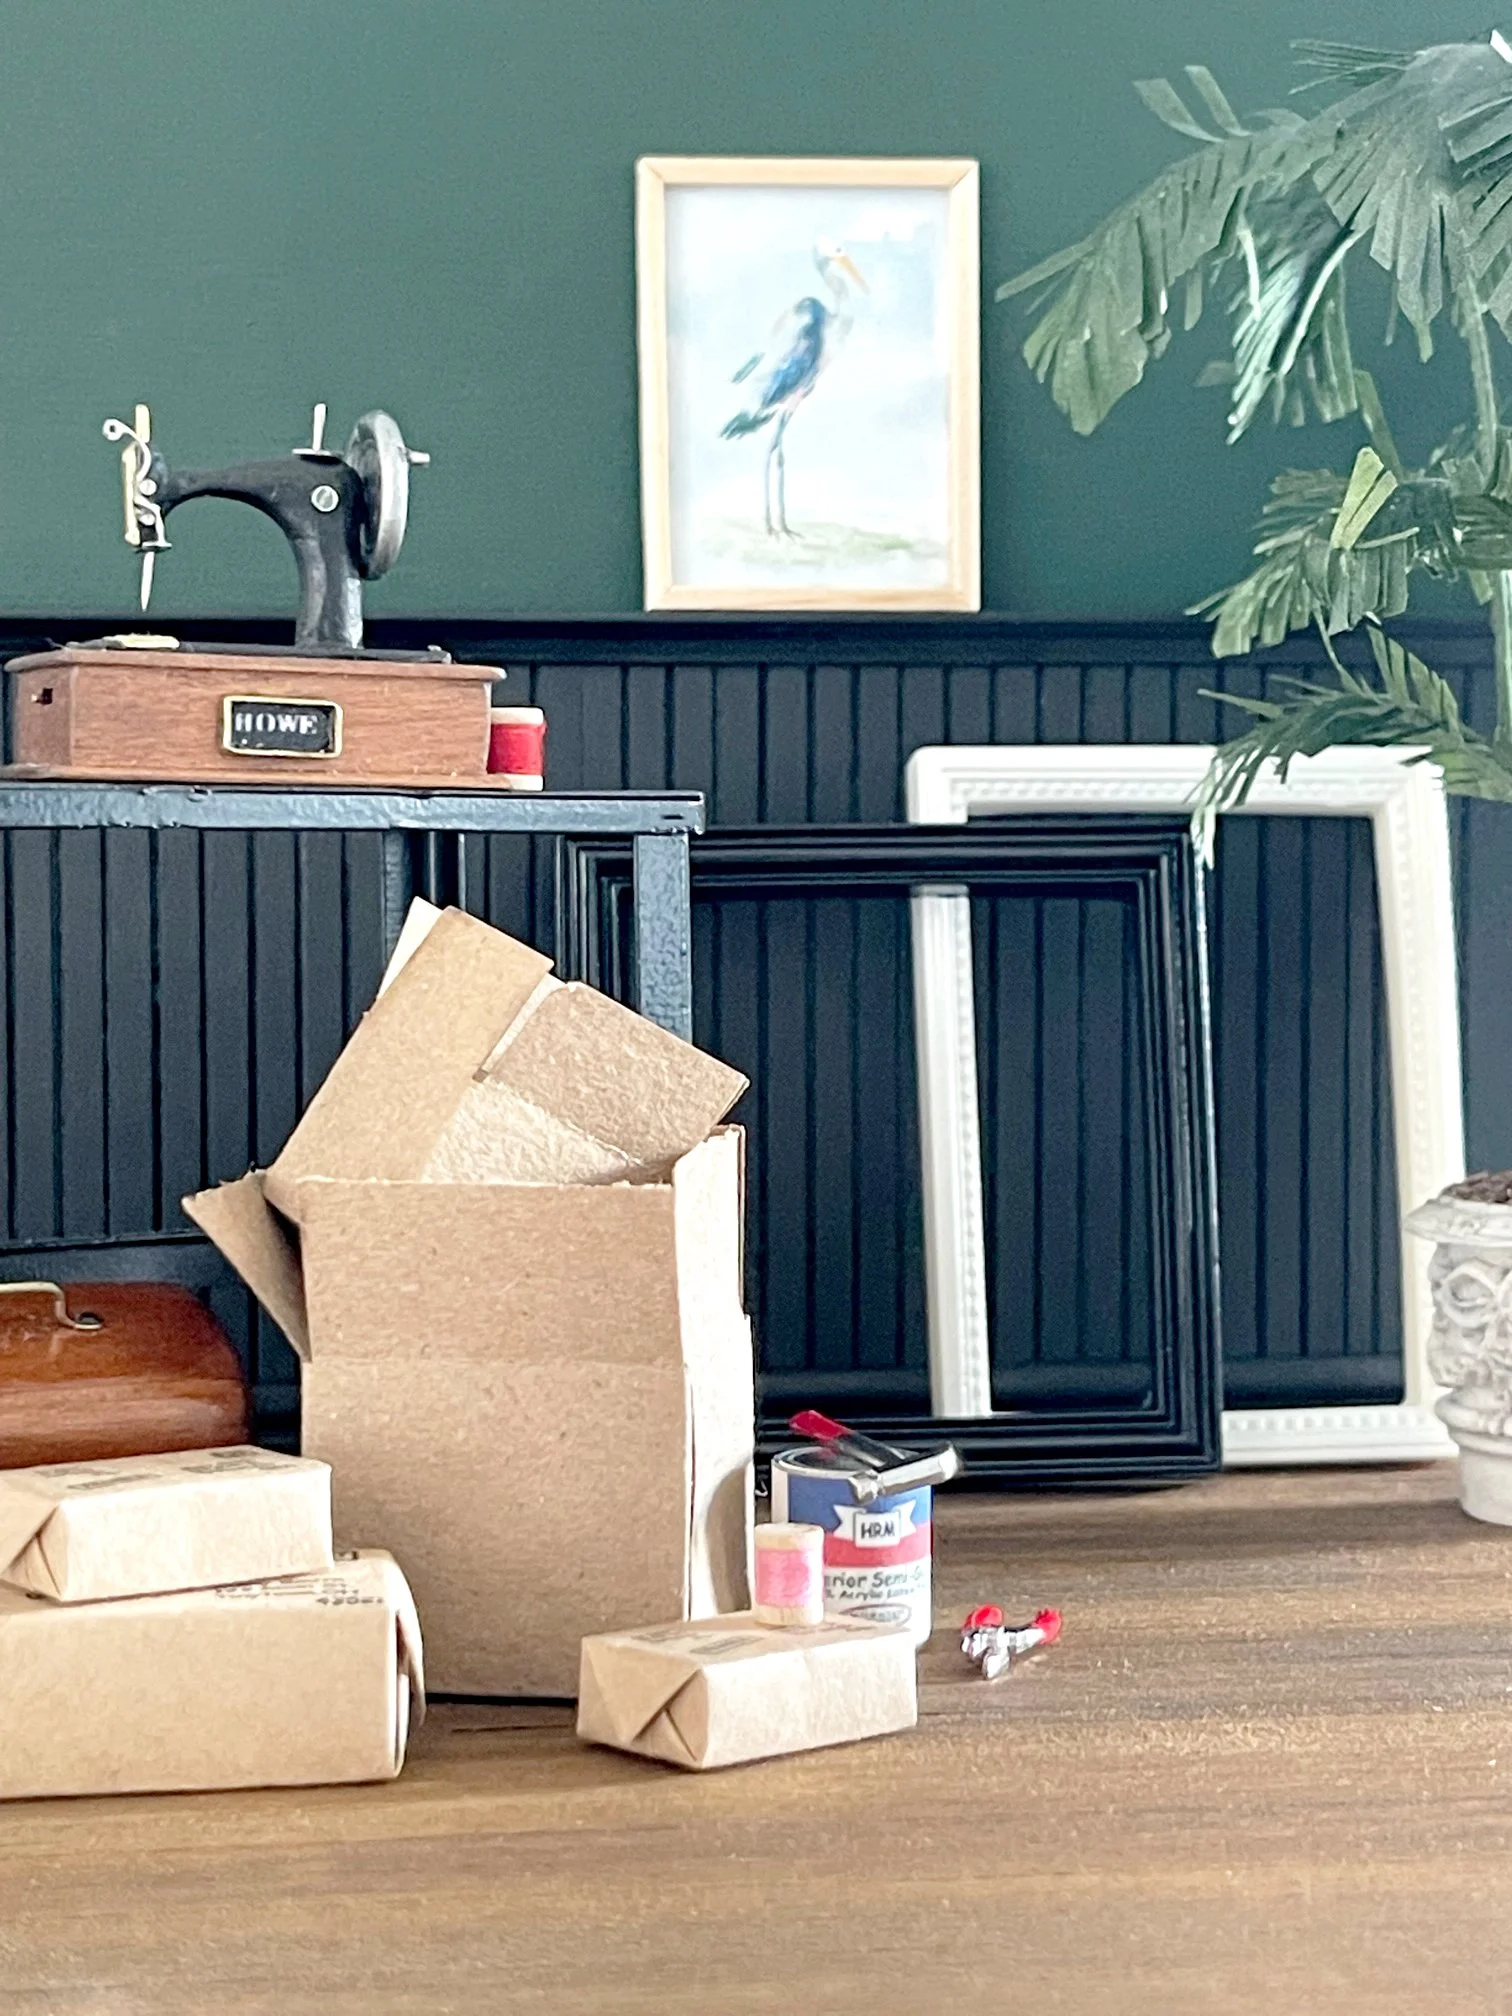
To display my tiny space, I purchased a stained plywood circle and swivel plate from Lowes. This will allow me to spin the vignette around and add a little bit of landscaping (Fun Fact: I also wanted to be a landscape architect at one point during my teens).
This tiny space has so much creative potential. It could be transformed into a sewing room, a bedroom or even a bathroom! What would your tiny space be?
Click on the button below to find out where I purchased the furniture and accessories.
Next up, a miniature fabric bolt tutorial. So fun!
cut, sew, repeat…
the tattooed quilter (or miniaturist)