Modern Machine Cover


Happy National Sewing Machine Day!
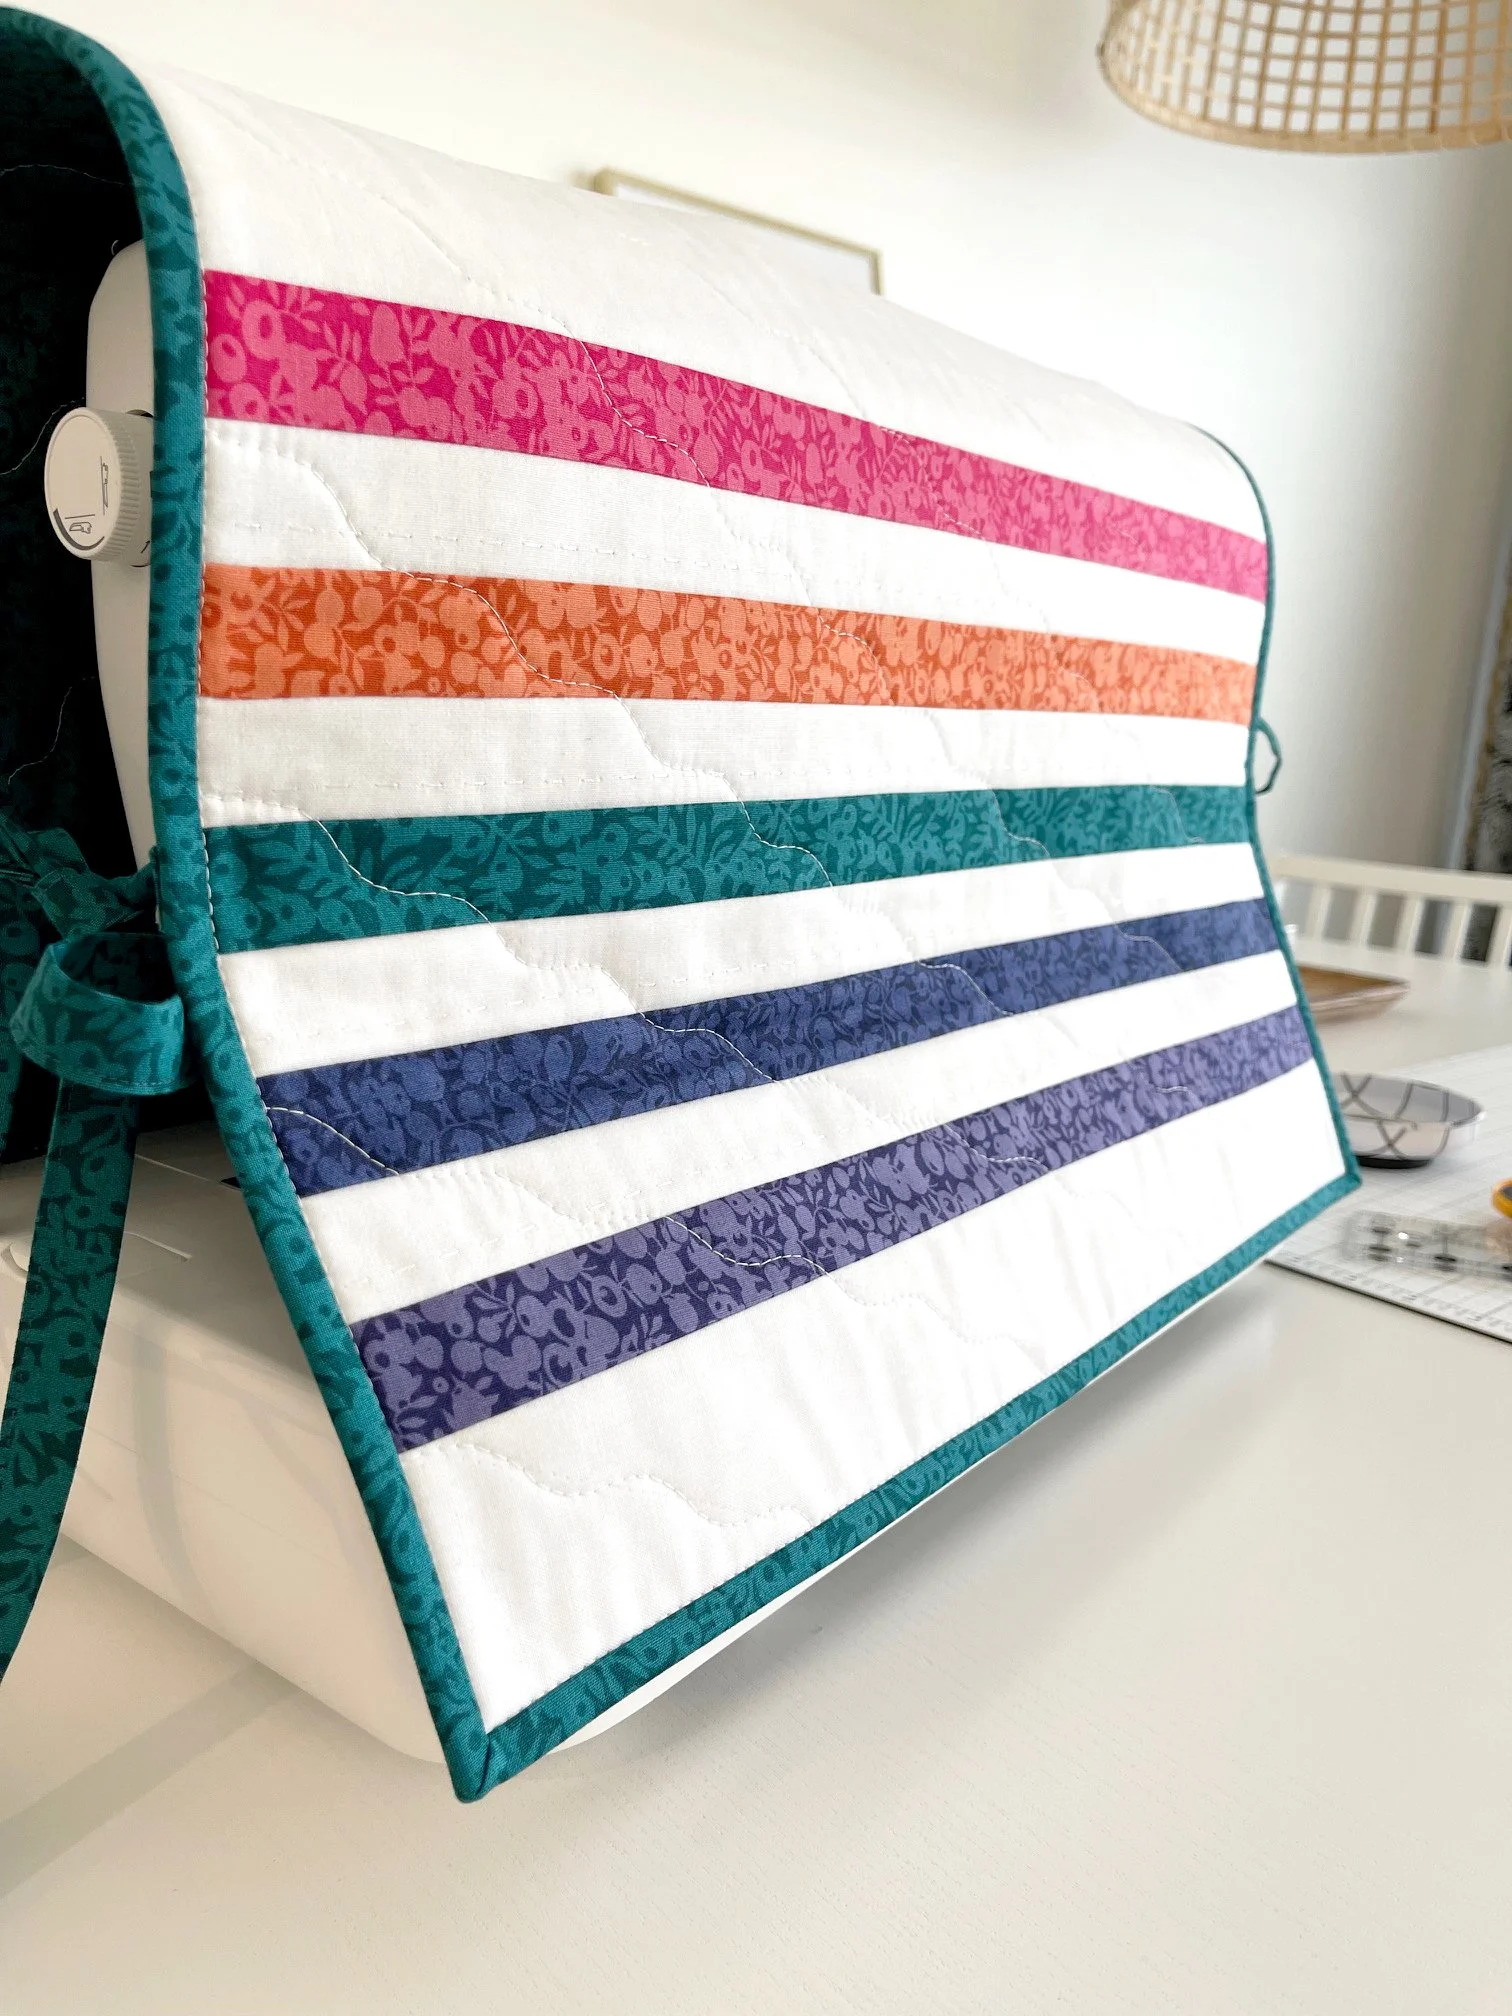
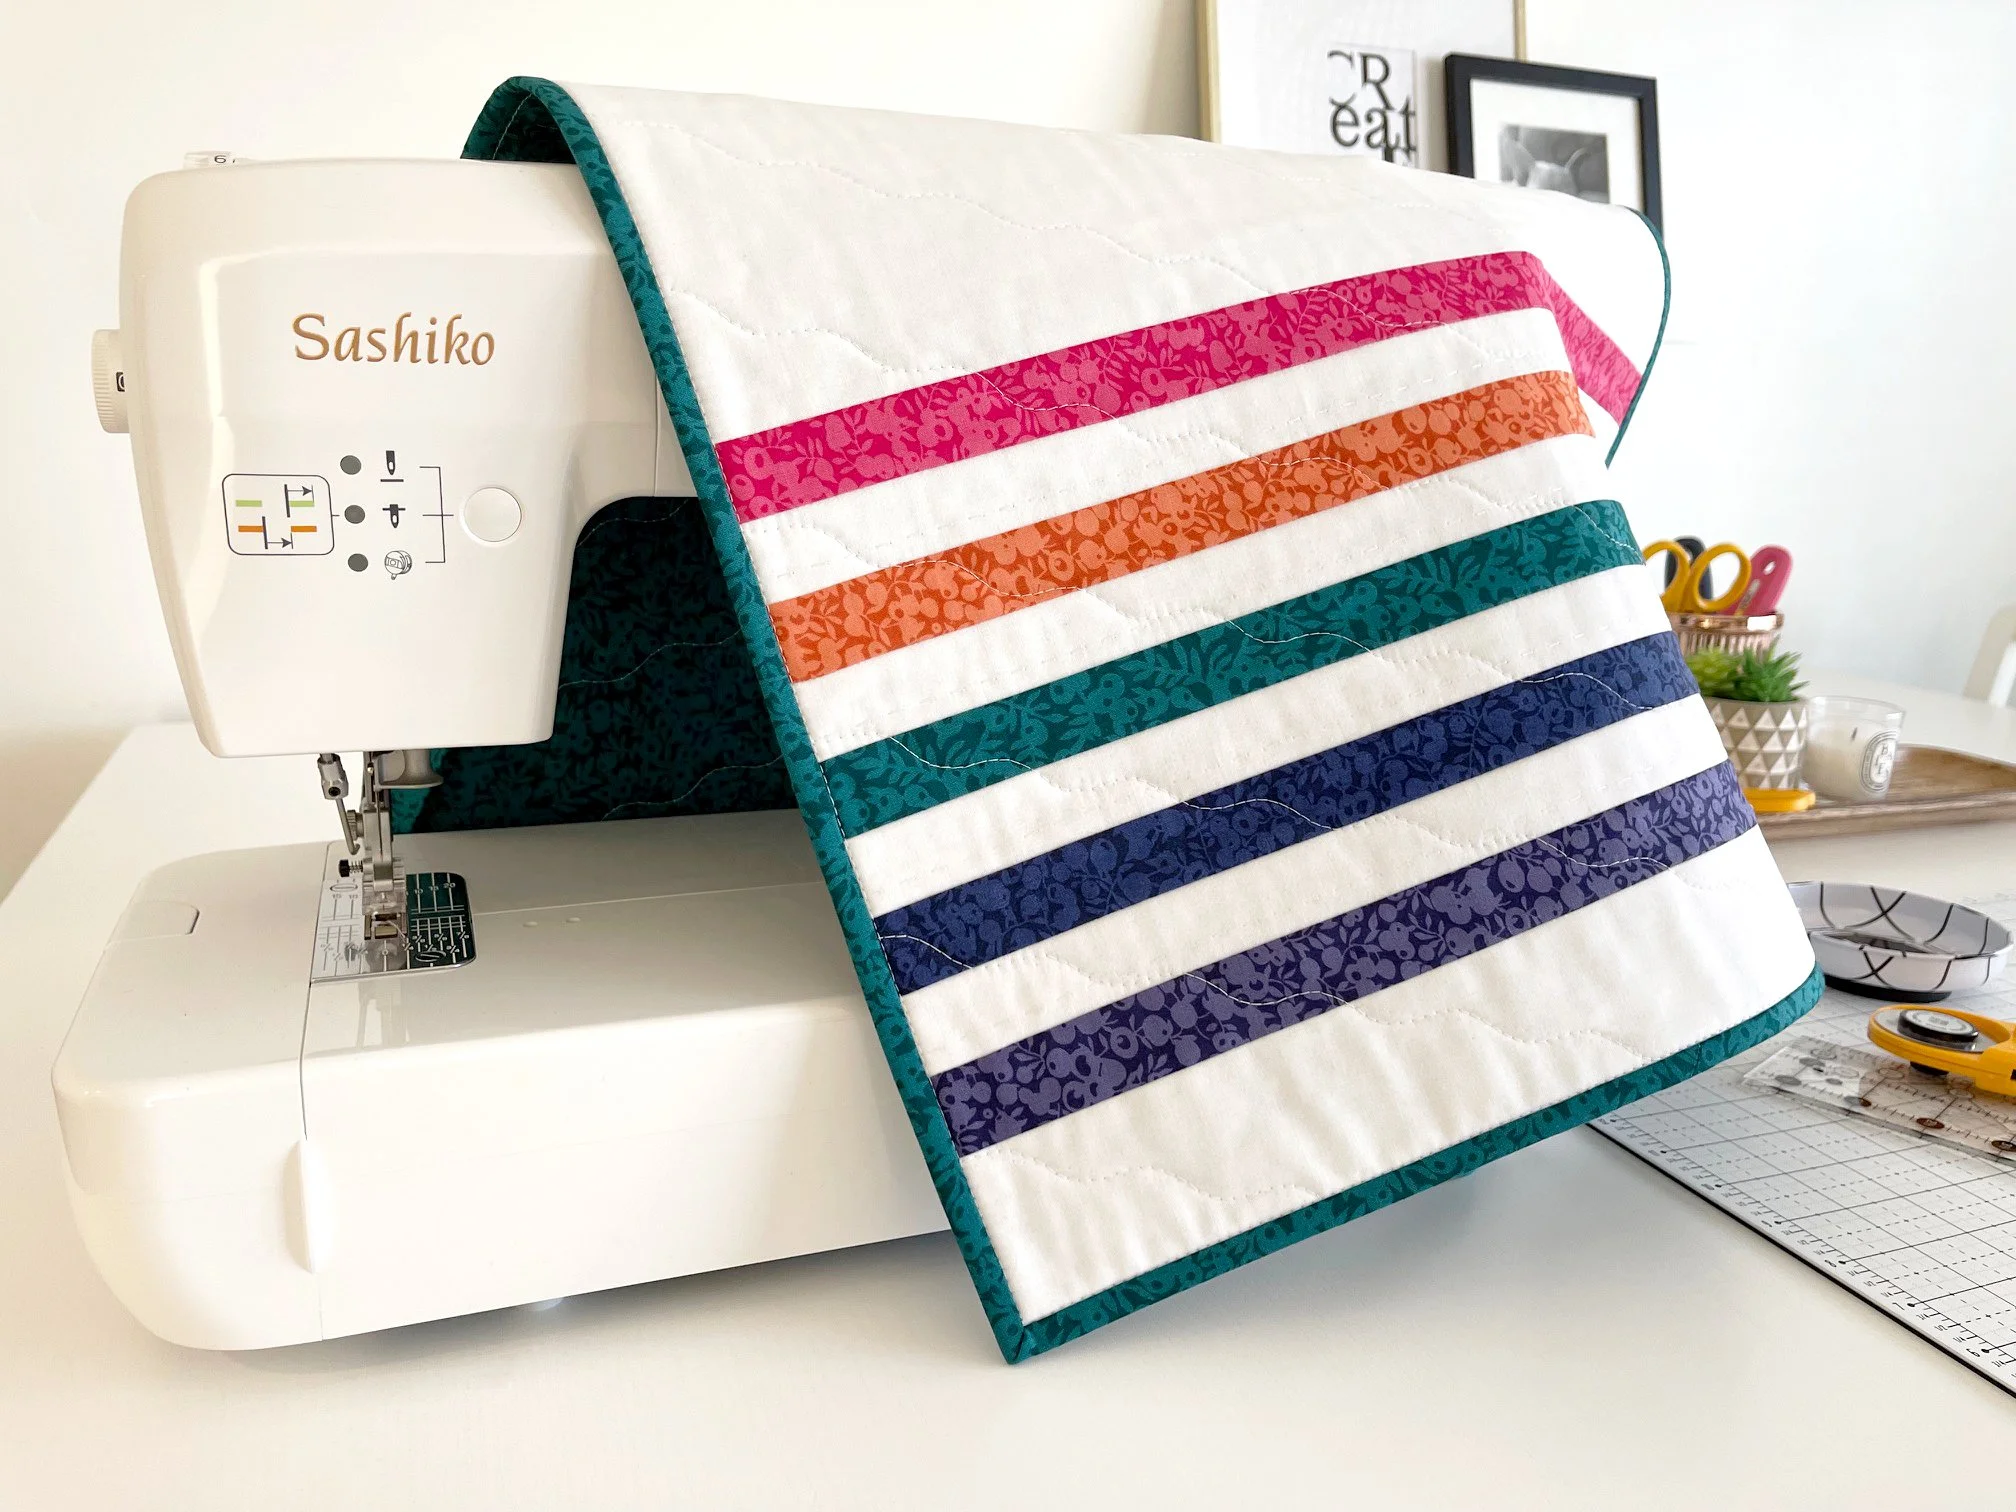
A few months ago I introduced you to the new machine in my sewing room — the BabyLock Sashiko. Well, today I’m introducing you to the super modern (and oh-so chic) machine cover!
This is a beginner friendly machine cover that can be made in one afternoon. How cool is that?
How to measure your machine:
Measure the width of your machine and add one inch.
Measure the height of your machine and double it.
For example:
The Sashiko is 19” wide + 1” = 20”
The Sashiko is 14” tall x 2 = 28”
With those measurements, my project will need to finish around 20” x 28”
Here’s what you’ll need to make your own:
Miscellaneous Scraps (1 1/2” x 20”) for the Rainbow Stripes (I used Liberty’s Wiltshire Basic)
3/4 Yard for the Background (I used Riley Blake Design’s Confetti Cotton Solids Riley White)
1 Yard for the Backing + Binding + Ties
22’’ x 30’’ Section of Batting
Miscellaneous Sewing Supplies including, Rulers, Rotary Cutter, Thread, and Sewing Machine
*The above measurements are for my project, yours will vary depending on the size of your machine.

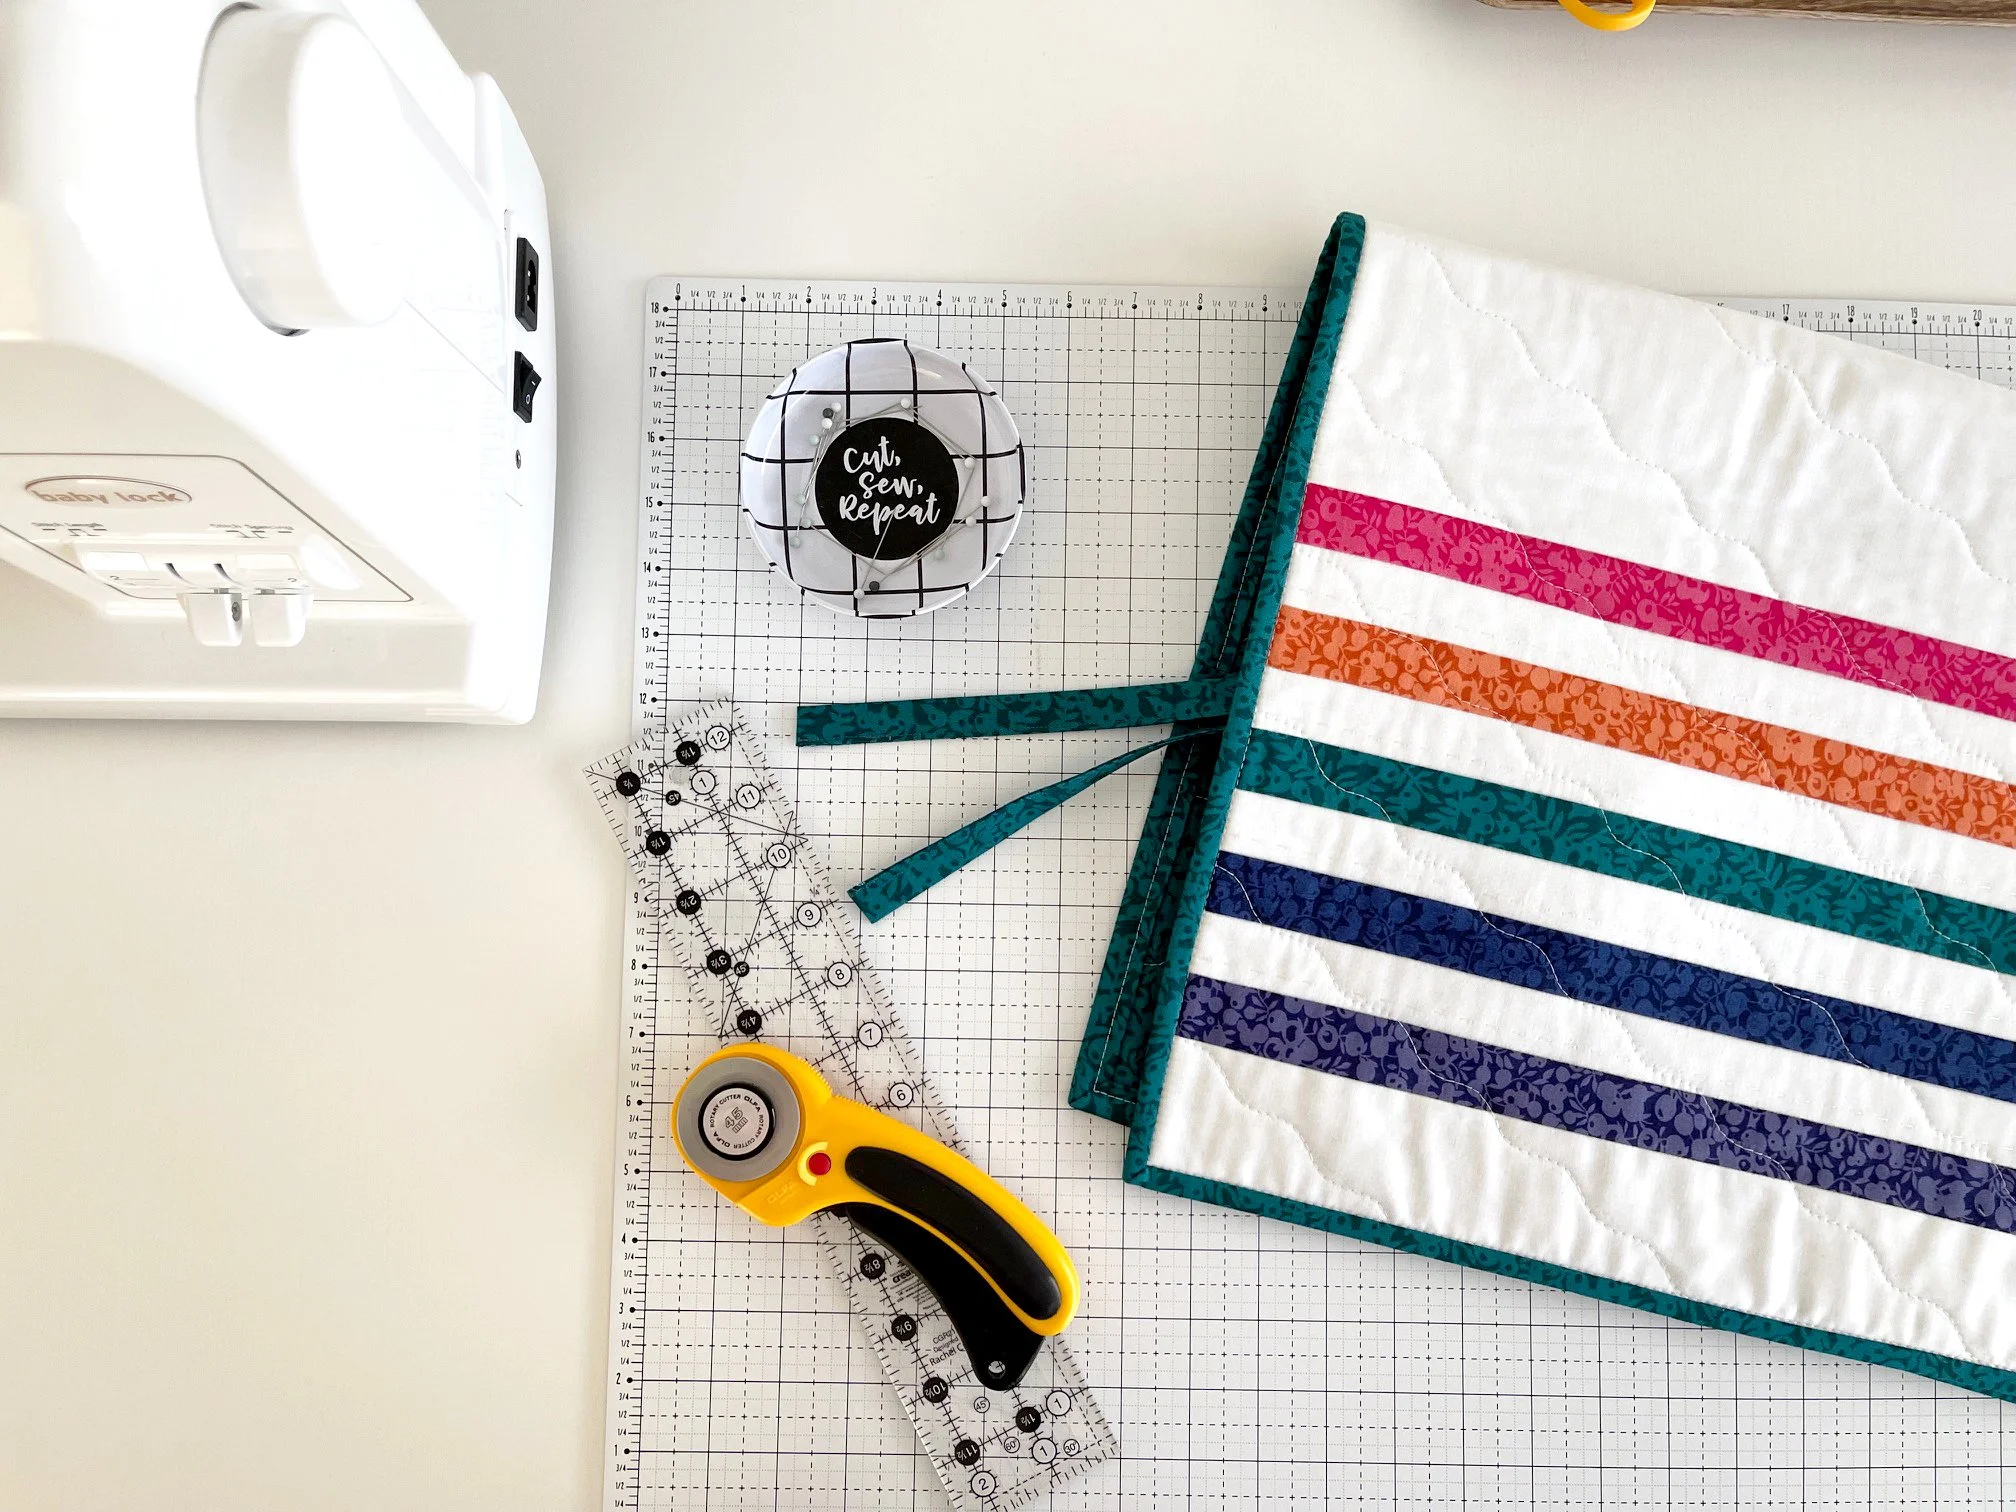


From your Tie Fabric, Cut:
(4) 2 1/2” to 22”
Fold and press each rectangle in half lengthwise.
Open up the rectangle, fold, and press the left side toward the middle.
Repeat with the right side.
Fold and press each strip again.
Topstitch away from the folds.
Repeat with the remaining three rectangles.
From your Rainbow Stripe Fabric, Cut:
(5) 1 1/2” x 20 Rectangles
From your Background Fabric, Cut:
(4) 1 1/2” x 20” Rectangles
(1) 2 1/2” x 20” Rectangle
(1) 20” x 20” Square
From your Backing Fabric, Cut:
(1) 22” x 30” Rectangle
From your Binding Fabric, Cut:
(3) 2 1/2” x WOF Strips
Here’s the simple instructions for making your own:
Using a 1/4” seam allowance, sew one rainbow stripe to one background strip.
Press seam toward the rainbow stripe
Repeat until all rainbow stripes and background strips are sew together.
*If you’re going to add Sashiko stitches, do so before moving on to the next step. Are you curious about the Sashiko Machine? Check out this post HERE.
Using a 1/4” seam allowance, sew the rainbow stripe section to the 2 1/2” x 20” rectangle.
Press seam toward the rainbow stripe section.
Using a 1/4” seam allowance, sew the 20” square to the rainbow stripe section.
Press seam toward the rainbow stripe section.
Layer the machine cover top with the batting and backing.
Quilt and bind as desired.
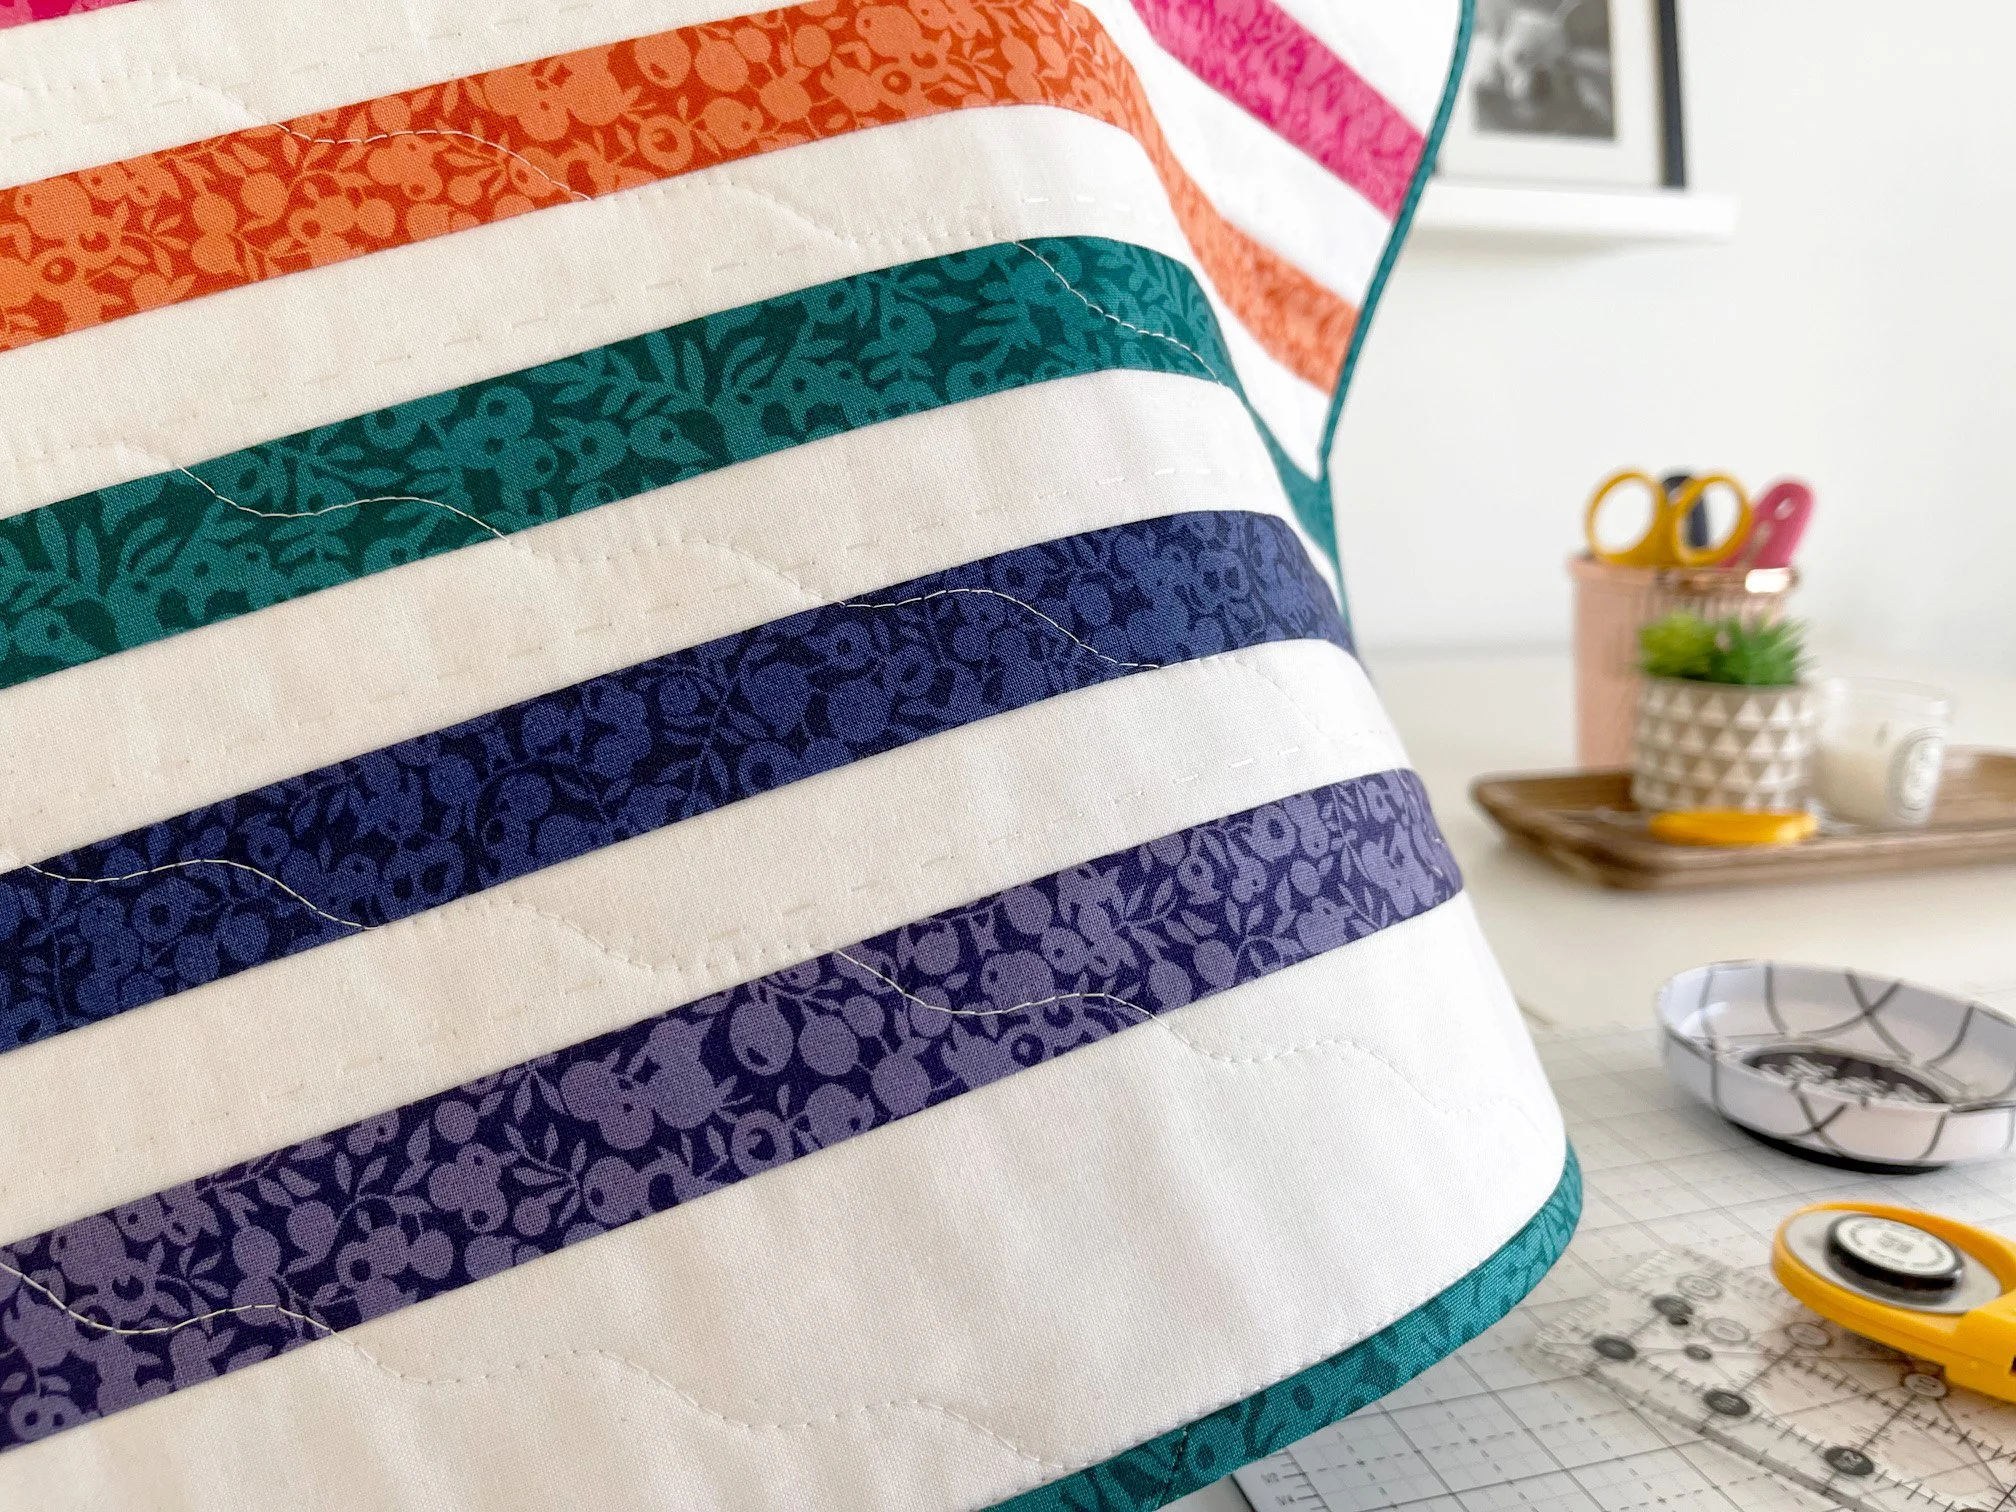
I used a 40 weight thread for the Sashiko stitches and a 50 weight thread for the piecing and serpentine quilting. The addition of the Sashiko stitches gives this project another layer of dimension. Don’t you agree?
As with all of my projects, I used my BabyLock Journey for piecing and quilting.
I hope you enjoyed reading about my new Sashiko machine cover as much as I enjoyed making it. Machine covers can be easily personalized to fit your sewing space. Make one for yourself or one to give to a friend.
cut, sew, repeat
the tattooed quilter