Blog

winter tales fabric...

today we're going to beat the summer heat with a look at minki kim's newest collection for riley blake designs, winter tales. without being overtly holiday, this collection is just the sweetest. the cutest penguins, foxes, and bunnies frolicking through the snow will make your heart melt!

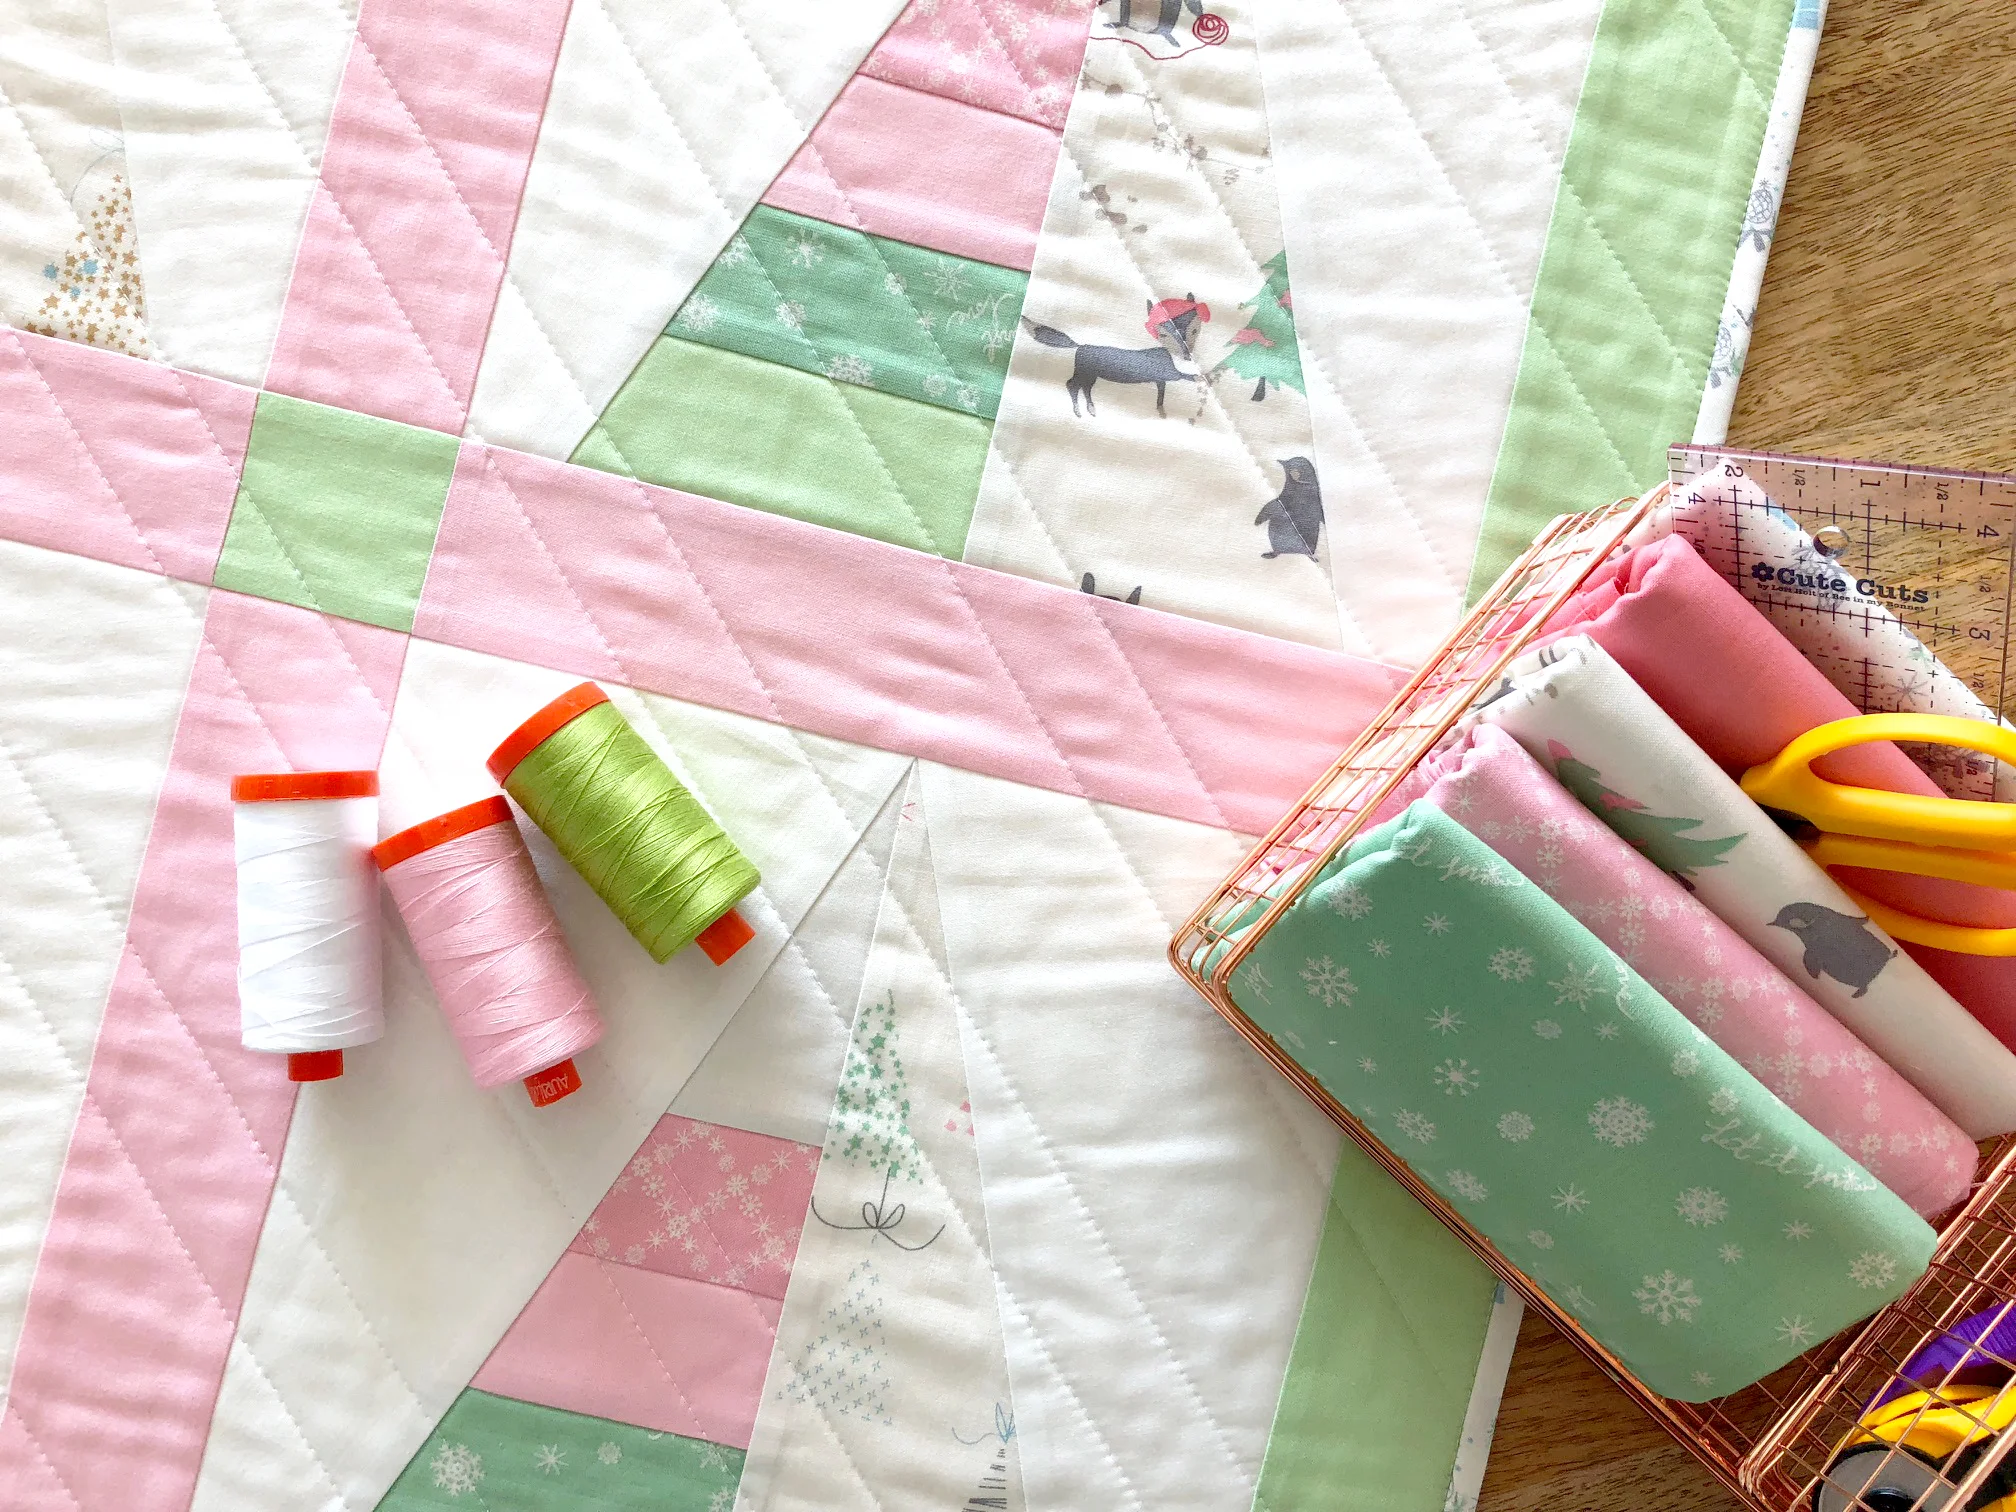
minki has an amazing eye for color and this collection is no exception. the softest pink, blues, and creams make this perfect for any holiday project. mix in RBD's confetti cottons and you have the most delicious combination!

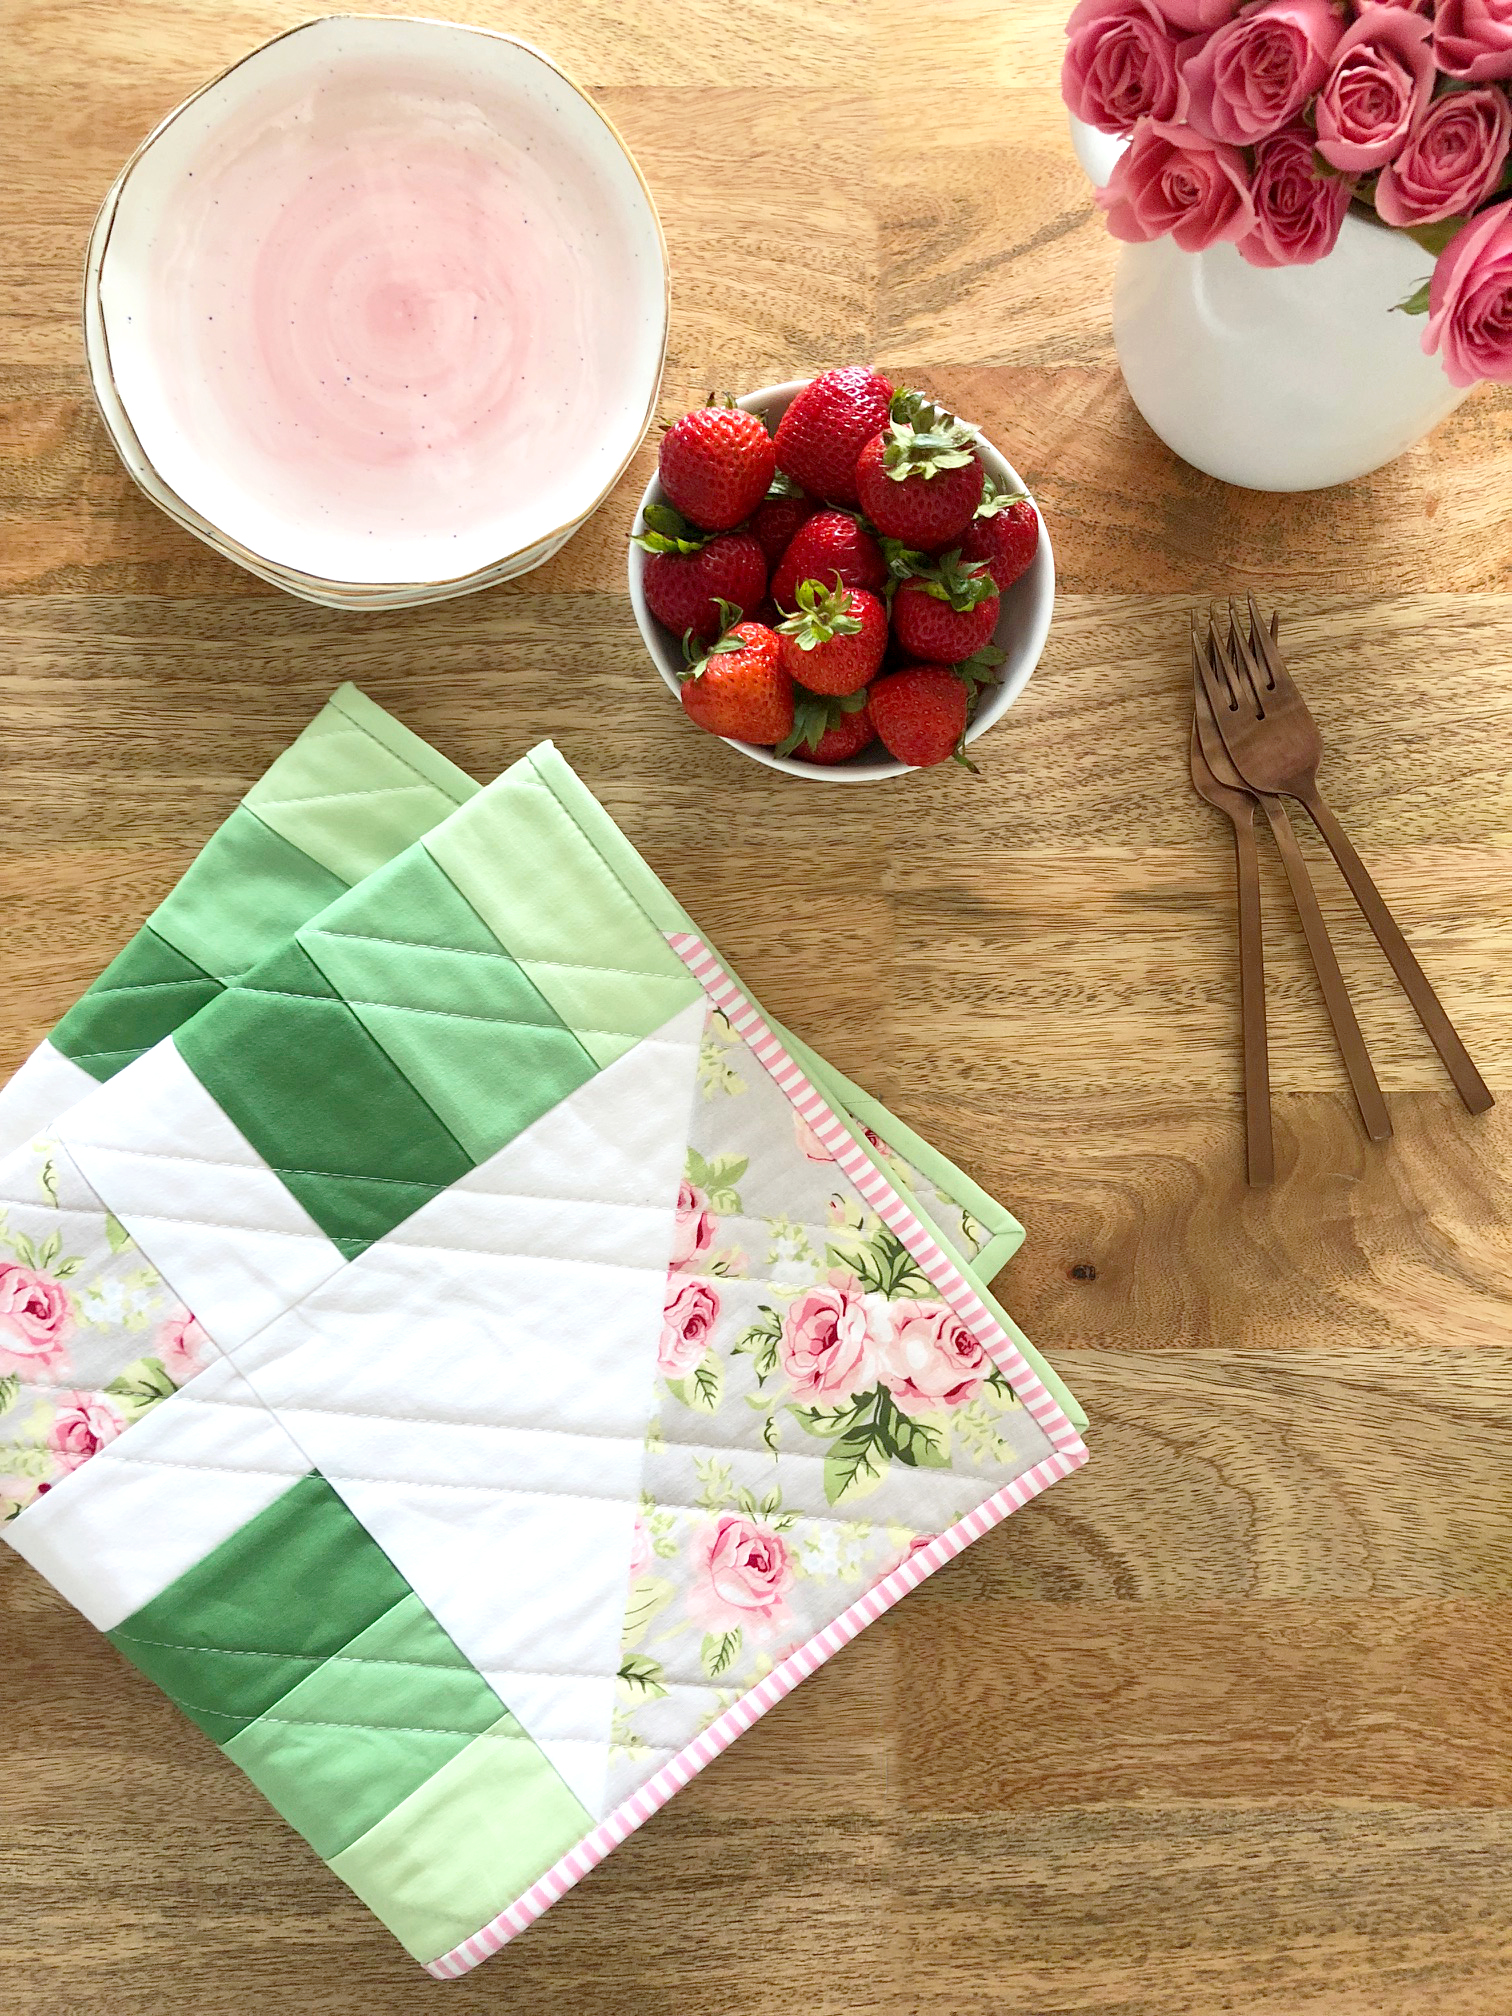
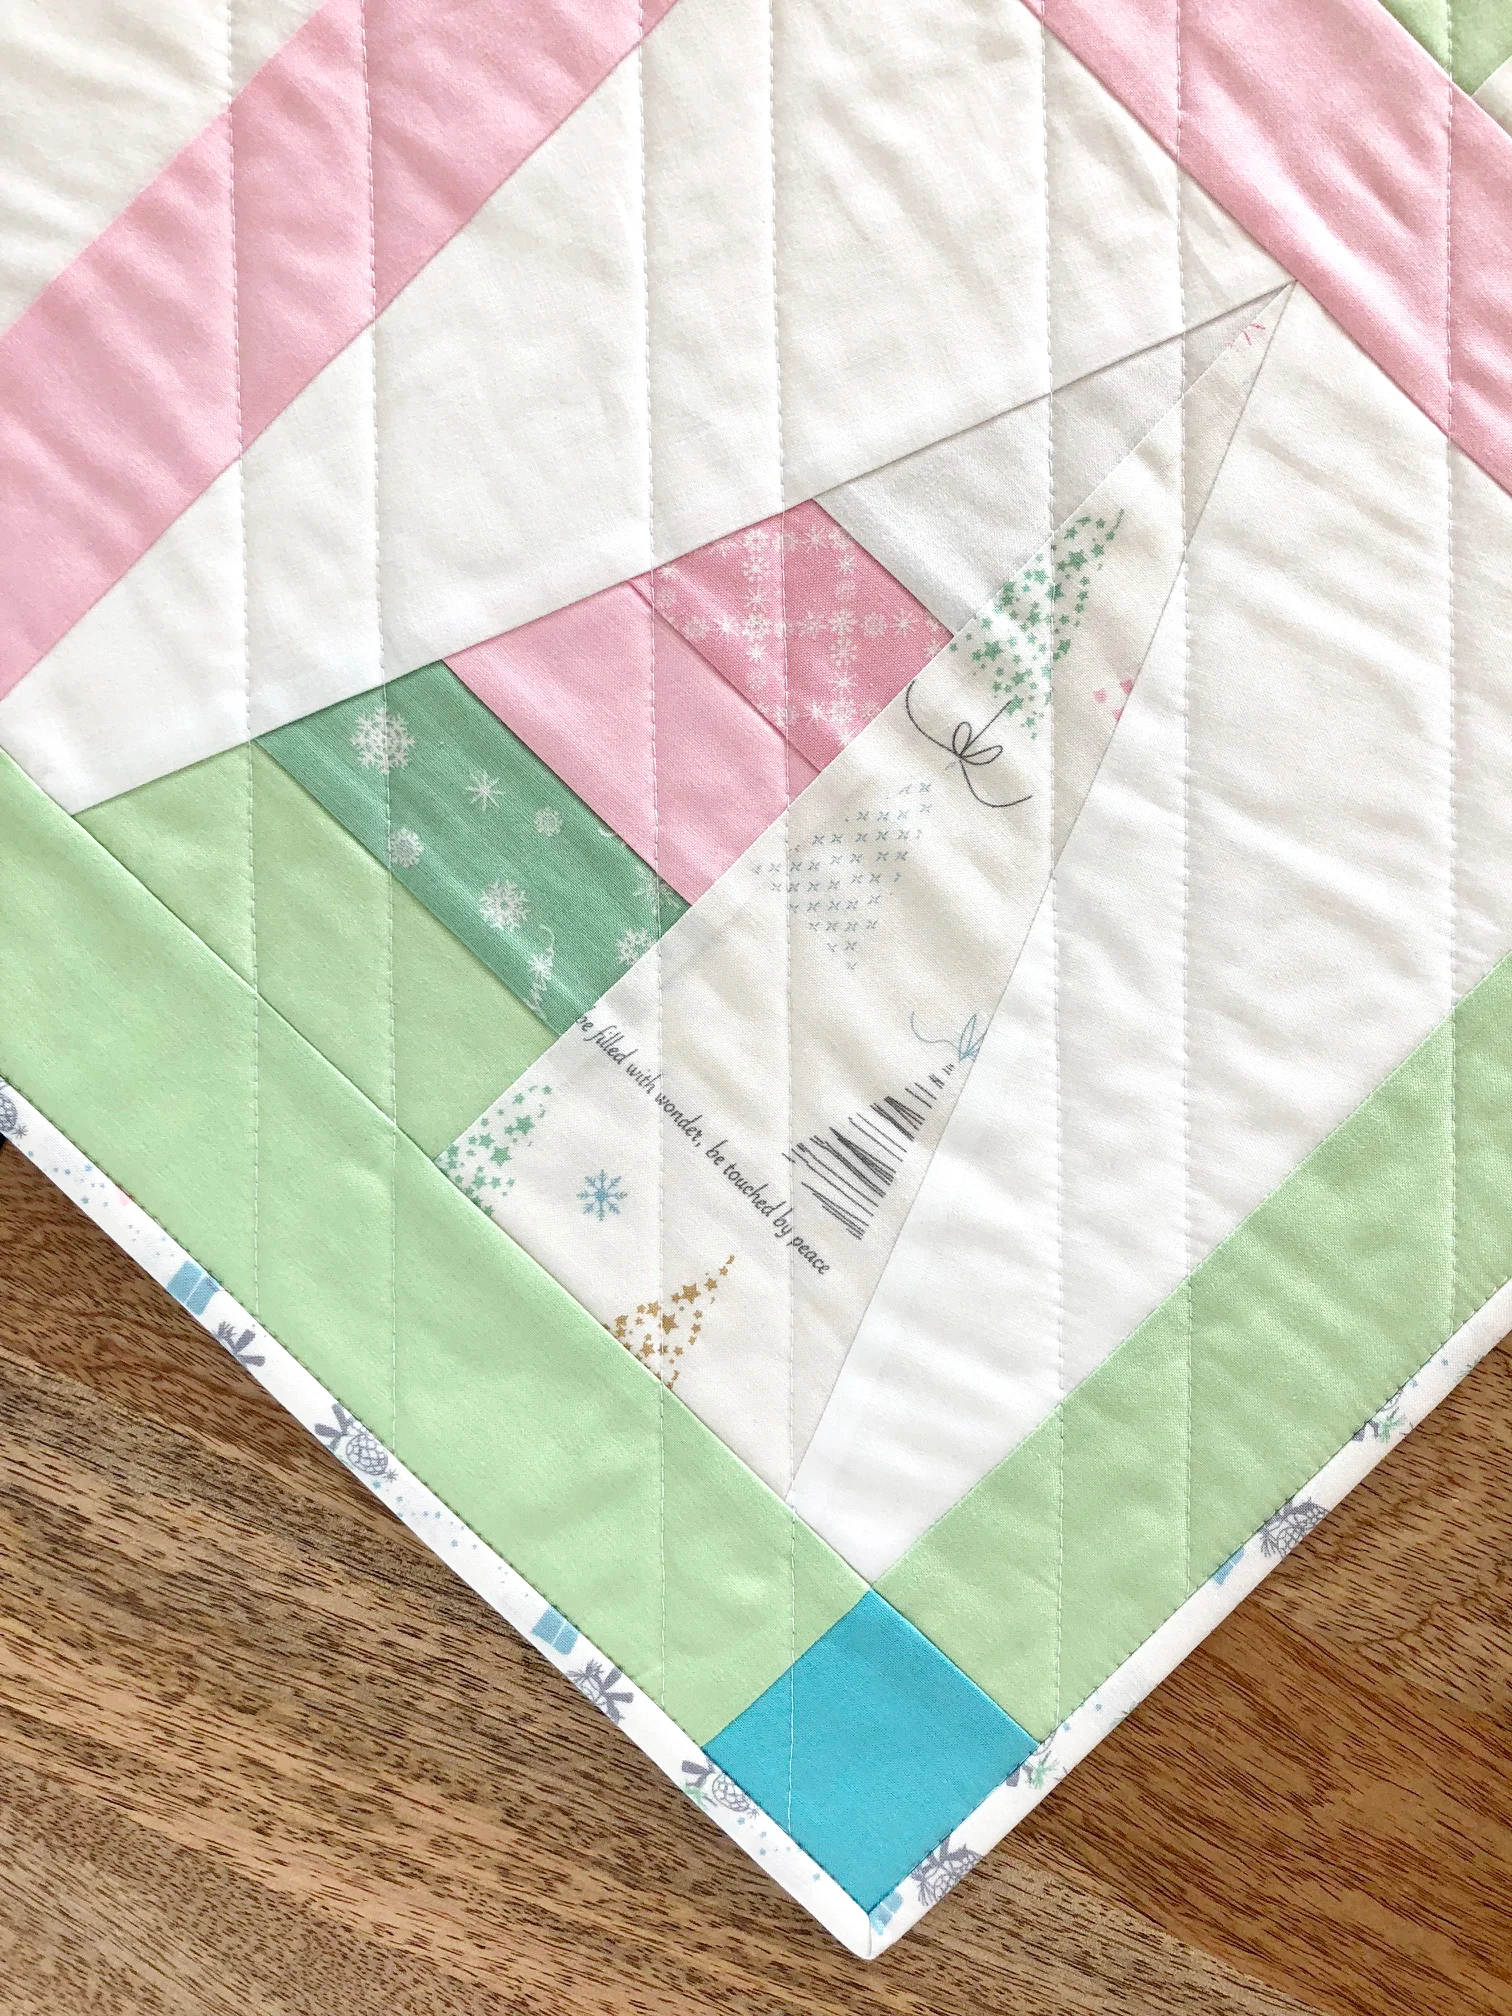
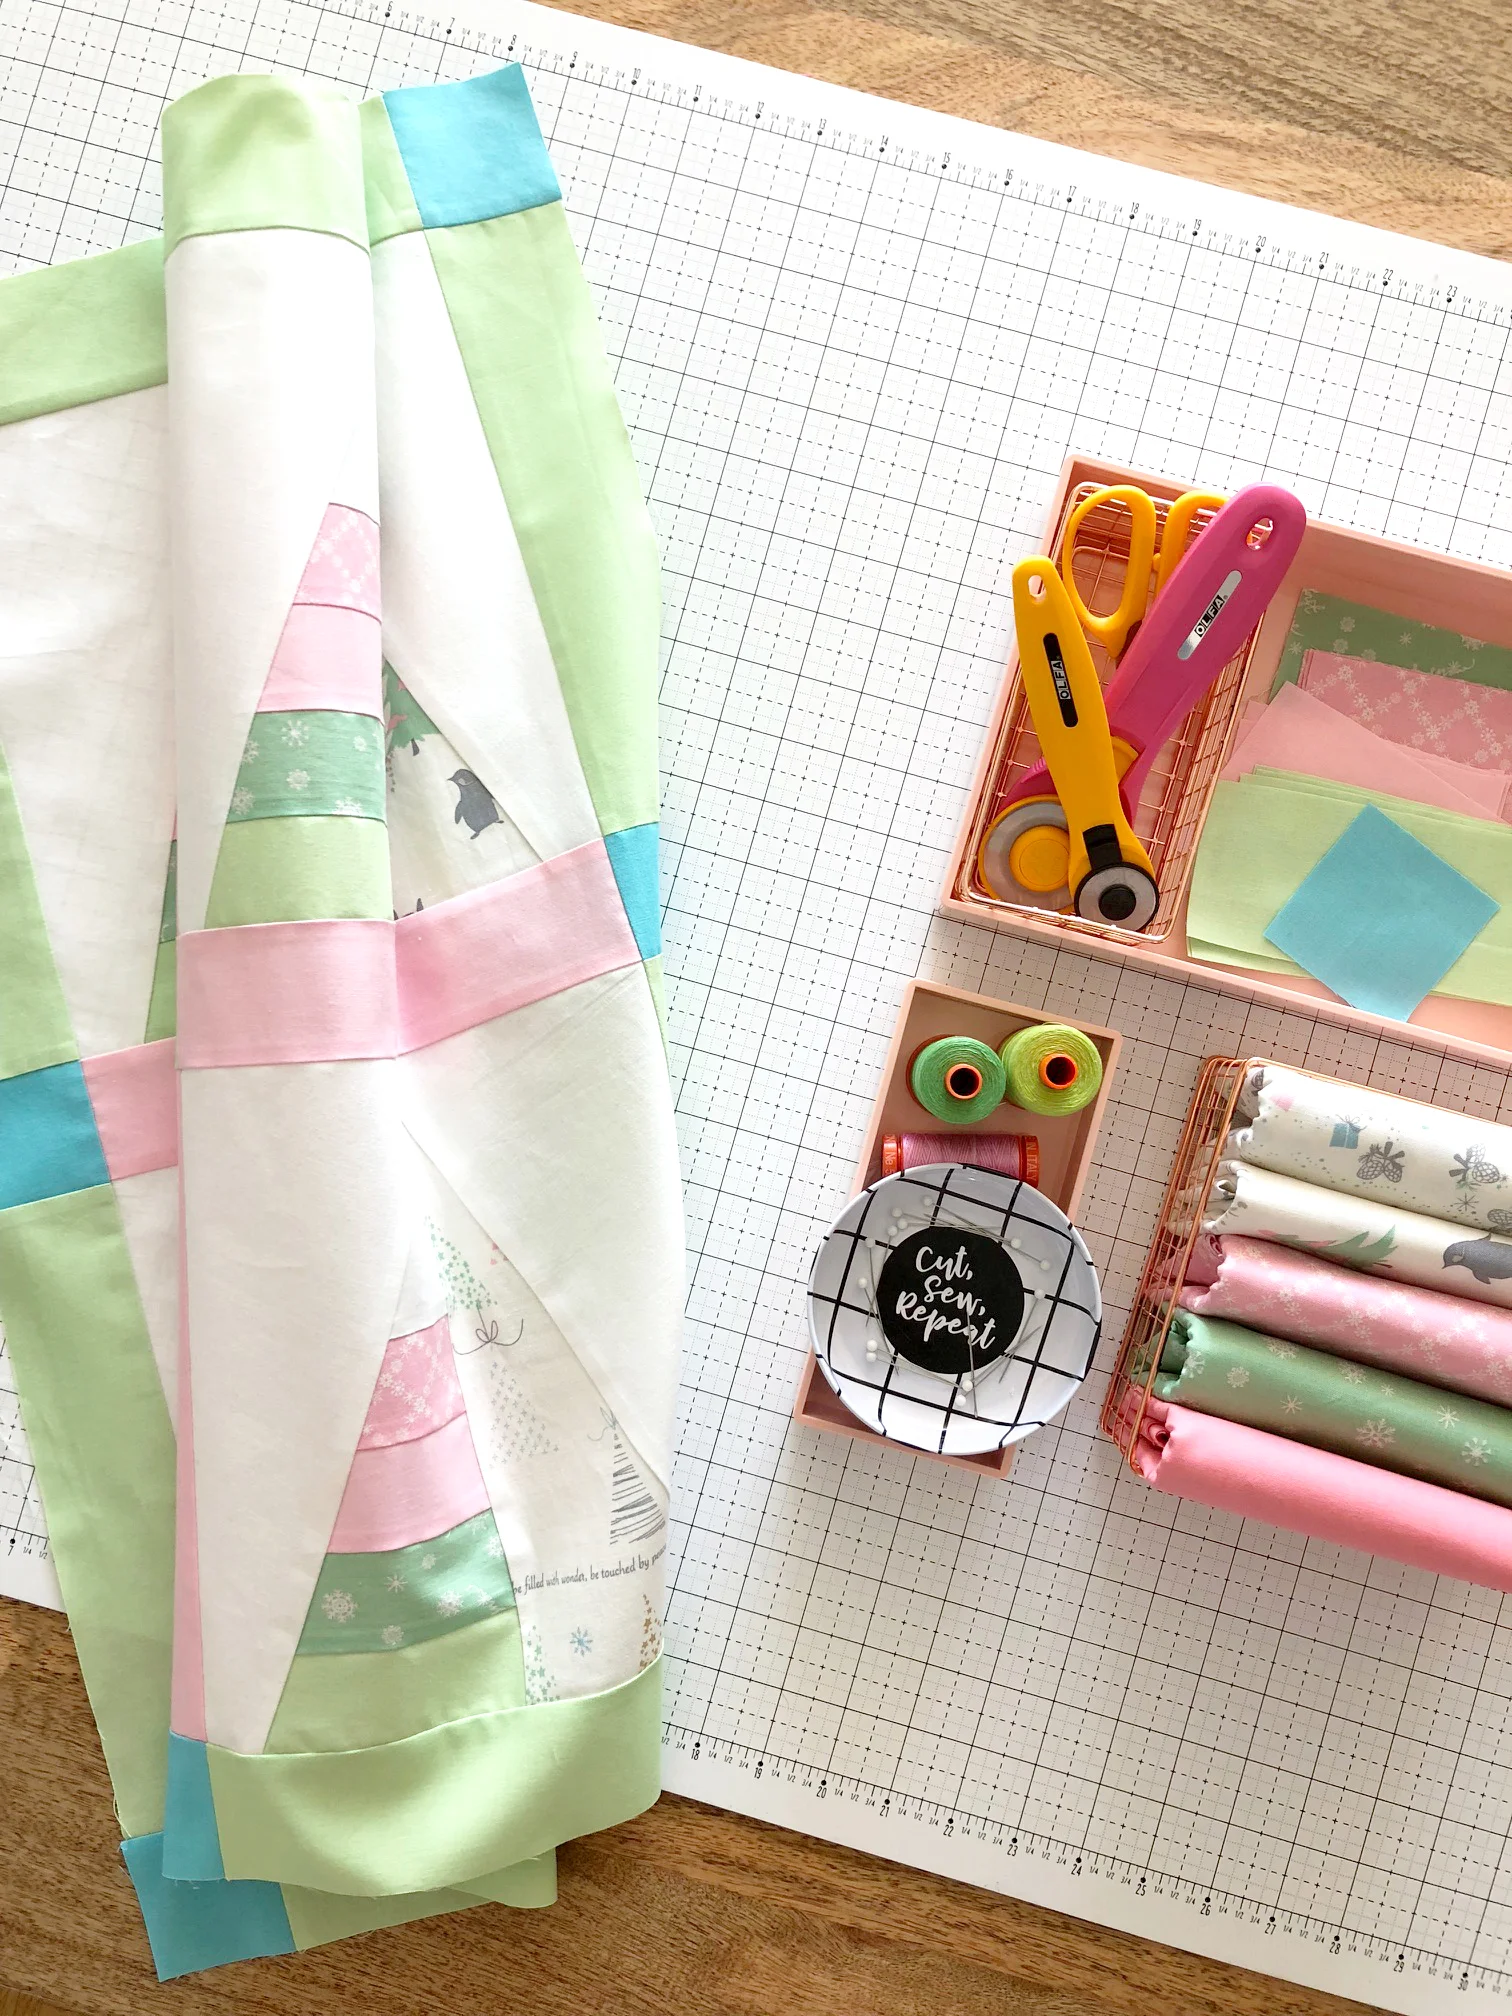
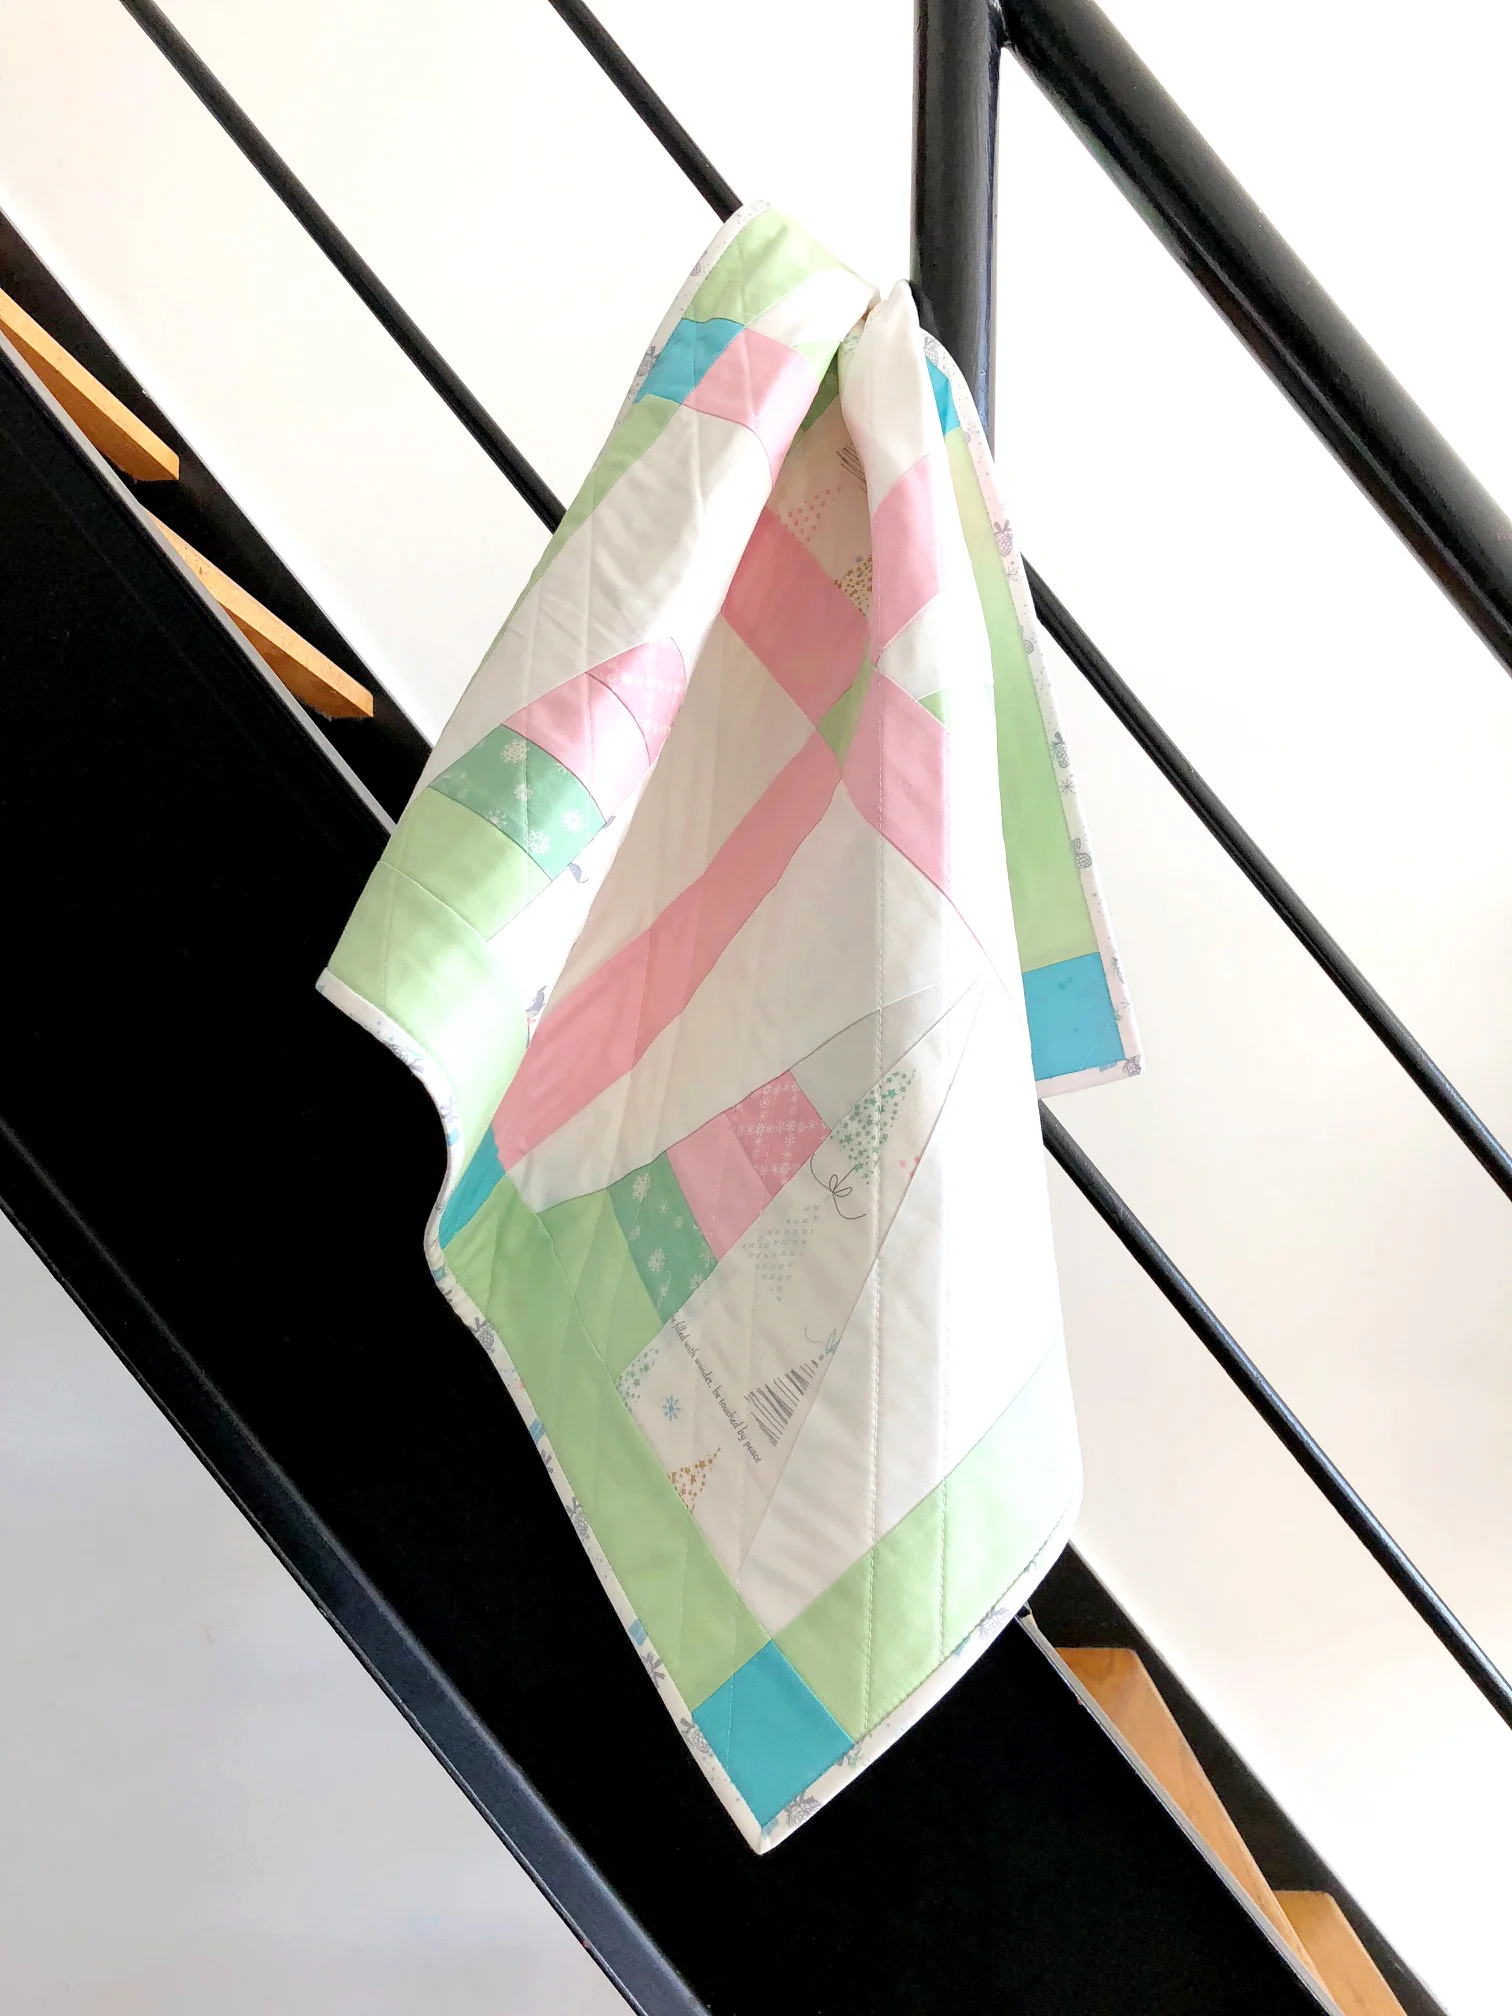
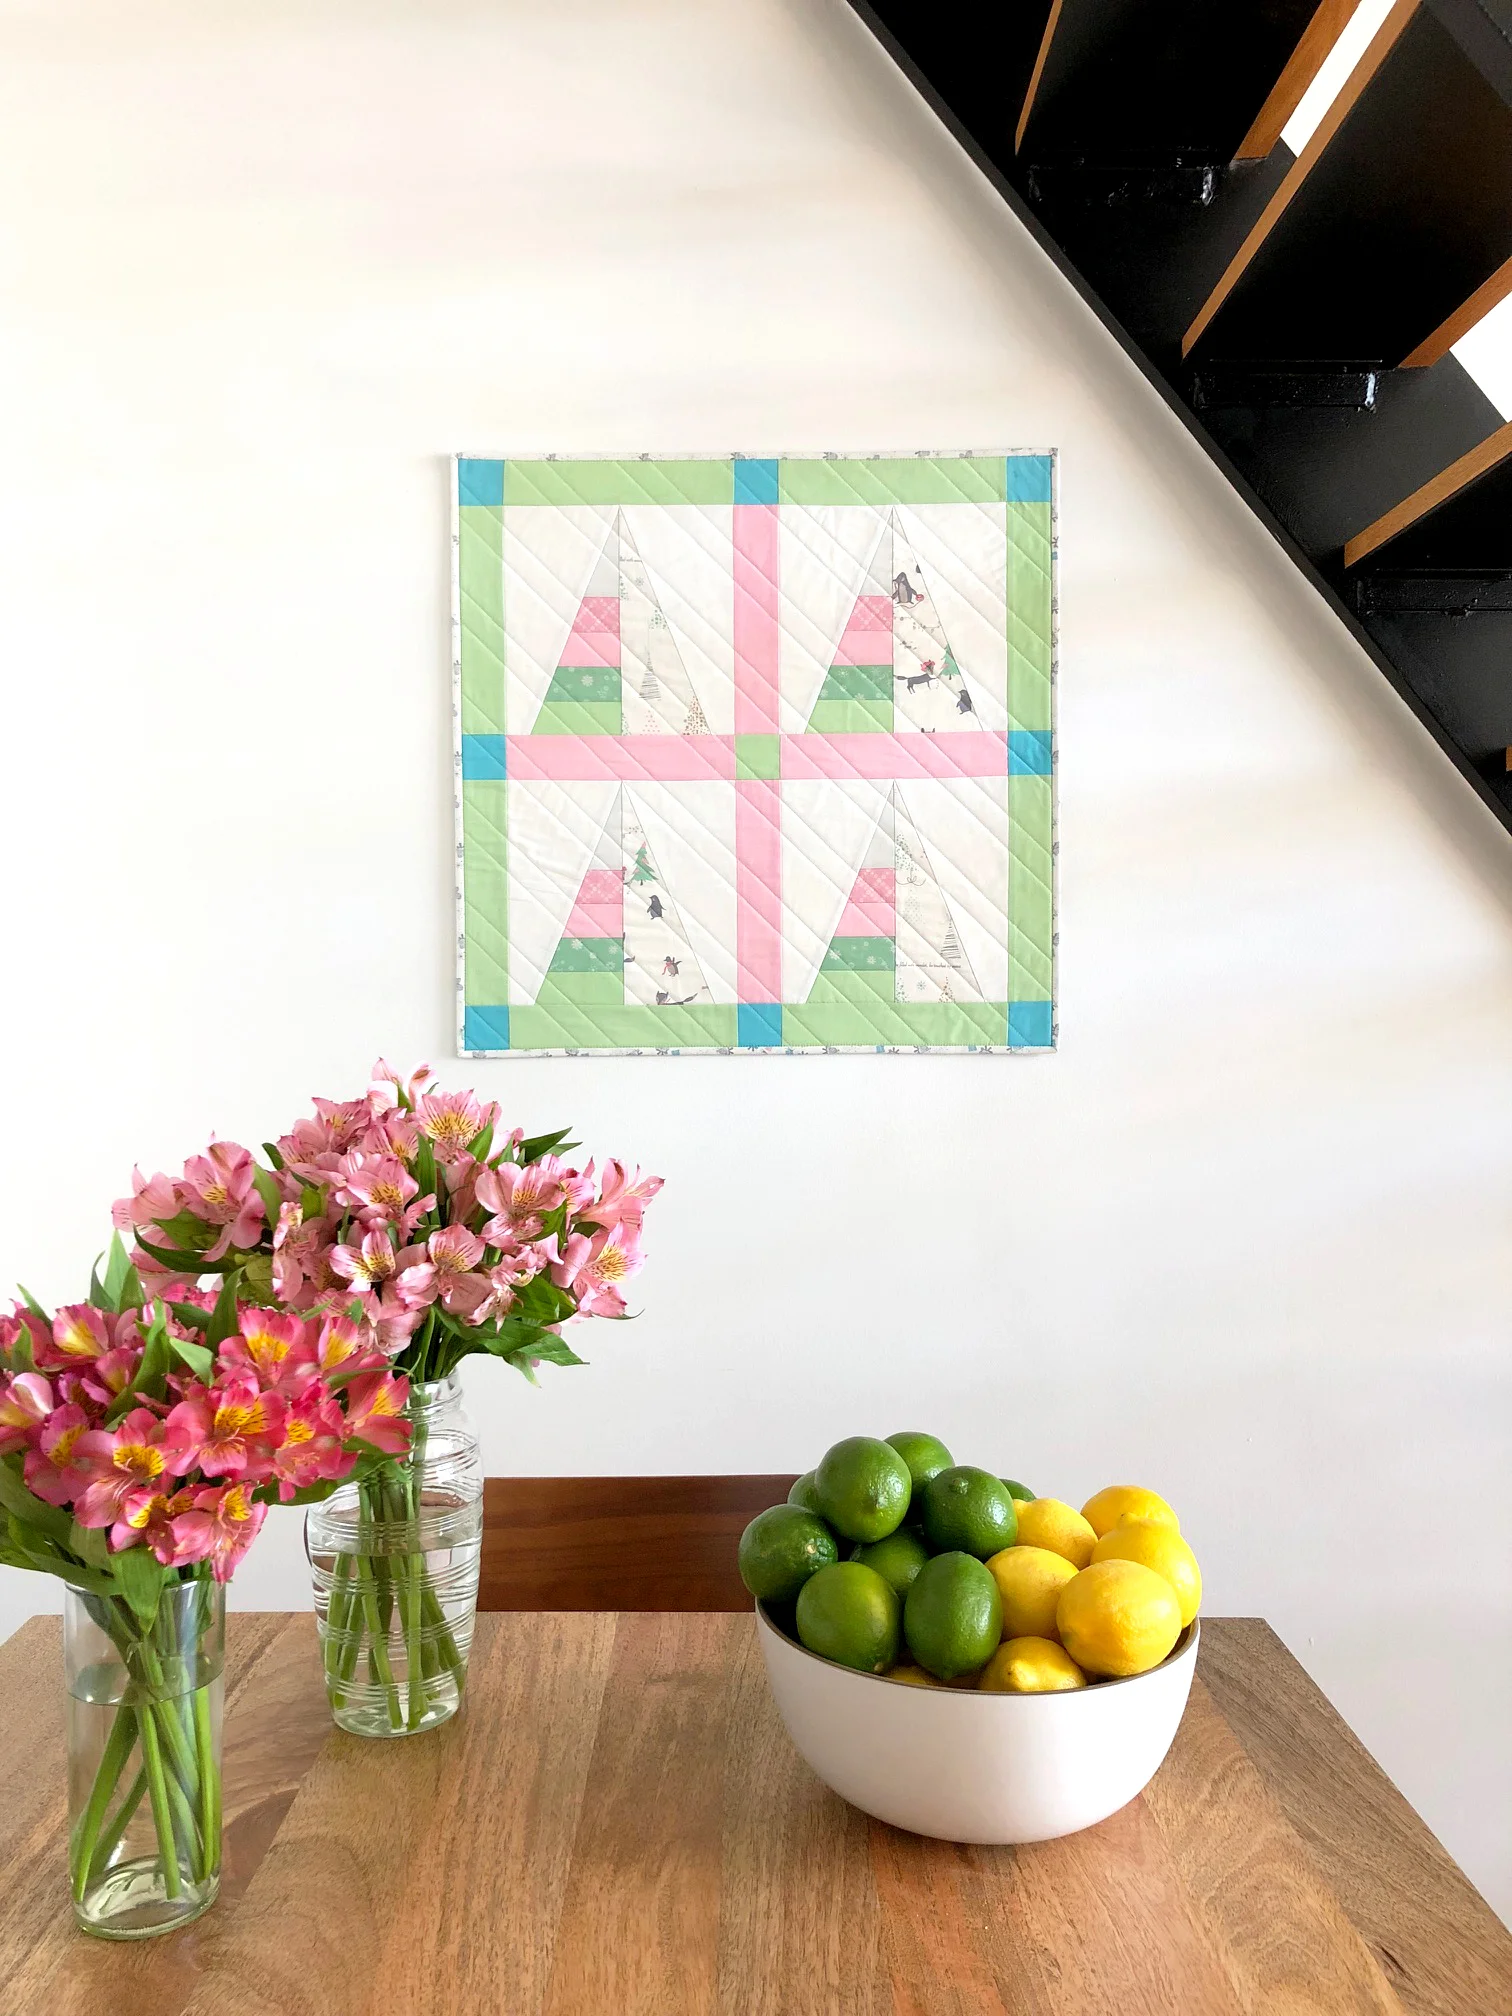
my timberland foundation paper pieced blocks make up a majority of this 26'' square mini quilt. and for a little pizazz, i added in the sashing while laying out the quilt. so fun, right?

the adorable "gift" with pinecones and gifts was just perfect for the binding. i also love the "snow cross" and "snowflake" prints. they're great go-to blenders for any holiday project!

i was so honored when minki asked me to join her blog tour! make sure you follow along each monday this month to see more projects featuring her gorgeous collection! i'm already thinking about what i want to make next! maybe a table runner? the possibilities are endless!

i hope you enjoyed this mini quilt as much as i enjoyed making it! stay tuned for the timberland pattern, coming out soon!

cut, sew, repeat...

the tattooed quilter

p.s. have you started your holiday sewing themed projects yet? if so, what are you making?


garden getaway...

today i'm thrilled to share my latest mini quilt, garden getawayquite lovely, right??

this 24'' finished mini quilt was made with the cricut maker, riley blake designs confetti cottons and the love story fabric collection. i love the depth the green ombre square creates.

 here's the materials you need to make this mini quilt:

  • cricut maker
  • cricut maker rotary blade
  • cricut fabric mat
  • white solid color cut down to (2) 12'' x 24'' rectangles
  • light green solid color cut down to (1) 12'' x 12'' square
  • medium green solid color cut down to (1) 12'' x 12'' square
  • dark green solid color cut down to (1) 12'' x 12'' square
  • floral print cut down to (2) 12'' x 24'' rectangles
  • floral print cut down to (1) 12'' x 12'' square
  • 1/4'' yard for the binding
  • 1/2'' yard for the backing (cutting it down to a 26'' x 26'' square)
  • batting (1) 26'' x 26'' square
  • misc. sewing supplies, including thread, iron, and small scissors

here are the cutting instructions:

  • start a new project in cricut design space
  • using the square under shapes, create the following measurements:
    • 8 1/2’’ x 8 1/2'' (x1 white)
    • 8 1/2'' x 8 1/2'' (x1 floral)
    • 8 1/2'' x 2 1/2'' (x1 light green)
    • 8 1/2'' x 2 1/2'' (x1 medium green)
    • 8 1/2'' x 2 1/2'' (x1 dark green)
    • 8 1/2'' x 2 1/2'' (x1 white)
  • make sure you unlock and lock your measurements so the sizes won't change as you create the additional squares and rectangles
  • change the color of each square/rectangle as you create, making it easy for you to keep up with the measurements and mats to make each block
  • using the score line under shapes, draw a line, corner to corner on the white 8 1/2'' square
  • change the score line to a fabric pen line on the white 8 1/2'' square
  • you're all set, click on "make it"
  • you'll see your squares and rectangles broken out by color (mat)
  • change the number of project copies to 4
  • adjust the (white) mat size to 12'' x 24''
  • adjust the (floral) mat size to 12'' x 24''
  • you should have (2) 12'' x 24'' white mats and (2) 12'' x 12'' floral mats
  • place your pre-cut fabric on the fabric mat in order of mat
  • select cotton fabric, insert your cricut rotary cutter, fabric pen, and GO!
  • repeat the steps above for the remaining floral 8 1/2''x 8 1/2'' square
  • after you've finished cutting, organize your squares and rectangles to form the quilt

here are the sewing instructions (use a 1/4'' seam allowance unless other wise noted):

  • place (1) white 8 1/2'' square, fabric pen line facing up on top of (1) floral 8 1/2'' square
  • sew along the fabric pen line and trim 1/4'' away from the fabric pen line
  • press seam to the floral fabric
  • repeat the steps above to make (4) HST or half square triangles
  • sew the green ombre 8 1/2'' x 2 1/2'' rectangles together, white to light green
  • press seams to one side
  • layout the mini quilt
  • sew the bottom row together, press seam toward the green ombre square
  • sew the middle row together, press seam toward the floral square
  • sew the top row together, press seam toward the green ombre square
  • layer the quilt top with the quilt batting and backing
  • quilt and bind as desired

isn't this a gorgeous mini quilt? it's so easy to make with the cricut maker.

cut, sew, repeat...

the tattooed quilter

This is a sponsored conversation written by me on behalf of Cricut. The opinions and text are all mine.

introducing...RBD Not So Basic!

happy friday! are you ready for some exciting news?

today, Riley Blake Designs is launching "RBD, Not So Basic" hosted by yours truly! along for the adventure are four of the industries leading modern quilt designers and makers:

you might ask, what is "RBD, Not So Basic?" it's a celebration of Riley Blake Designs Basic collections and all the projects you can make with them!

each month (or so) we will feature a project highlighting RBD's Basic collections. from fabric postcards to mini quilts and everything in between, you'll be inspired to use your RBD basic stash in a not-so #basic way!

did you know that RBD has over 170 solid colors? it's the best solid on the market that also features a range of colors from crayola. how cool is that? some of the other awesome collections include Kisses, Hashtags, Stripes, and Swiss Dots. and who could forget Chevron?!

we're launching the program where each maker was asked to create a fabric postcard. i can't think of a better way to celebrate summer travel and adventure!

using Patchwork Posse's fabric postcard tutorial, i created a series of 4 postcards using RBD's Confetti Cottons to celebrate Pride month. how cool are these?

here is a snapshot of how i created mine:

  • start by making a 4'' x 6'' finished foundation paper pieced quilt block
  • following Becky's instructions, layer the fusible stabilzer and card-stock to the quilt block
  • zig-zag stitched around the edges with your sewing machine (Baby Lock)
  • leaving space for the address and stamp, add a personalized note

you don't have to FPP your quilt block, you can use improv, traditional piecing, or go wild and crazy with appliqué. Becky recommends to keep your postcard no thicker than 1/4'' and she has lots of ideas and suggestions on how to add some interest to your postcards.

these are fast, fun, and addicting to make! perfect for kids too!

i hope you'll follow #RBDnotsobasic, learning more about the amazing basic collections at RBD!

cut, sew, repeat...

the tattooed quilter