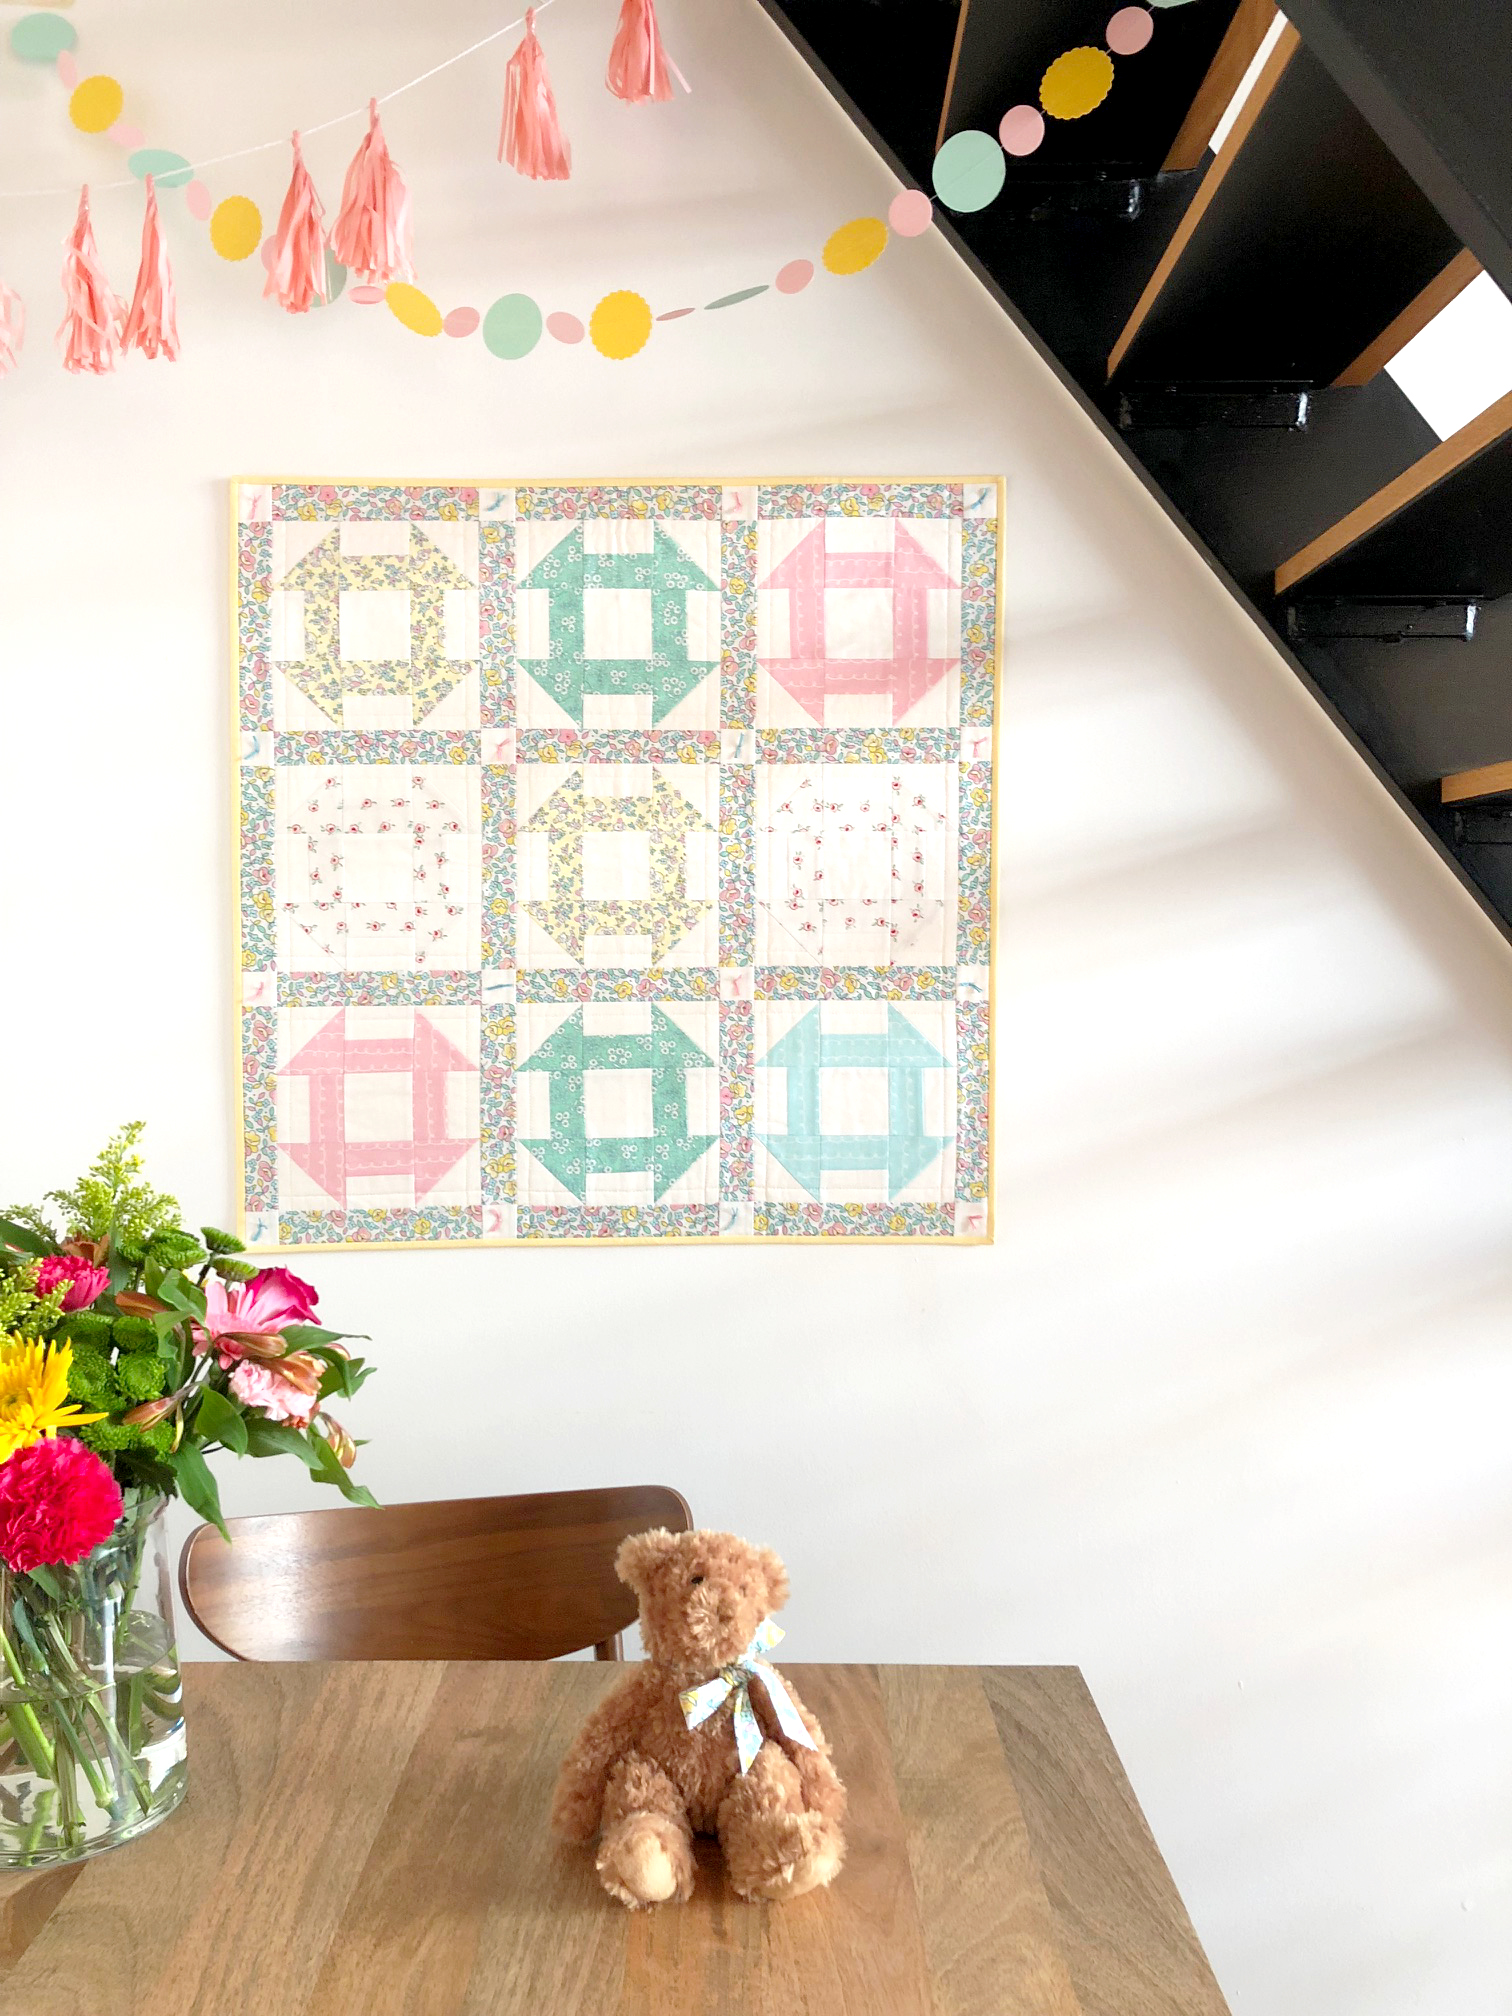


it's finally here. reveal day! i'm so excited to share my finished riley blake + cricut quilt with you.
this is the third and final post. if you haven't been following along (shame on you), you can check out posts 1 (here) and 2 (here) where i share how easy it is to use the cricut maker to cut fabric.
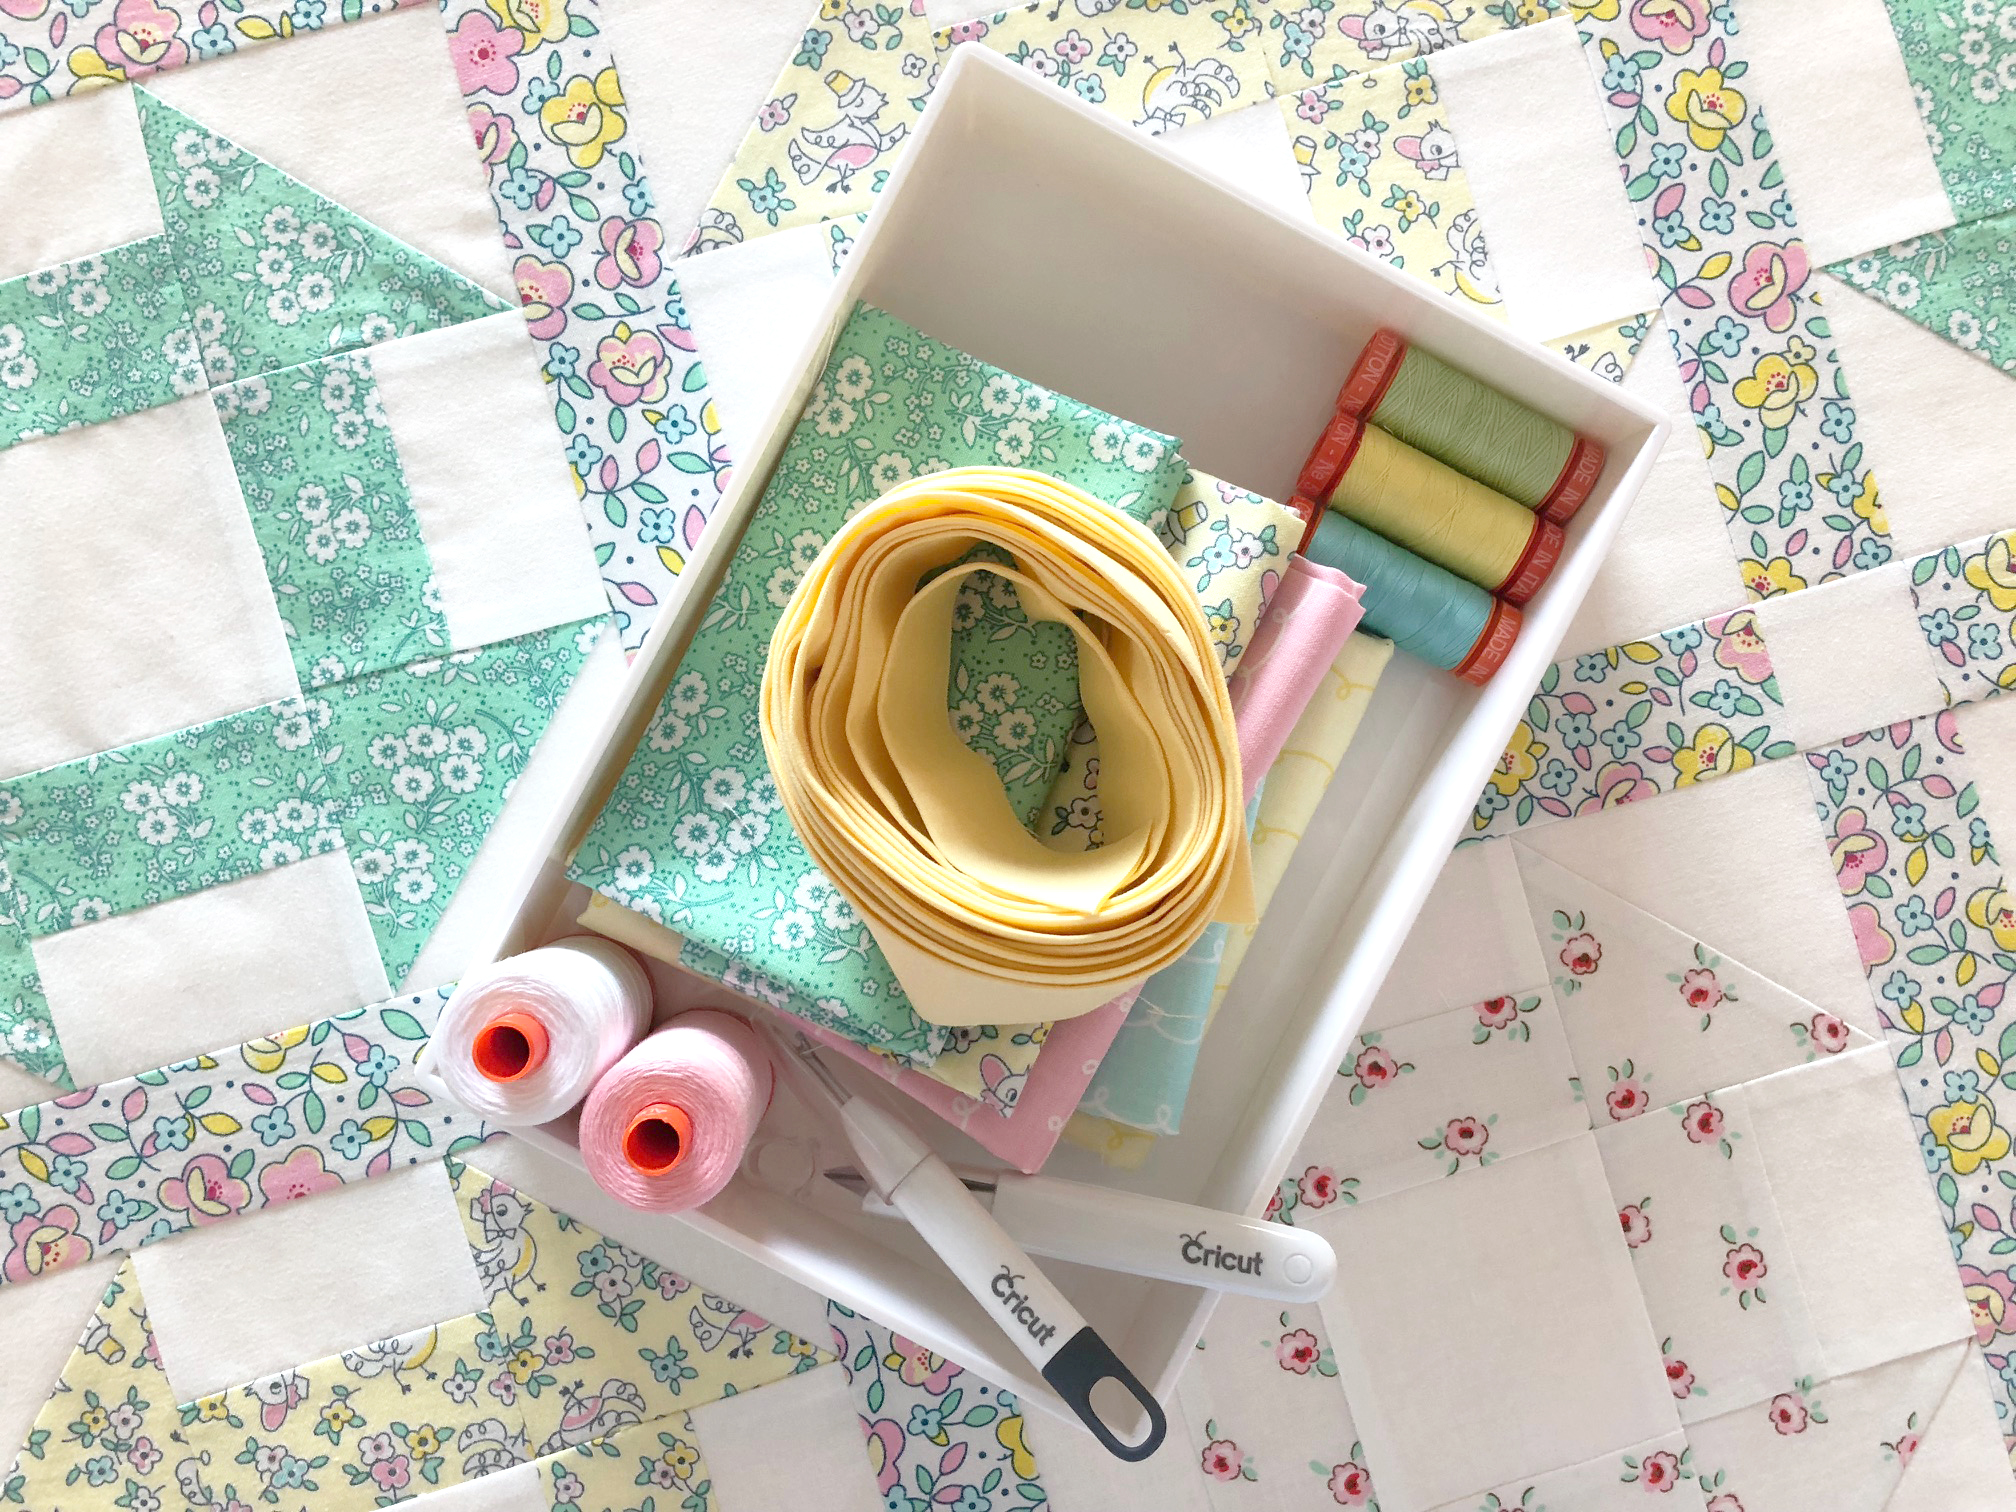
don't forget, there are over 30 riley blake quilt patterns available in cricut's design space and i chose to make hashtag with the little dolly quilt kit. this adorable baby quilt has just the right amount of color, novelty, and sweetness to brighten up a modern nursery.


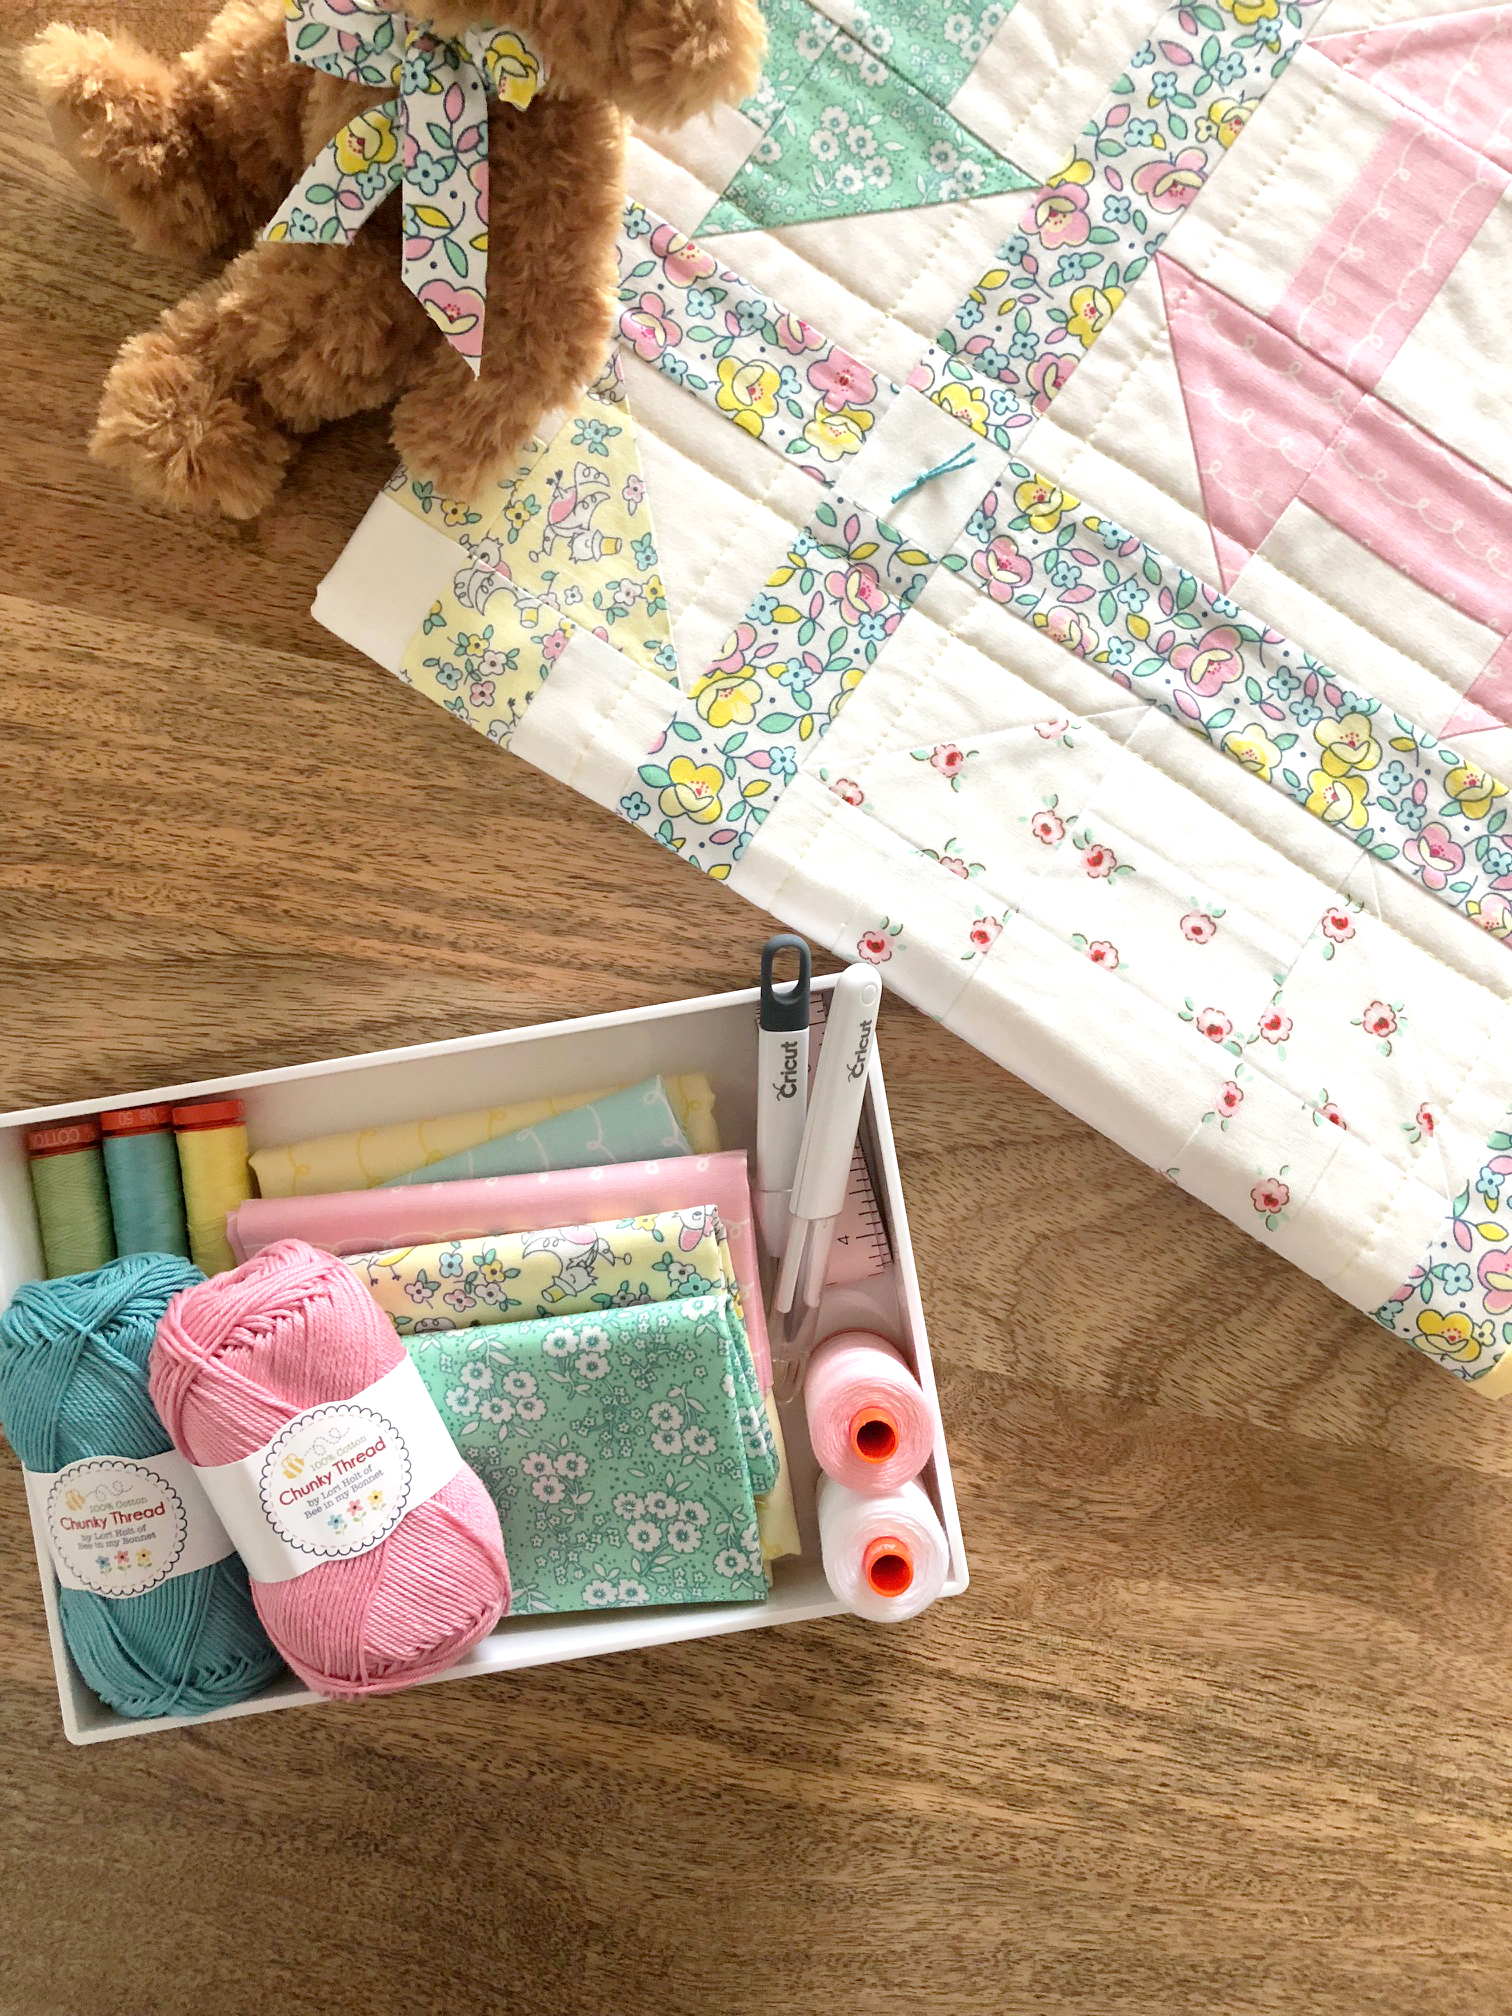
so you've cut all your fabric, what's next? you'll need to gather the following supplies:
- quilt pattern. which you can purchase in design space.
- sewing machine.
- 1/4'' sewing machine presser foot.
- sewing machine walking foot (for machine quilting).
- iron and ironing board.
- cricut sewing kit.
- matching thread. i used aurifil 50 weight for piecing and quilting.
- chunky thread (optional).
- 1 1/2'' yard backing fabric. i used riley blake designs confetti cottons.
- batting. for this particular quilt, a crib size batting package will work.
okay, so now that you have your supplies, here are some tips for joining your quilt top together:
- print or download the quilt pattern.
- follow the layout in the pattern.
- or create your own layout (keep in mind, this may not work with each pattern).
- layout the pieces according to the pattern.
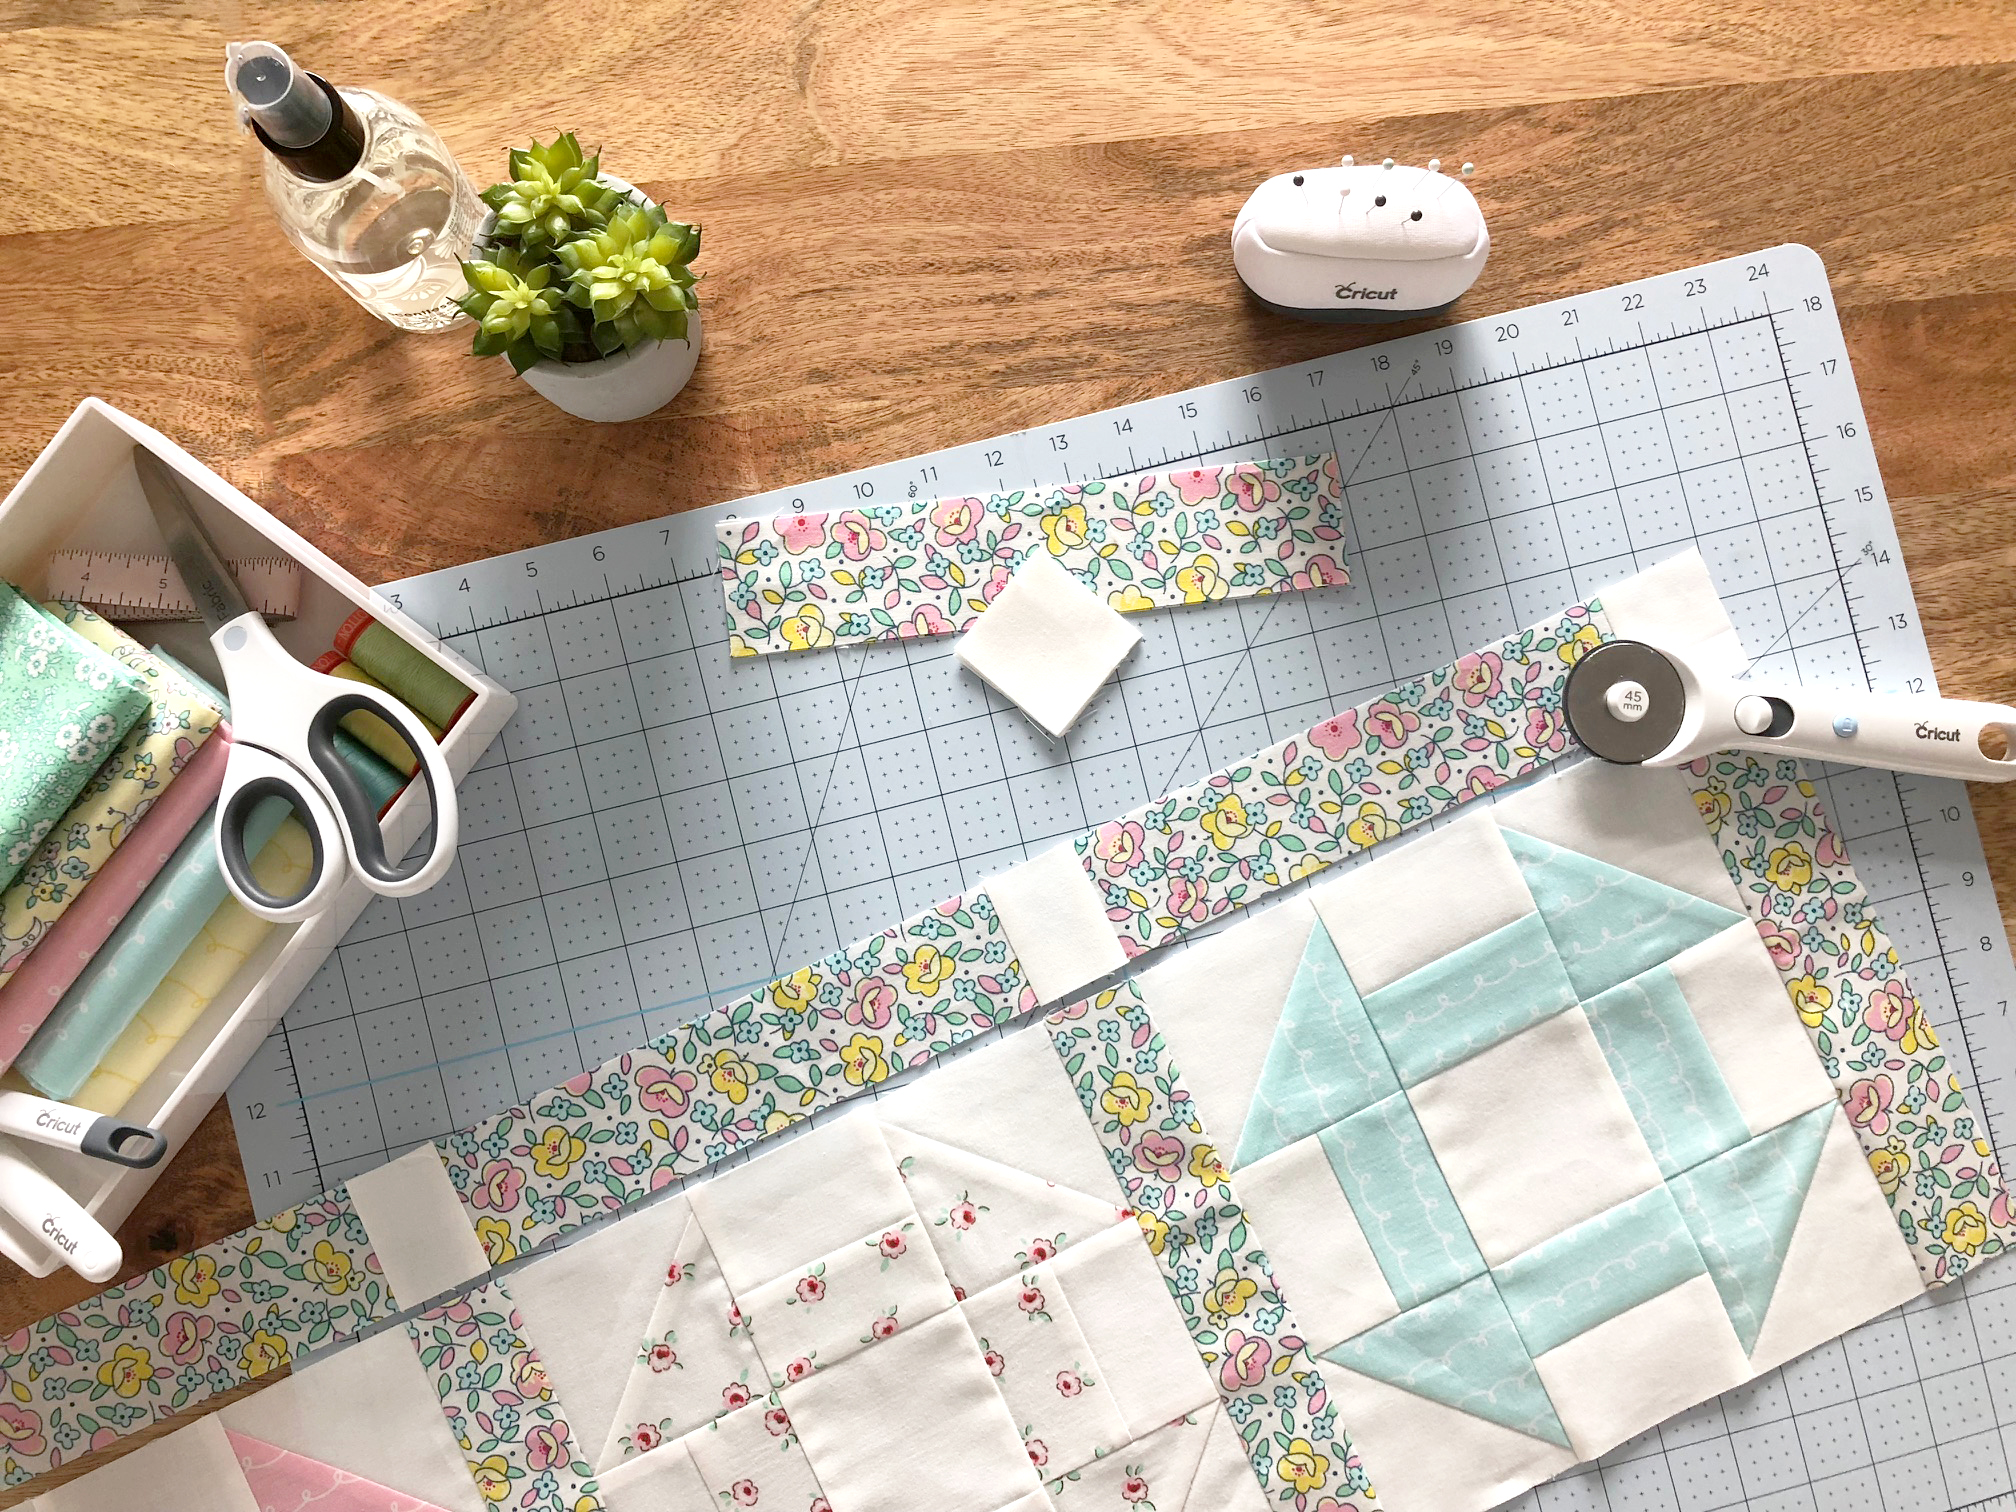
- begin to piece the churn dash block.
- when piecing, use pins to keep the fabric from shifting.
- use a 1/4'' sewing machine presser foot to achieve the perfect seam allowance.
- if you don't have the presser foot, use washi tape as a guide.
- press your seams away from the bulk with a hot iron, no steam.
- steam may cause your HST's (half square triangles) to stretch.
- take your time. if you rush, you might end up with a wonky seam allowance.
- make all 9 churn dash blocks.
- begin to piece the sashing to the churn dash blocks.
- follow the tips under #3 and #4 above for piecing the sashing.
- begin to piece the rows together.
- follow the tips under #3 and #4 above for piecing the rows together.
- cut and piece the borders to the quilt top.
- i left off the border so the quilt is a bit smaller.
- if you add the borders, continue to piece/press as listed above in #3 and #4.
ta-da. you're quilt top is all finished. pat yourself on the back (especially if this is your first quilt!).
you can machine quilt top yourself or send it out to a long arm quilter. my friend, amy smart has an awesome post on quilting here. while the fabric quilt kit comes with enough fabric for the binding, i decided to use my own. amy has a terrific post on binding here.
and there you have it! your finished riley blake + cricut quilt!
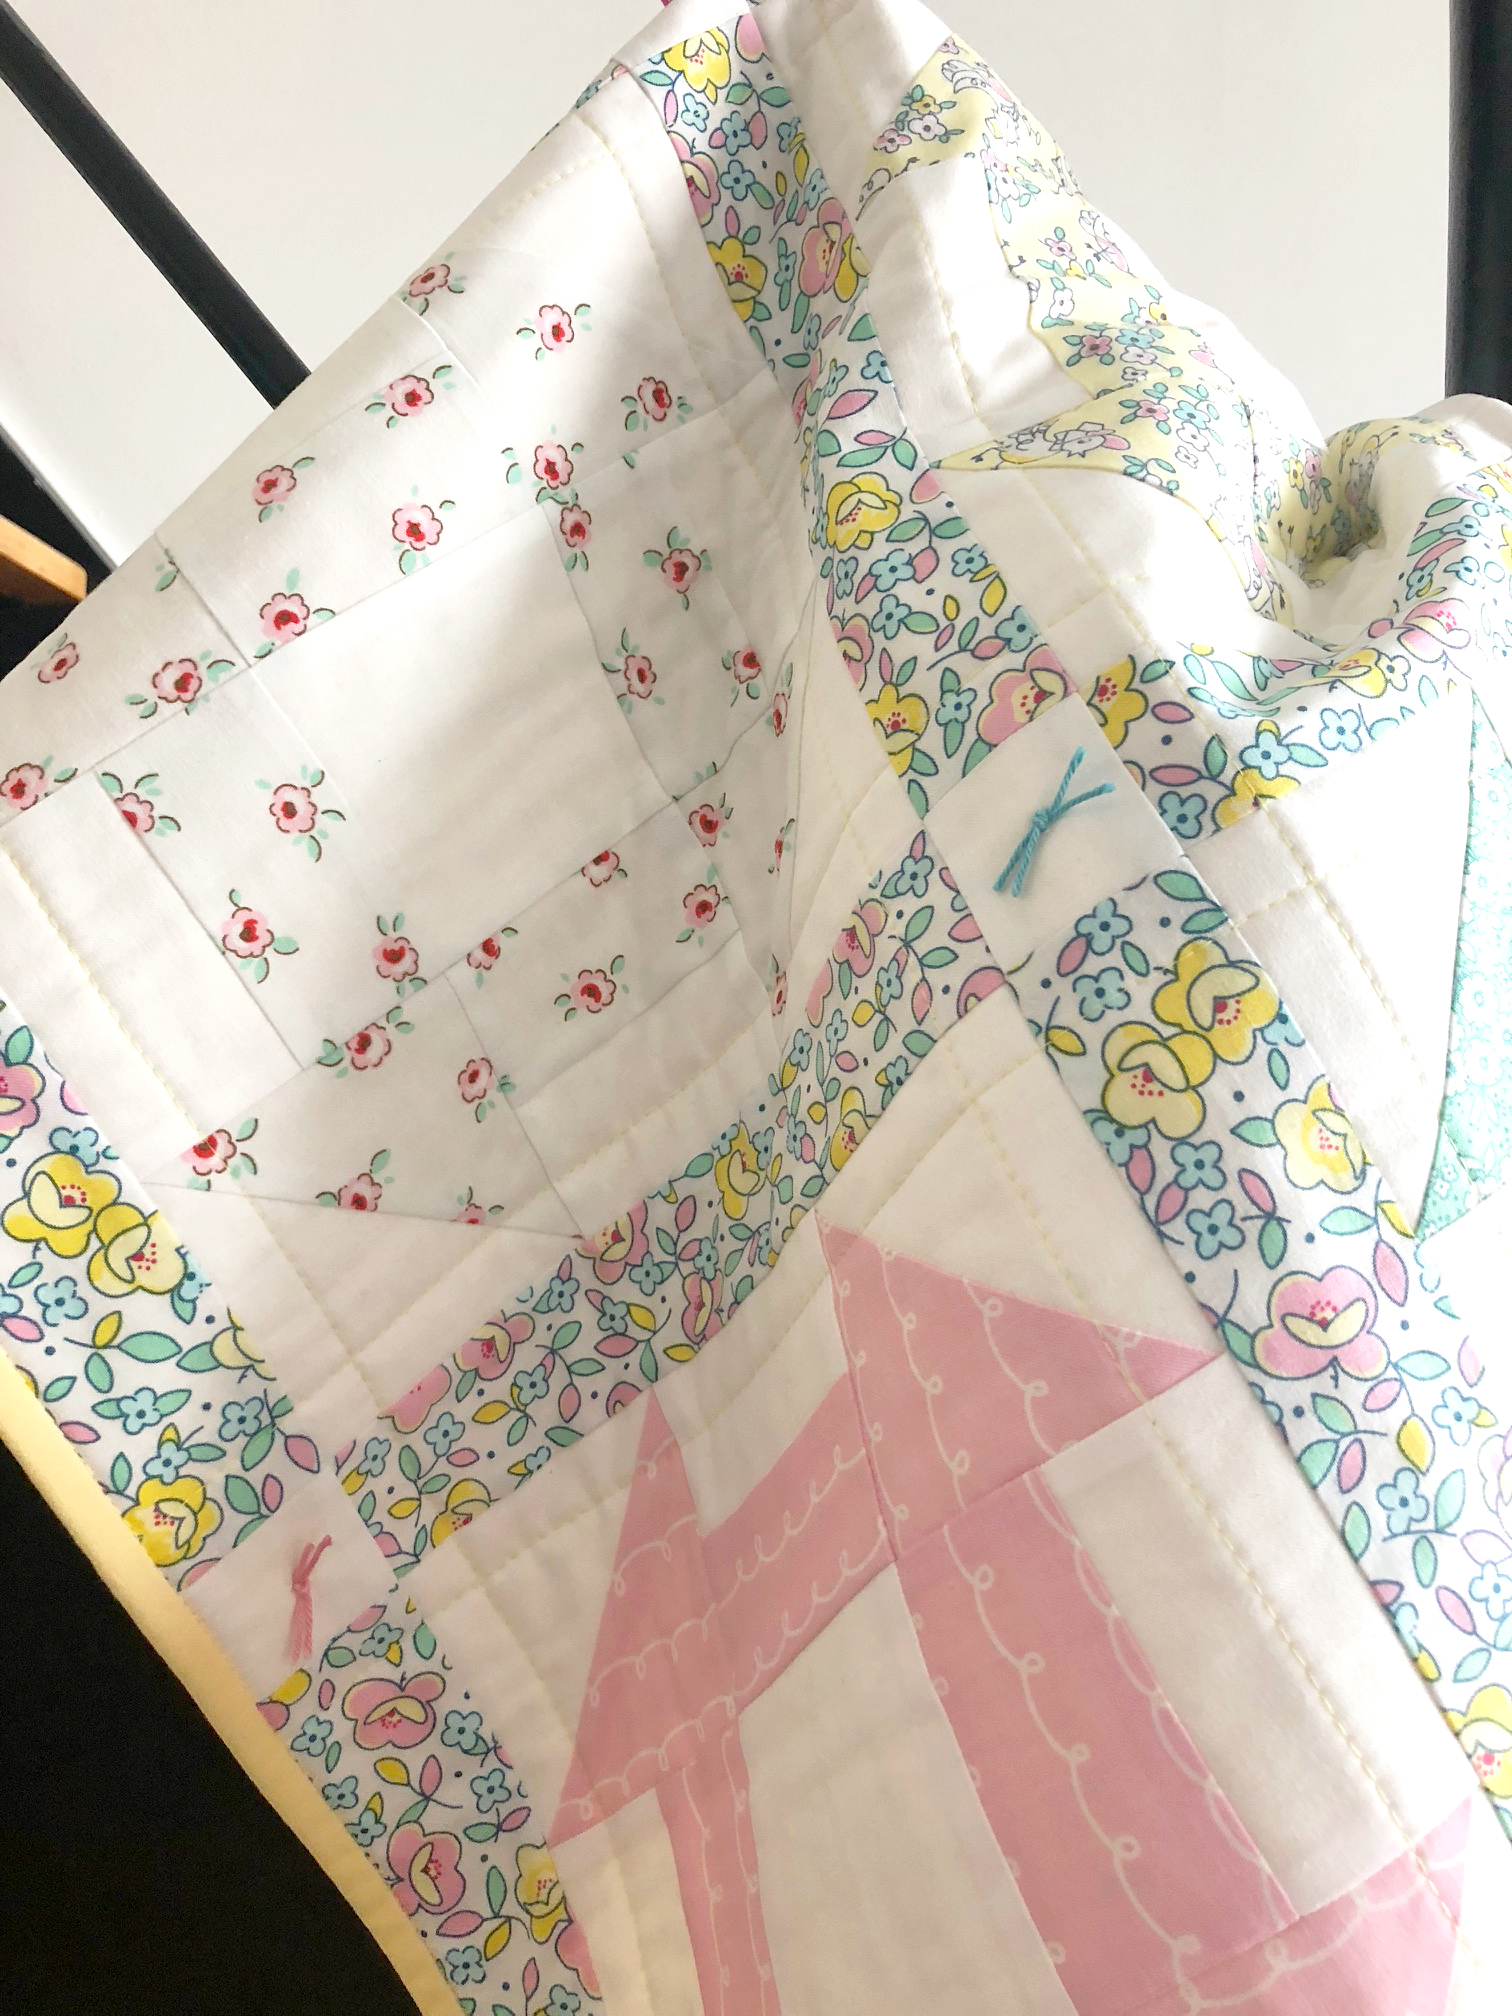
using chunky thread, i added tied knots in each of the white cornerstones. it's just that extra little touch that takes it from wow to holy moly guacamole!
there are so many tools available for cutting fabric. the cricut maker is fast and accurate. it's the only digital cutting machine on the market! so, what are you waiting for, grab a cricut maker, fabric quilt kit, and make a quilt.
check out these awesome posts featuring different patterns and fabric quilt kits:
off to make another project with the cricut maker. the possibilities are endless!
cut, sew, repeat...
the tattooed quilter
this is a sponsored conversation written by me on behalf of cricut. the opinions and text are all mine.