Blog

RBDNotSoBasic Project #3

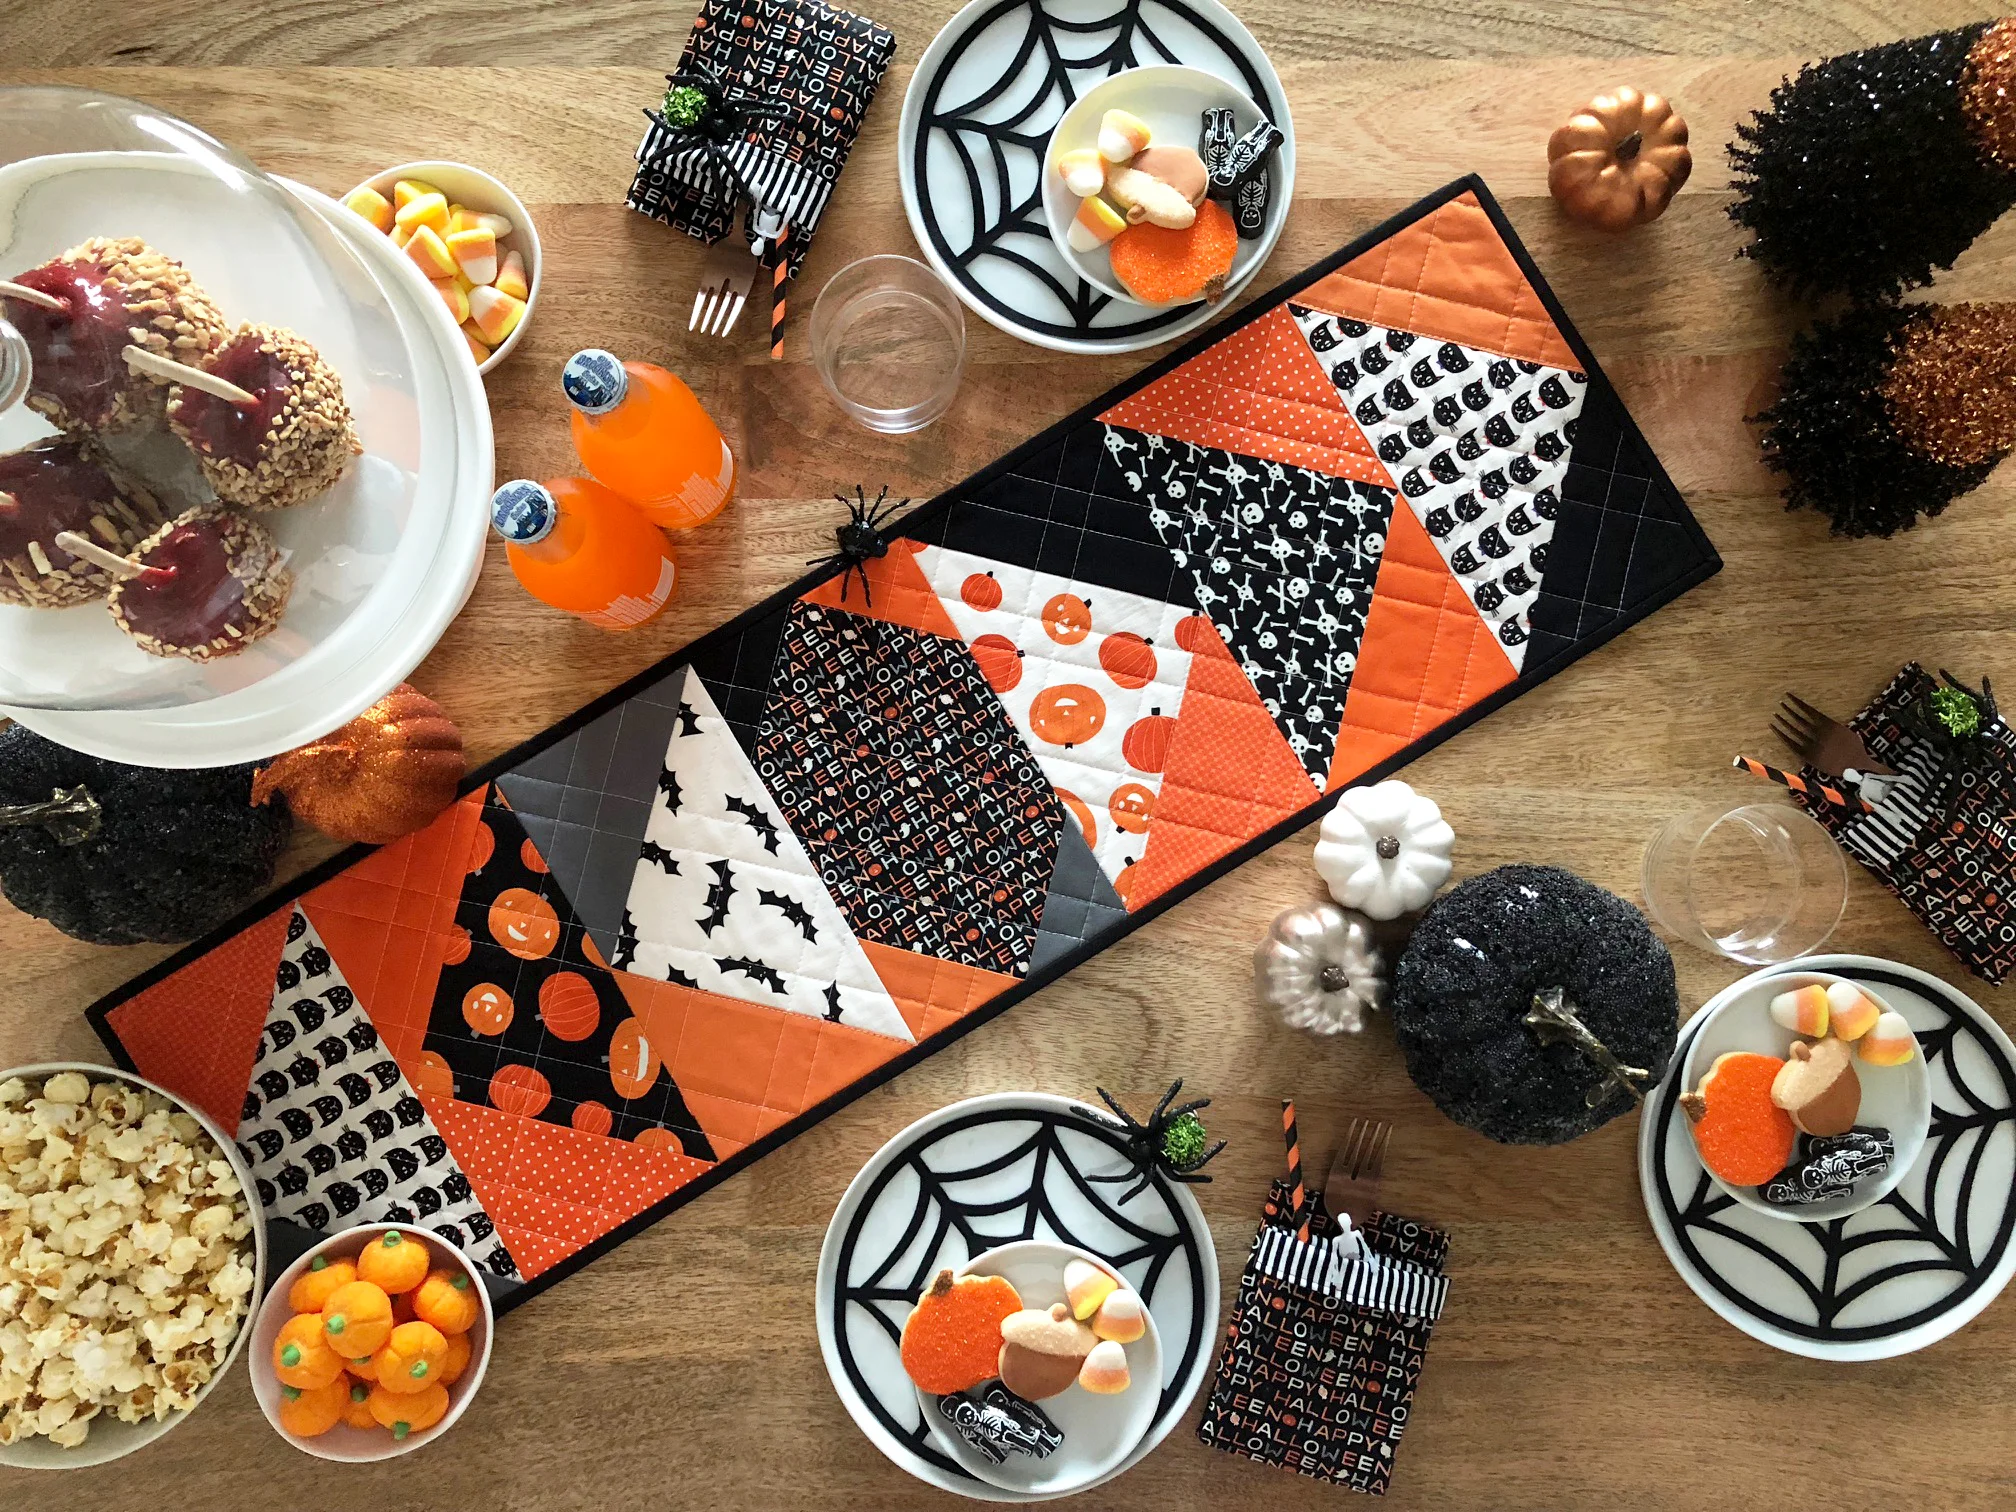
invite your best gal pals over to celebrate fall with the latest #RBDNotSoBasic project!

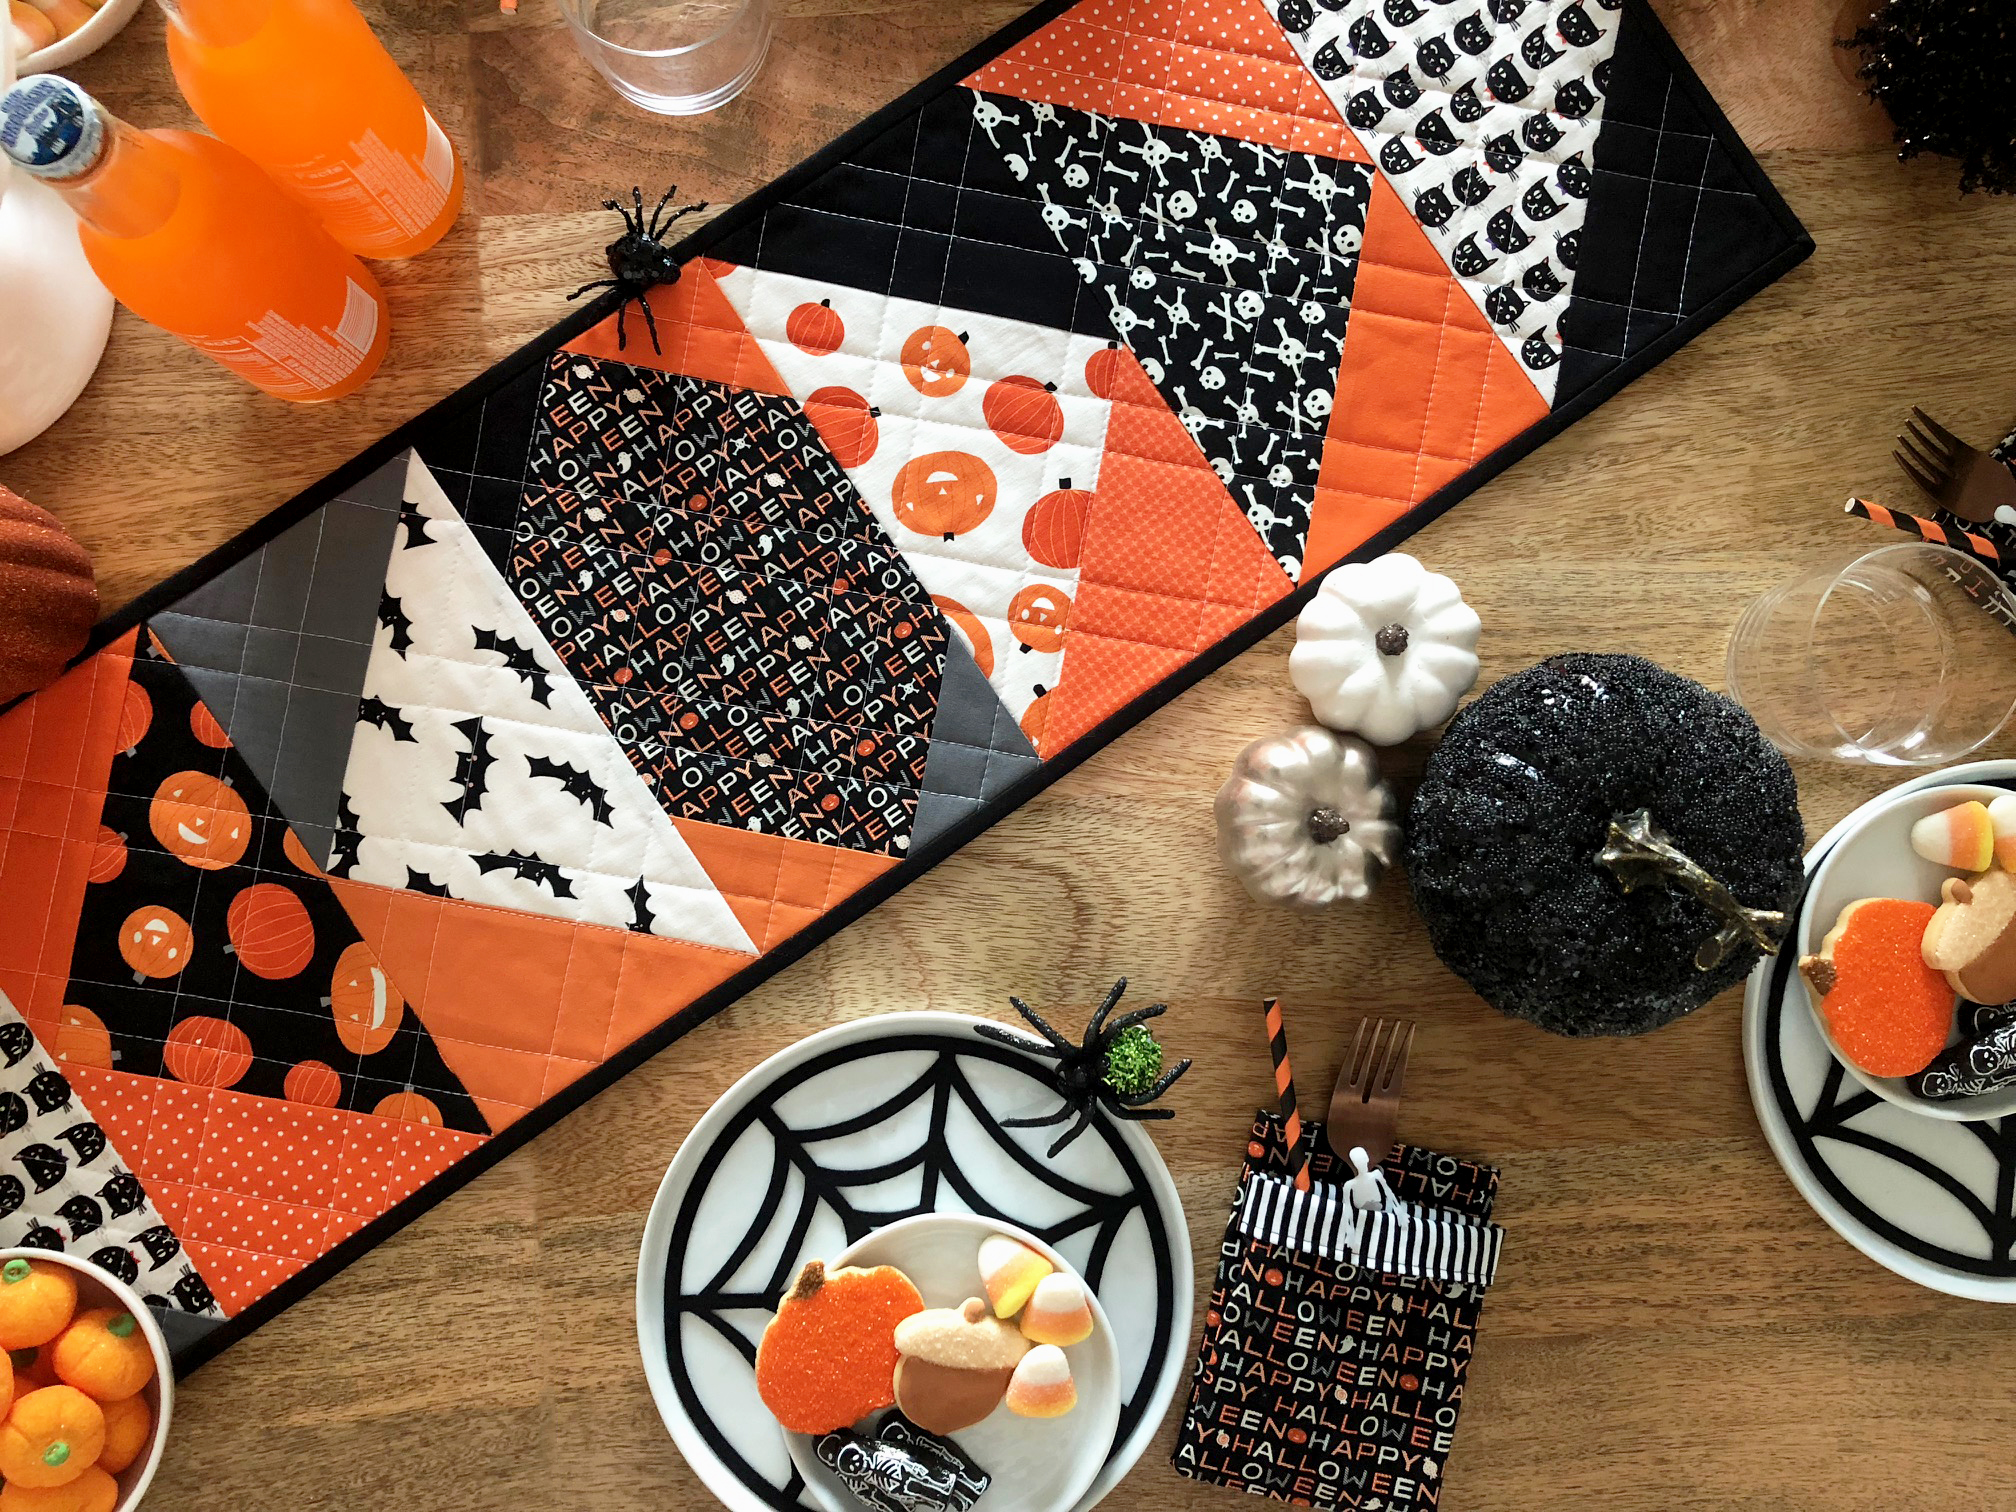
the inspiration for this project is the traditional maple leaf block…made modern with riley blake designs shades basic collection. each designer knocked it out of the park with their table runner!

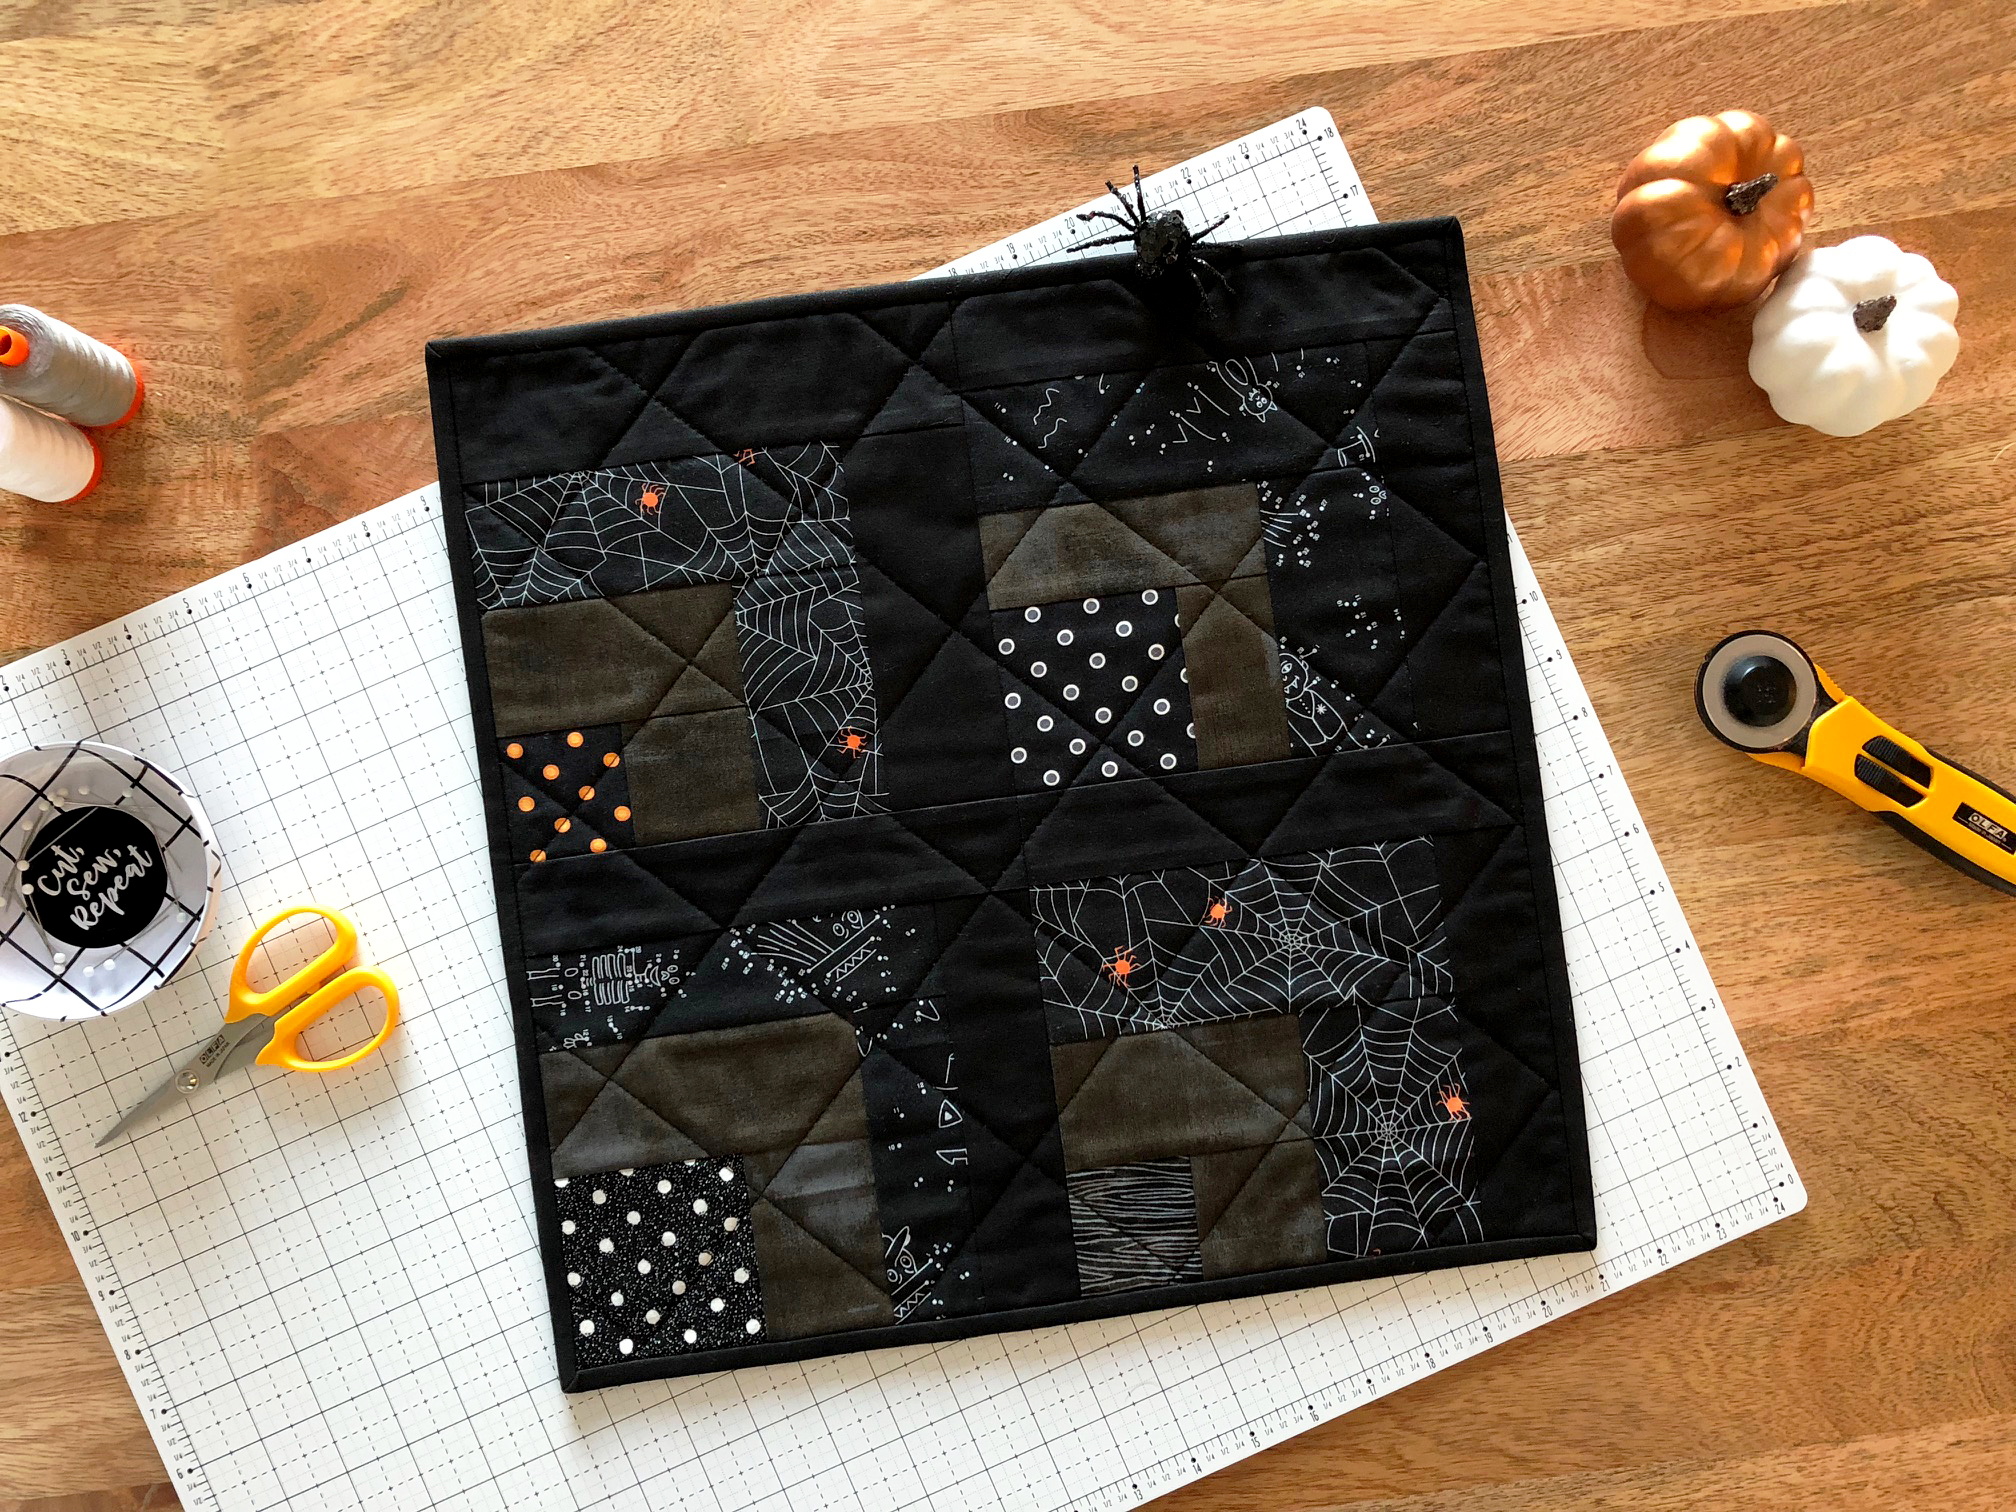
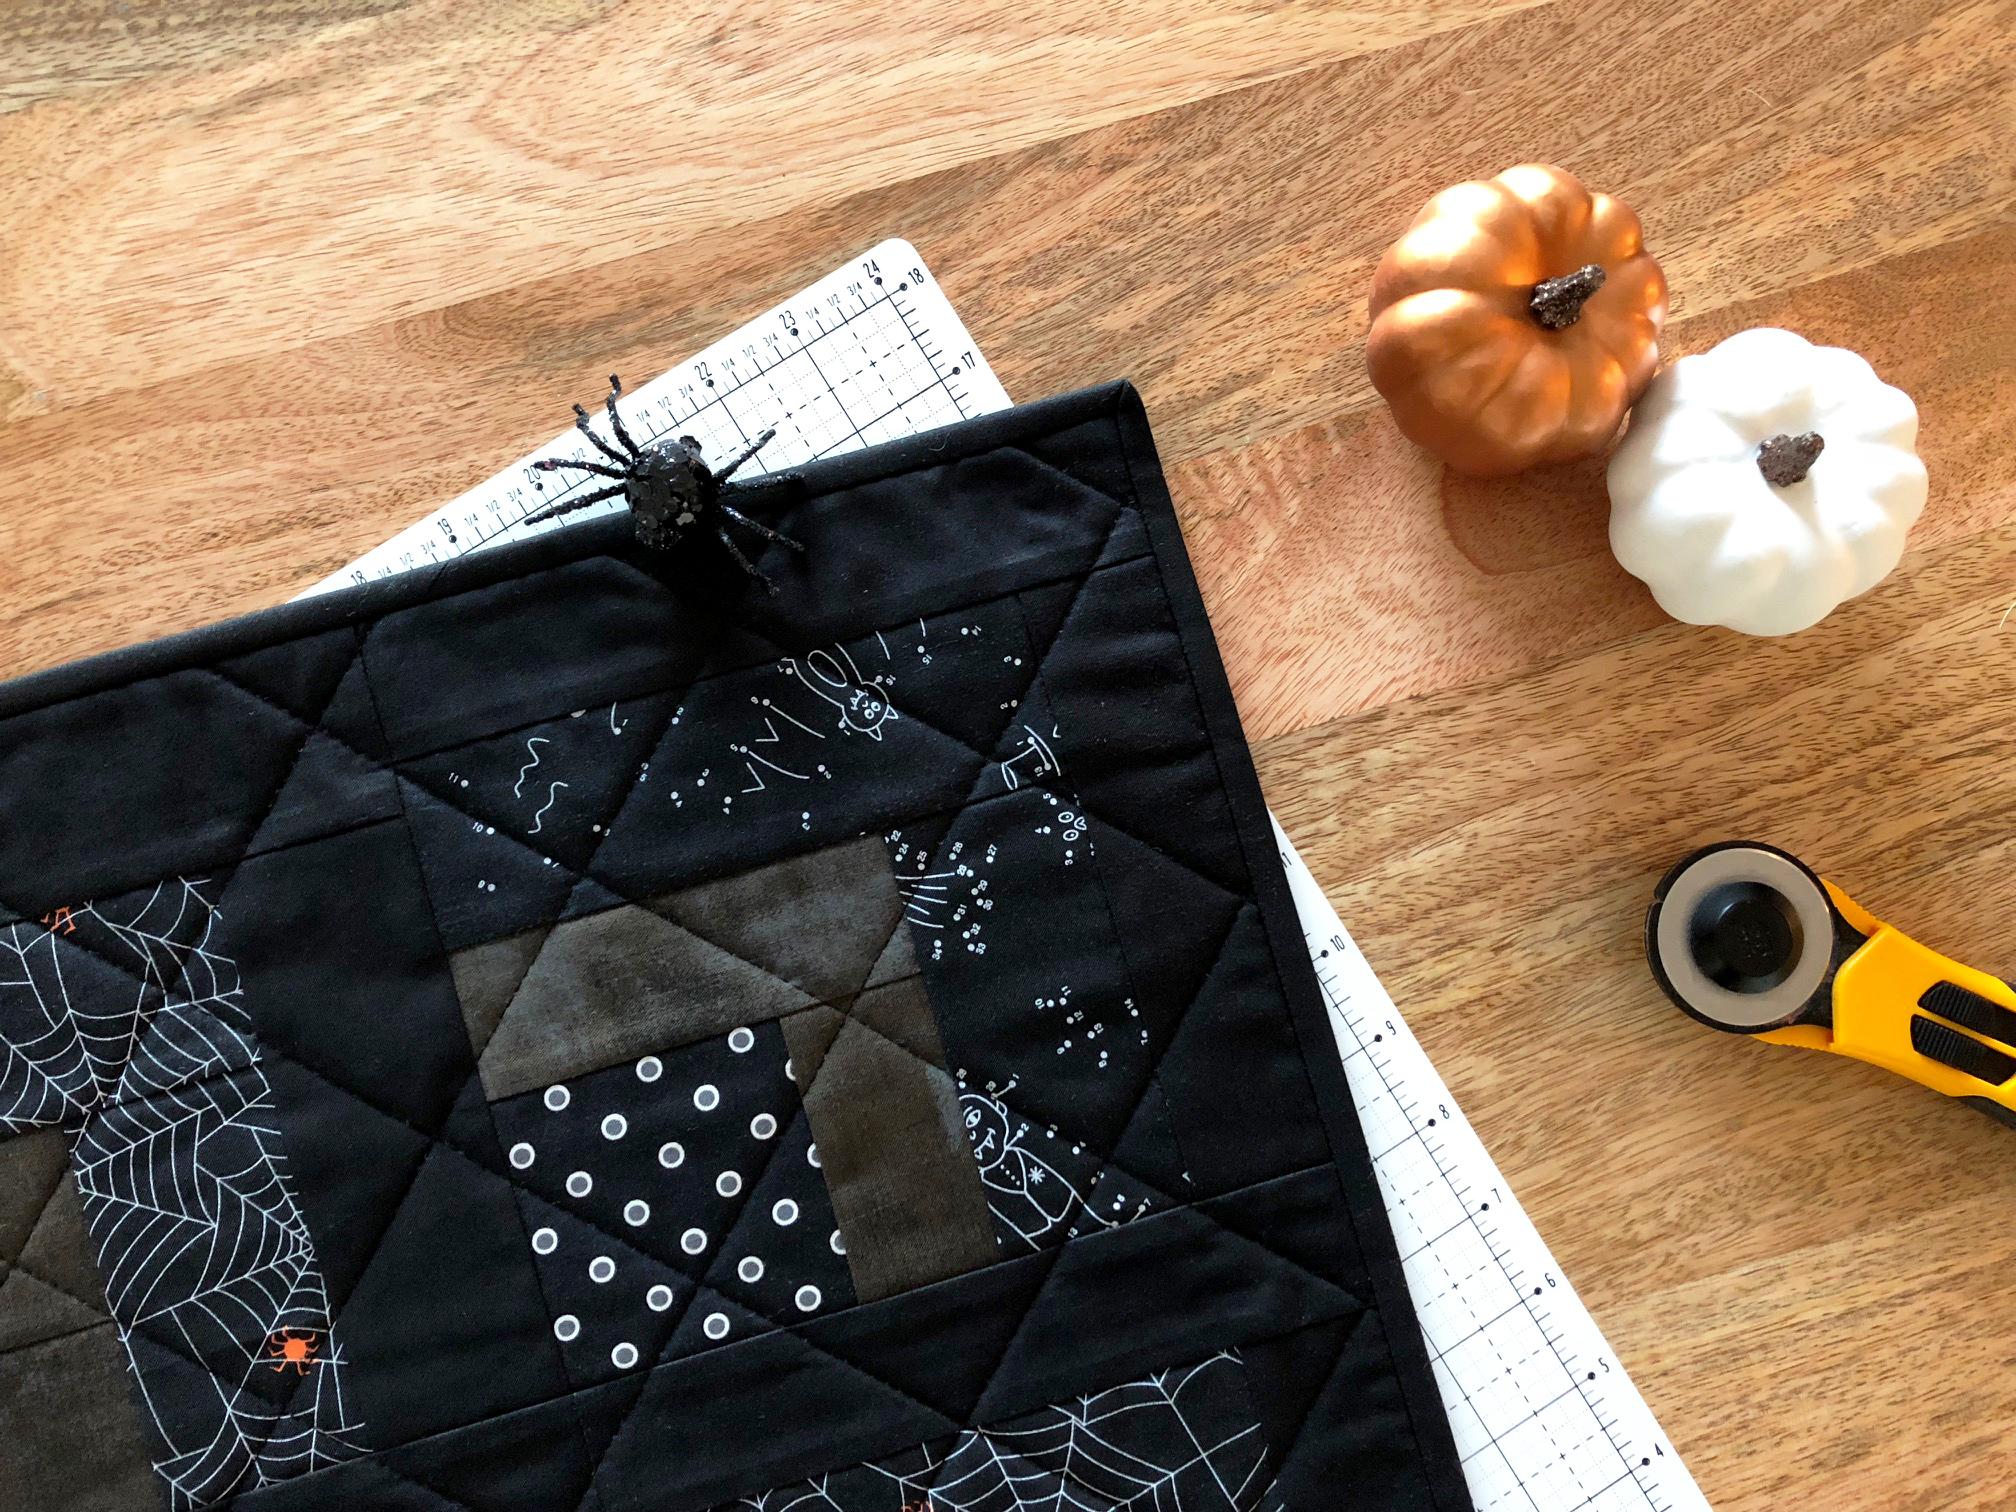
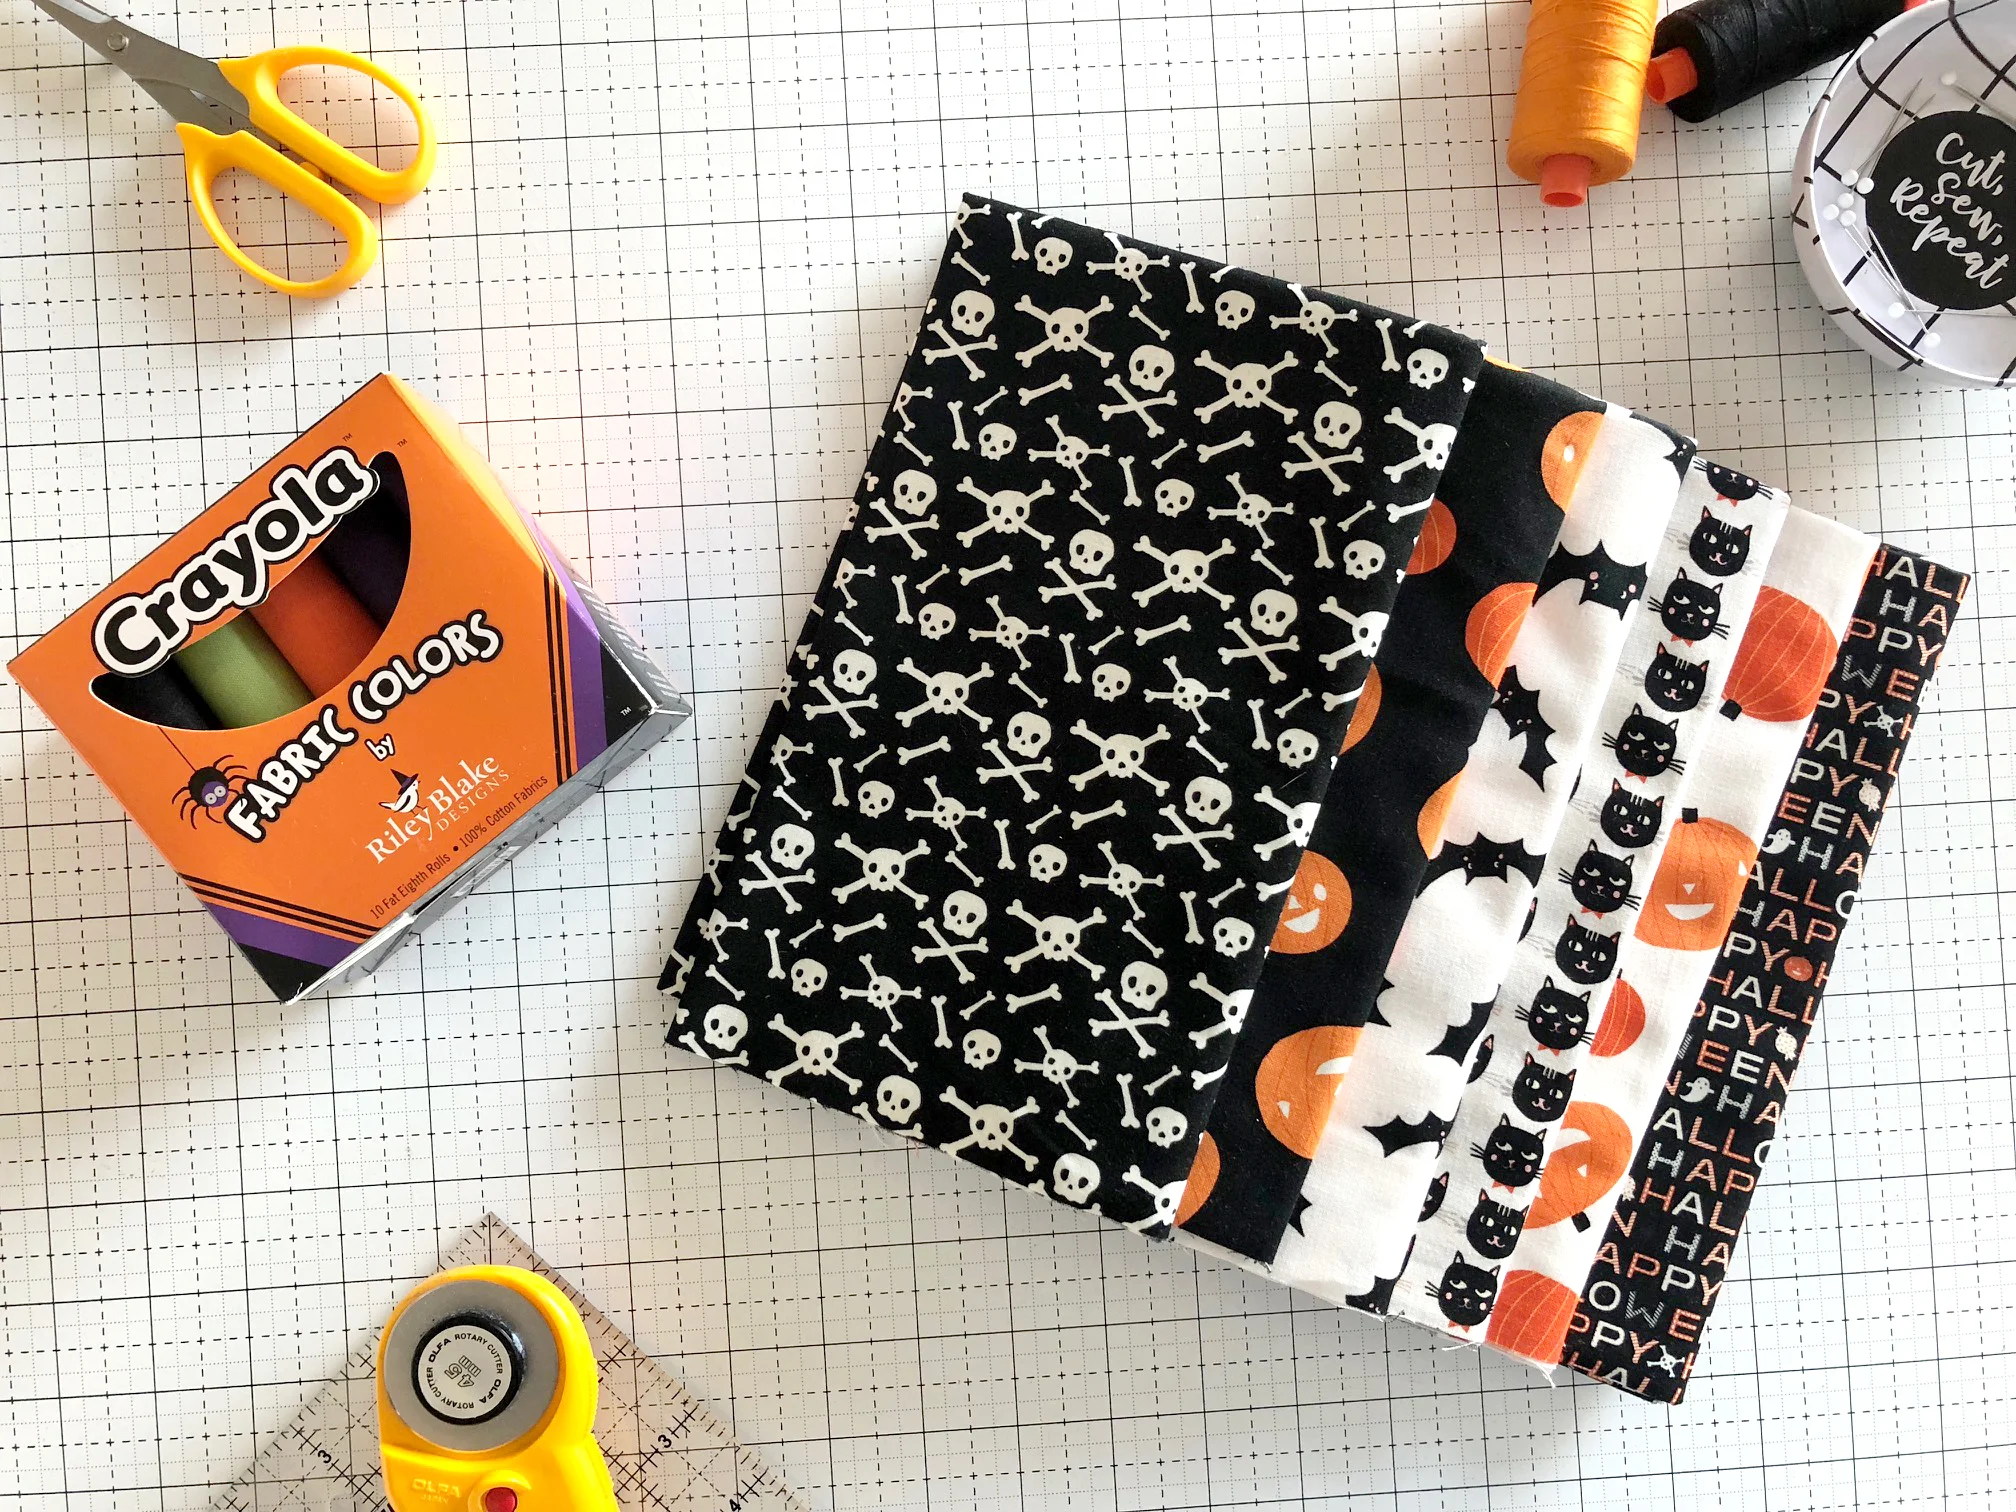
the shades collection features a mottled print that will blend into projects beautifully. trust me, it’s subtle but adds a lot of great depth.

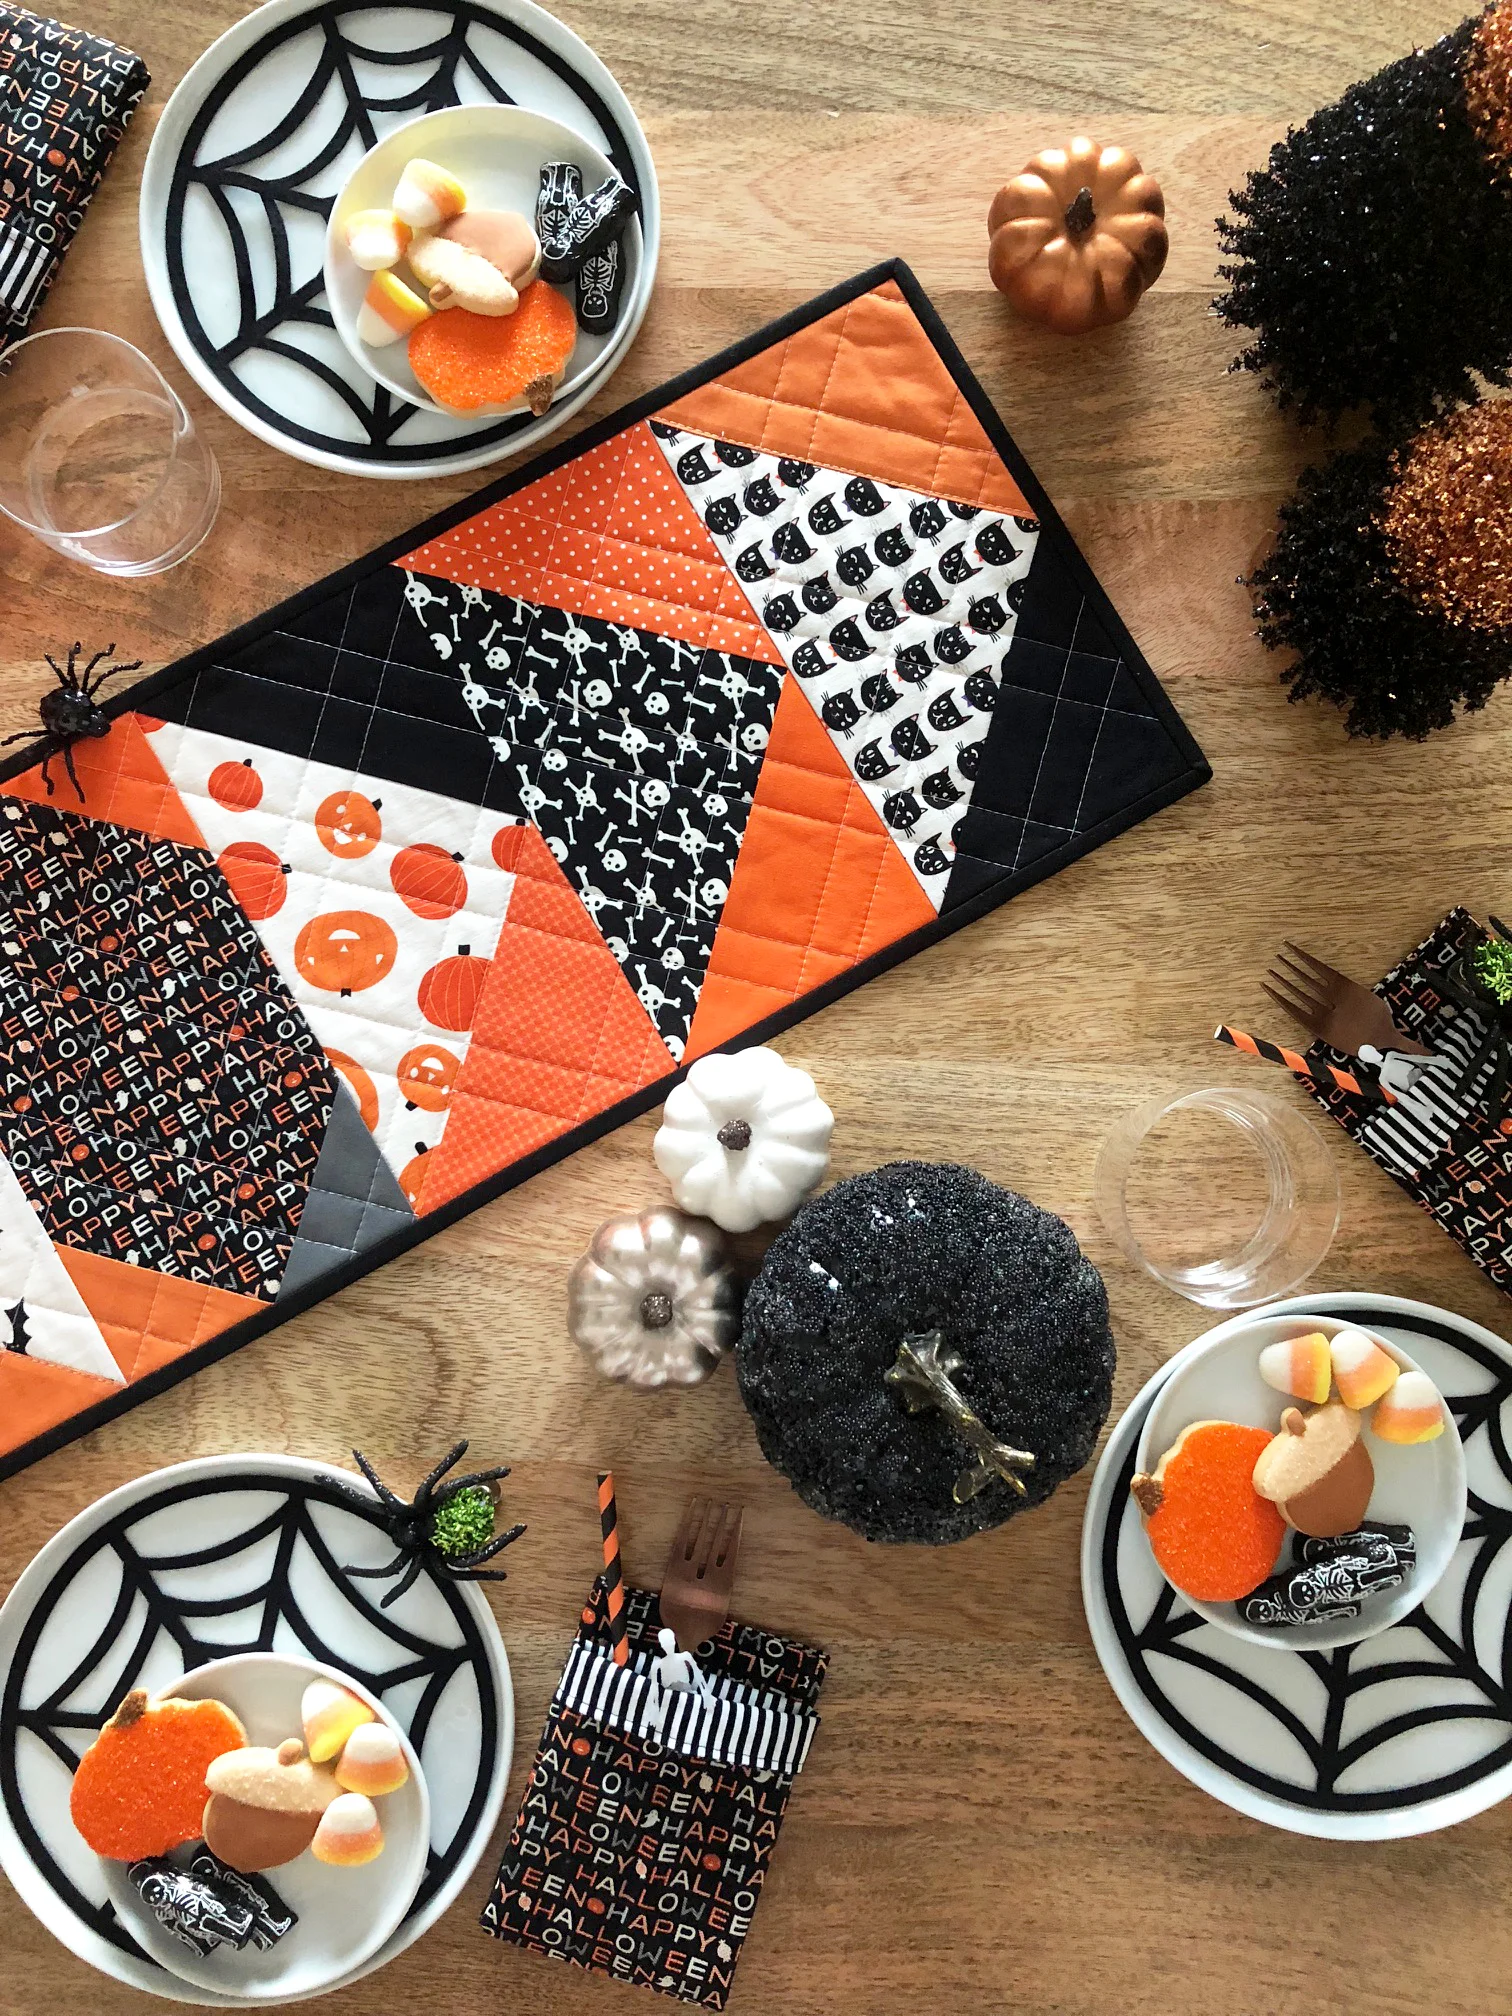
my version of the table runner was a happy accident. i started making traditional maple leaf blocks and when i wasn’t happy with the outcome, decided to break out the seam rip. well, one thing lead to another and slicccccccce. i sliced right through part of the first block. doh.

since life handed me lemons, i started making another block. but after successfully sewing the rows together, realized that i missed the color center squares. wahhhhh. the outcome looked modern, chic and a new take on the traditional block, so i kept going!

i made (1) 12’’ x 12’’, (1) 9’’ x 9’’, and (1) 6’’ x 6’’ block. i added 2 1/2’’ strips between the blocks to create additional negative space. i used riley blake design’s kisses basic for the backing and you know what? it all came together pretty darn perfectly!

the shades collection is just one of many basic collections riley blake designs has to offer. have you seen crayola kaleidoscope? it’s arriving soon!

follow the #rbdnotsobasic hashtag to see more awesome projects, including project #1 and #2.

cut, sew, repeat…

the tattooed quilter

FQS's Year of the Fat Quarter...

have you been following fat quarter shop’s 2018 year of the fat quarter?

this year long celebration features a curated bundle of 15 fat quarters from different collections/manufactures. there’s also a year long quilt-a-long to highlighting the month’s bundle.

i’m celebrating this month’s bundle with a weekly spooky log cabin mini quilt.

each 10’’ block is unique and i love the pops of orange. so fun, right?

check out the other awesome monthly projects over at the fat quarter blog, the jolly jabber!

cut, sew, repeat…

the tattooed quilter

halloween handmade with the cricut maker

raise your hand if you have a sweet tooth? i certainly do!

well, this project, using the cricut maker will surely give you a sugar rush!

any holiday can be handmade with the rotary cutter, knife blade, and scoring wheel from cricut.

it cuts through just about any fabric and makes decorating for the holidays a snap, especially with the unboolievable amount of cricut artwork you have to chose from.

i decided to invite a few of my friends over for a spooktacular party and why not spruce up the table with a faboolous table runner and plate charger? it’s too cute, right?

side note: are you over my candy corn-y halloween jokes? hahaha!

here’s what i made the table runner with:

  1. the cats, bats, and jacks fabric collection from riley blake designs.

  2. the confetti cottons fat eighth’s halloween box from riley blake designs.

  3. a flying geese foundation paper piece template i designed in cricut’s design space.

it came together in a snap and the plaid-like quilting really made it pop! i love it. and let’s give a shout out to cricut’s bright pad, it’s great for FPP!

here’s how the awesome napkins were made:

  1. okay, so, i have confession. i didn’t make these, jack did, and they’re awesome!

  2. he cut a 13’’ square for the front and for the back.

  3. placing right sides together, he sewed a 1/2’’ seam around all sides but one.

  4. turned the napkins right-side out and top stitched completely around the napkin.

  5. i folded them in half and turned down the side to create the pocket. i’m dead. so cute.

here’s what i made the spider web plate charger with:

  1. felt from benzie design.

  2. spider web art from cricut’s design space.

  3. cricut rotary cutter.

i pre-measured my plate so i knew it would fit perfectly! it’s amazing!

here’s what i made the halloween banners and confetti with:

  1. felt from benzie design.

  2. banner art from cricut’s design space.

  3. circles from the shapes panel in cricut’s design space.

i used ribbon to join the banner’s together. the confetti is sewn together with invisible thread. it was the perfect way to not add another element to the confetti. so cute, right?

okay, well, i better go eat these cookies before they’re all gone. i hope you enjoyed this fun halloween project as much as i enjoyed making. stay tuned for a creep-tastic project using cricut’s knife blade.

cut, sew, repeat…

the tattooed quilter

this is a sponsored conversation written by me on behalf of Cricut. the opinions and text are all mine.