Introducing: Santa Claus Lane


“Here comes Santa Claus, here comes Santa Claus, right down Santa Claus lane…”
Can you believe Christmas is right around the corner?
Today I’m excited to share a few fabric collection by Melissa from Polka Dot Chair—Santa Claus Lane. This adorable collection was inspired by Melissa’s childhood Christmas memories.
She says, “We didn’t always have many gifts but cookies, love, and warm feelings were always in abundance.” Featuring Santa and Mrs. Claus, Candy Canes, Stripes and more this collection is perfect for quilting, apparel, and home decor.
The collection for Riley Blake Designs also contains two panels—one that features Santa and Mrs. Claus and the other, Christmas Stockings. The Santa and Mrs. Claus panel has a “Magnolia” vibe and I’m here for it.
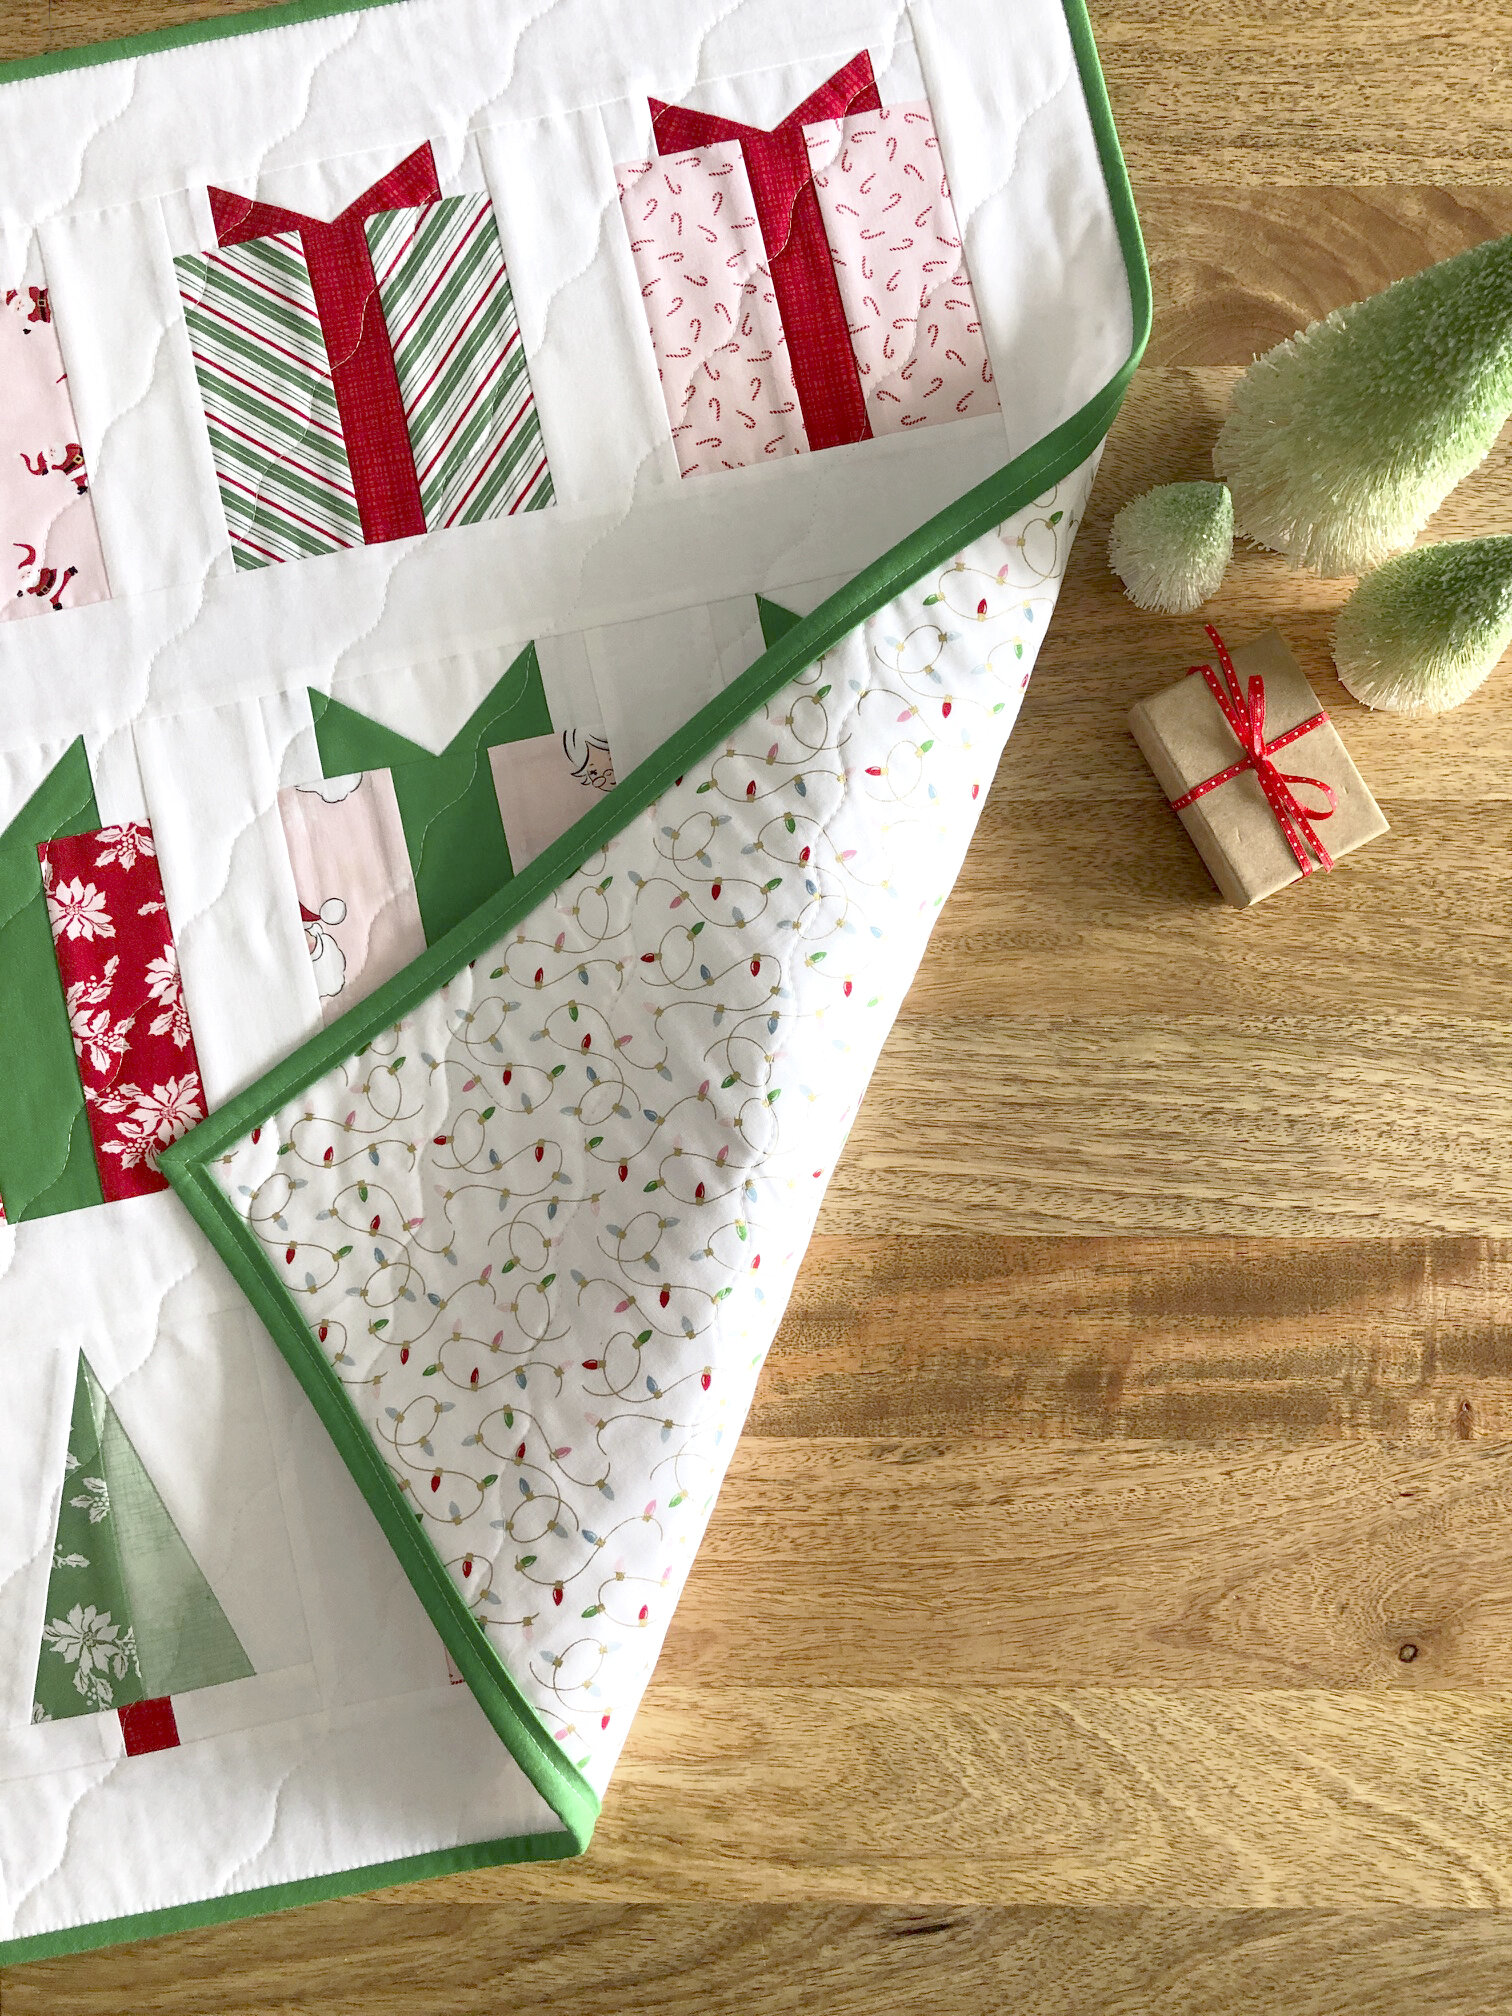
I designed the Under the Tree foundation paper pieced templates because several of the prints from the collection invoked the memory of vintage wrapping paper. You can purchase the FPP templates here.
A couple of my favorite RBD basics including Shabby and Texture are the perfect coordinates for this holiday collection and made the cutest ribbon and bows.
Here’s what you’ll need to make your own:
Under the Tree Foundation Paper Piece Templates
(7) 1/2 Yards for the Wrapping Paper
(2) 1/2 Yards for Ribbon and Bows
1 Yard for the Background
1 Yard for the Backing
1/4 Yard for the Binding
26’’ x 30’’ Section of Batting
Miscellaneous Sewing Supplies including, Rulers, Rotary Cutter, Thread, and Sewing Machine
From your background fabric cut the following sashing and border rectangles:
(4) 2 1/2’’ x 6 1/2’’ rectangles
(2) 2 1/2’’ x 7 1/2’’ rectangles
(2) 3’’ x 19’’ rectangles
(2) 3’’ x 28’’ rectangles
Here’s the simple instructions for making your own:
Make (5) Small Under the Tree FPP blocks.
Make (3) Medium Under the Tree FPP blocks.
Make (1) Tree Under the Tree FPP block.
Remove the paper from the back of the blocks.
Lay out the blocks following the instructions below:
(3) small gift boxes in row 1.
(3) medium gift boxes in row 2.
(1) tree and (2) small gift boxes in row 3.
Sew (2) 2 1/2’’ x 6 1/2’’ sashing rectangles between the small gift boxes in row 1.
Press the seams toward the background.
Sew (2) 2 1/2’’ x 7 1/2’’ sashing rectangles between the medium gift boxes in row 2.
Press the seams toward the background.
Sew (2) 2 1/2’’ x 6 1/2’’ sashing rectangles between the small gift boxes in row 3.
Press the seams toward the background.
Sew (2) 3’’ x 19’’ borders on the top and bottom.
Press seams toward the borders.
Sew 2 3’’ x 28’’ border on the left and right.
Press seams toward the borders.
Layer the quilt top with the batting and backing.
Quilt and bind as desired.
Using my BabyLock Journey, masking tape, and Aurifil #2021, I created a wavy quilt pattern on this project. I spray baste every project and use the BabyLock Digital Dual Feed Walking Foot when I quilt.
What is your preferred method? Spray or pin baste?
You can find more inspiration on Melissa’s website or #santaclauslanefabric on Instagram.
cut, sew, repeat…
the tattooed quilter