Craft Projects, Mini Quilt christopher thompson 8/16/18 Craft Projects, Mini Quilt christopher thompson 8/16/18 Riley Blake x Cricut Quilts Part 3 Read More Fabric Line, Craft Projects christopher thompson 7/28/18 Fabric Line, Craft Projects christopher thompson 7/28/18 Riley Blake x Cricut Quilts Part 2 Read More Fabric Line, Craft Projects christopher thompson 7/19/18 Fabric Line, Craft Projects christopher thompson 7/19/18 Introducing: Riley Blake x Cricut Quilts Read More Fabric Line, Mini Quilt, Holidays christopher thompson 7/9/18 Fabric Line, Mini Quilt, Holidays christopher thompson 7/9/18 Introducing: Winter Tales Read More Fabric Line, Mini Quilt christopher thompson 7/1/18 Fabric Line, Mini Quilt christopher thompson 7/1/18 Garden Getaway Mini Quilt Read More Fabric Line, RBD Not So Basic, Craft Projects christopher thompson 6/22/18 Fabric Line, RBD Not So Basic, Craft Projects christopher thompson 6/22/18 Introducing: RBD Not So Basic Read More Newer Posts Older Posts
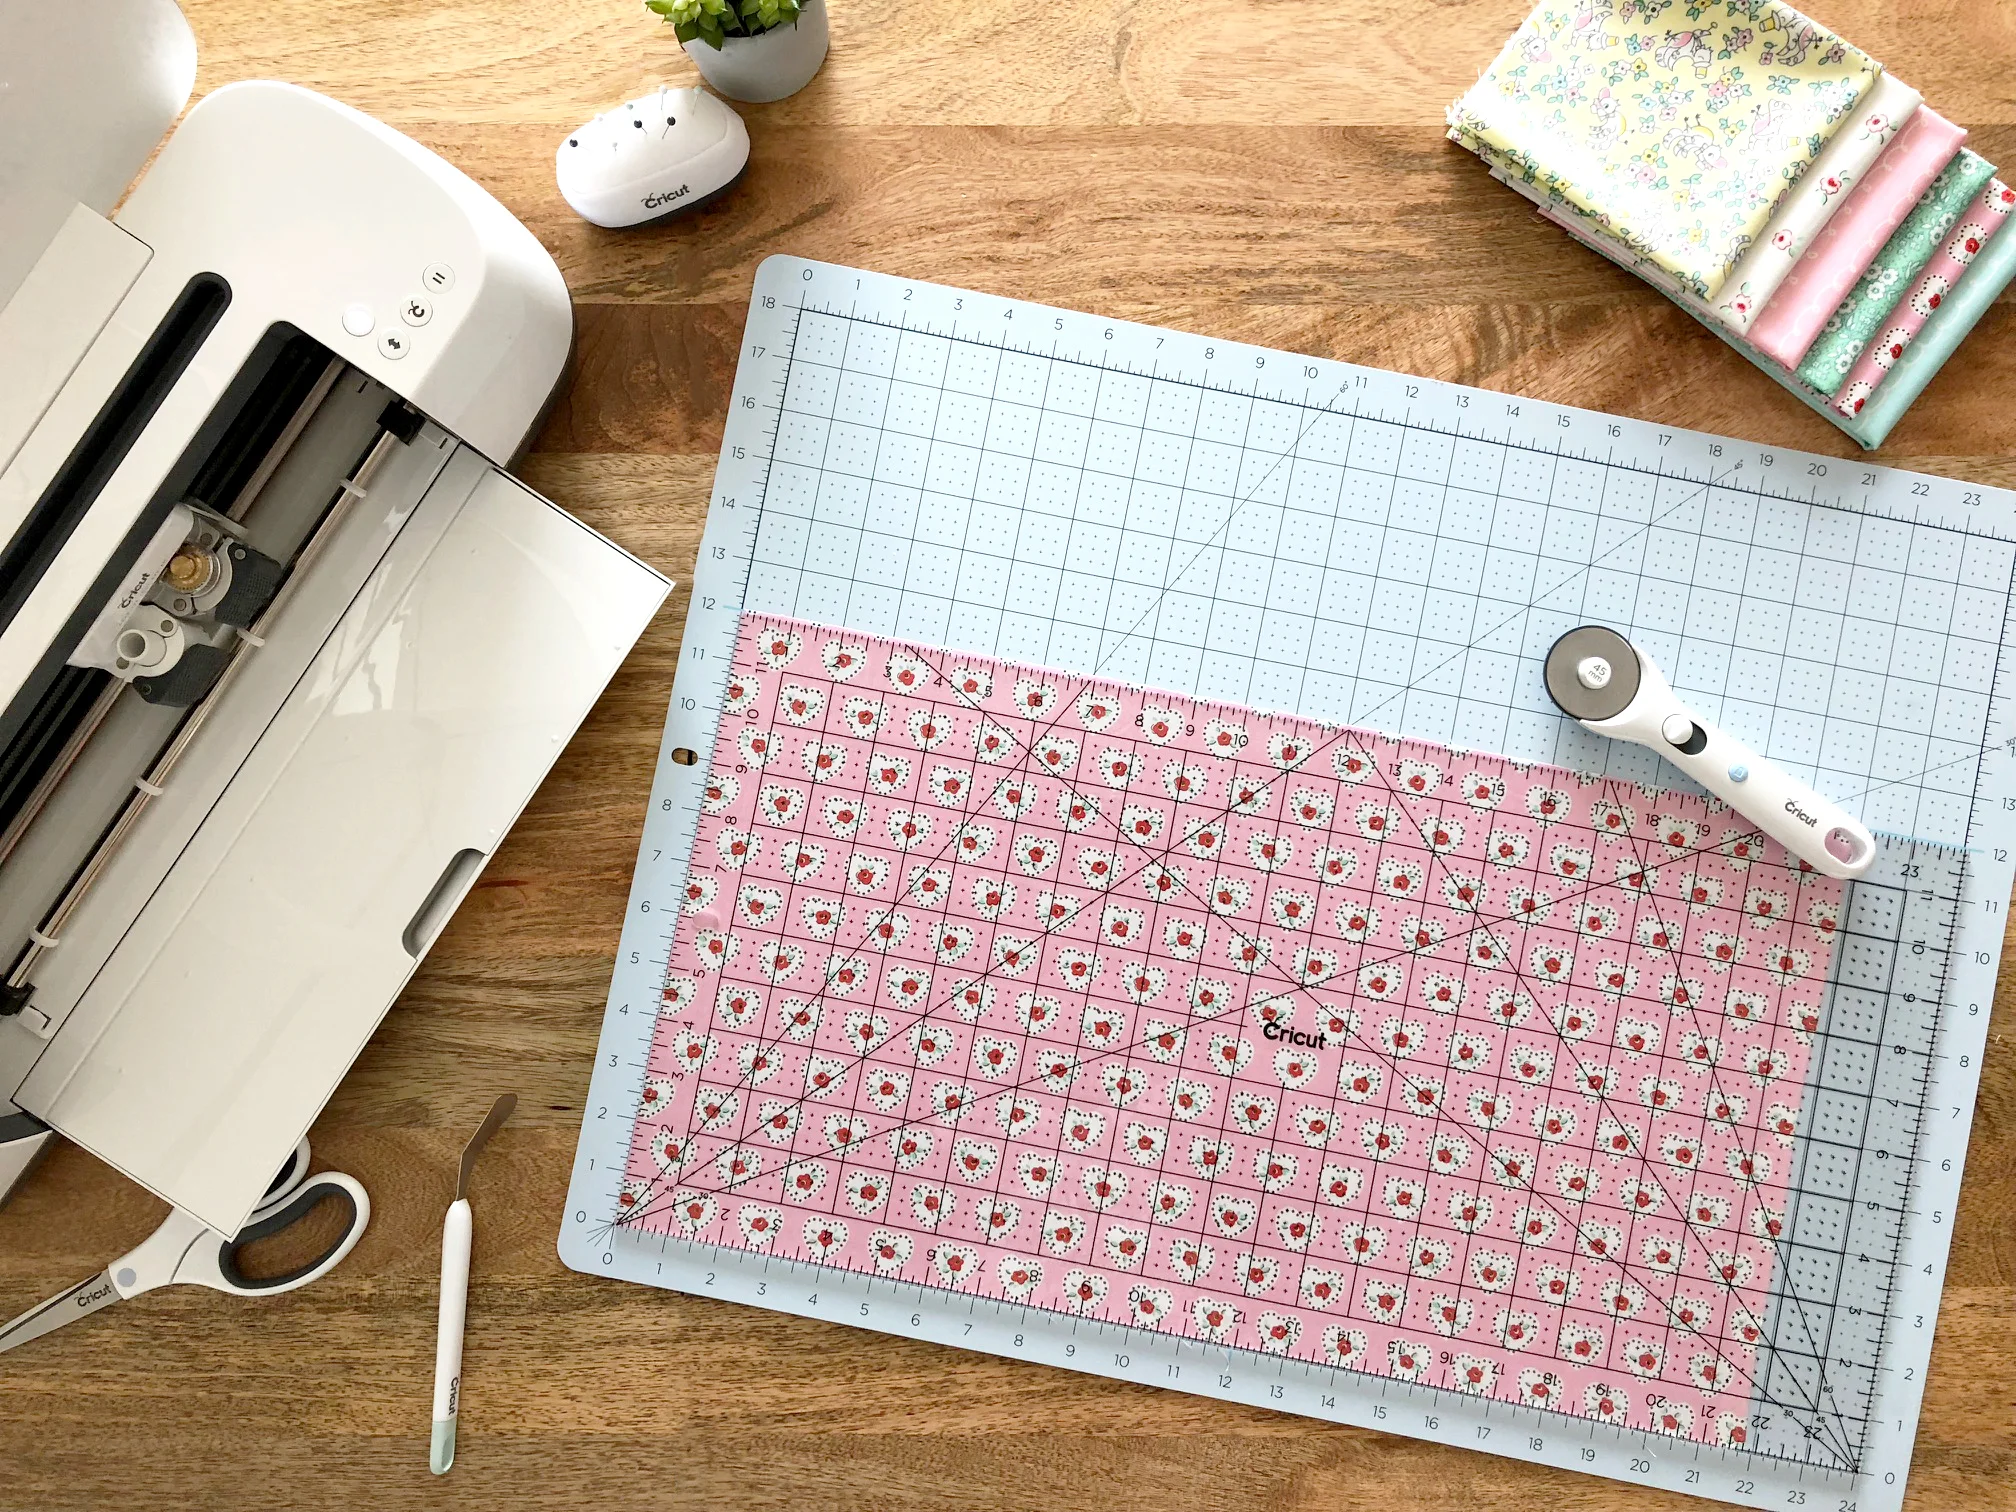
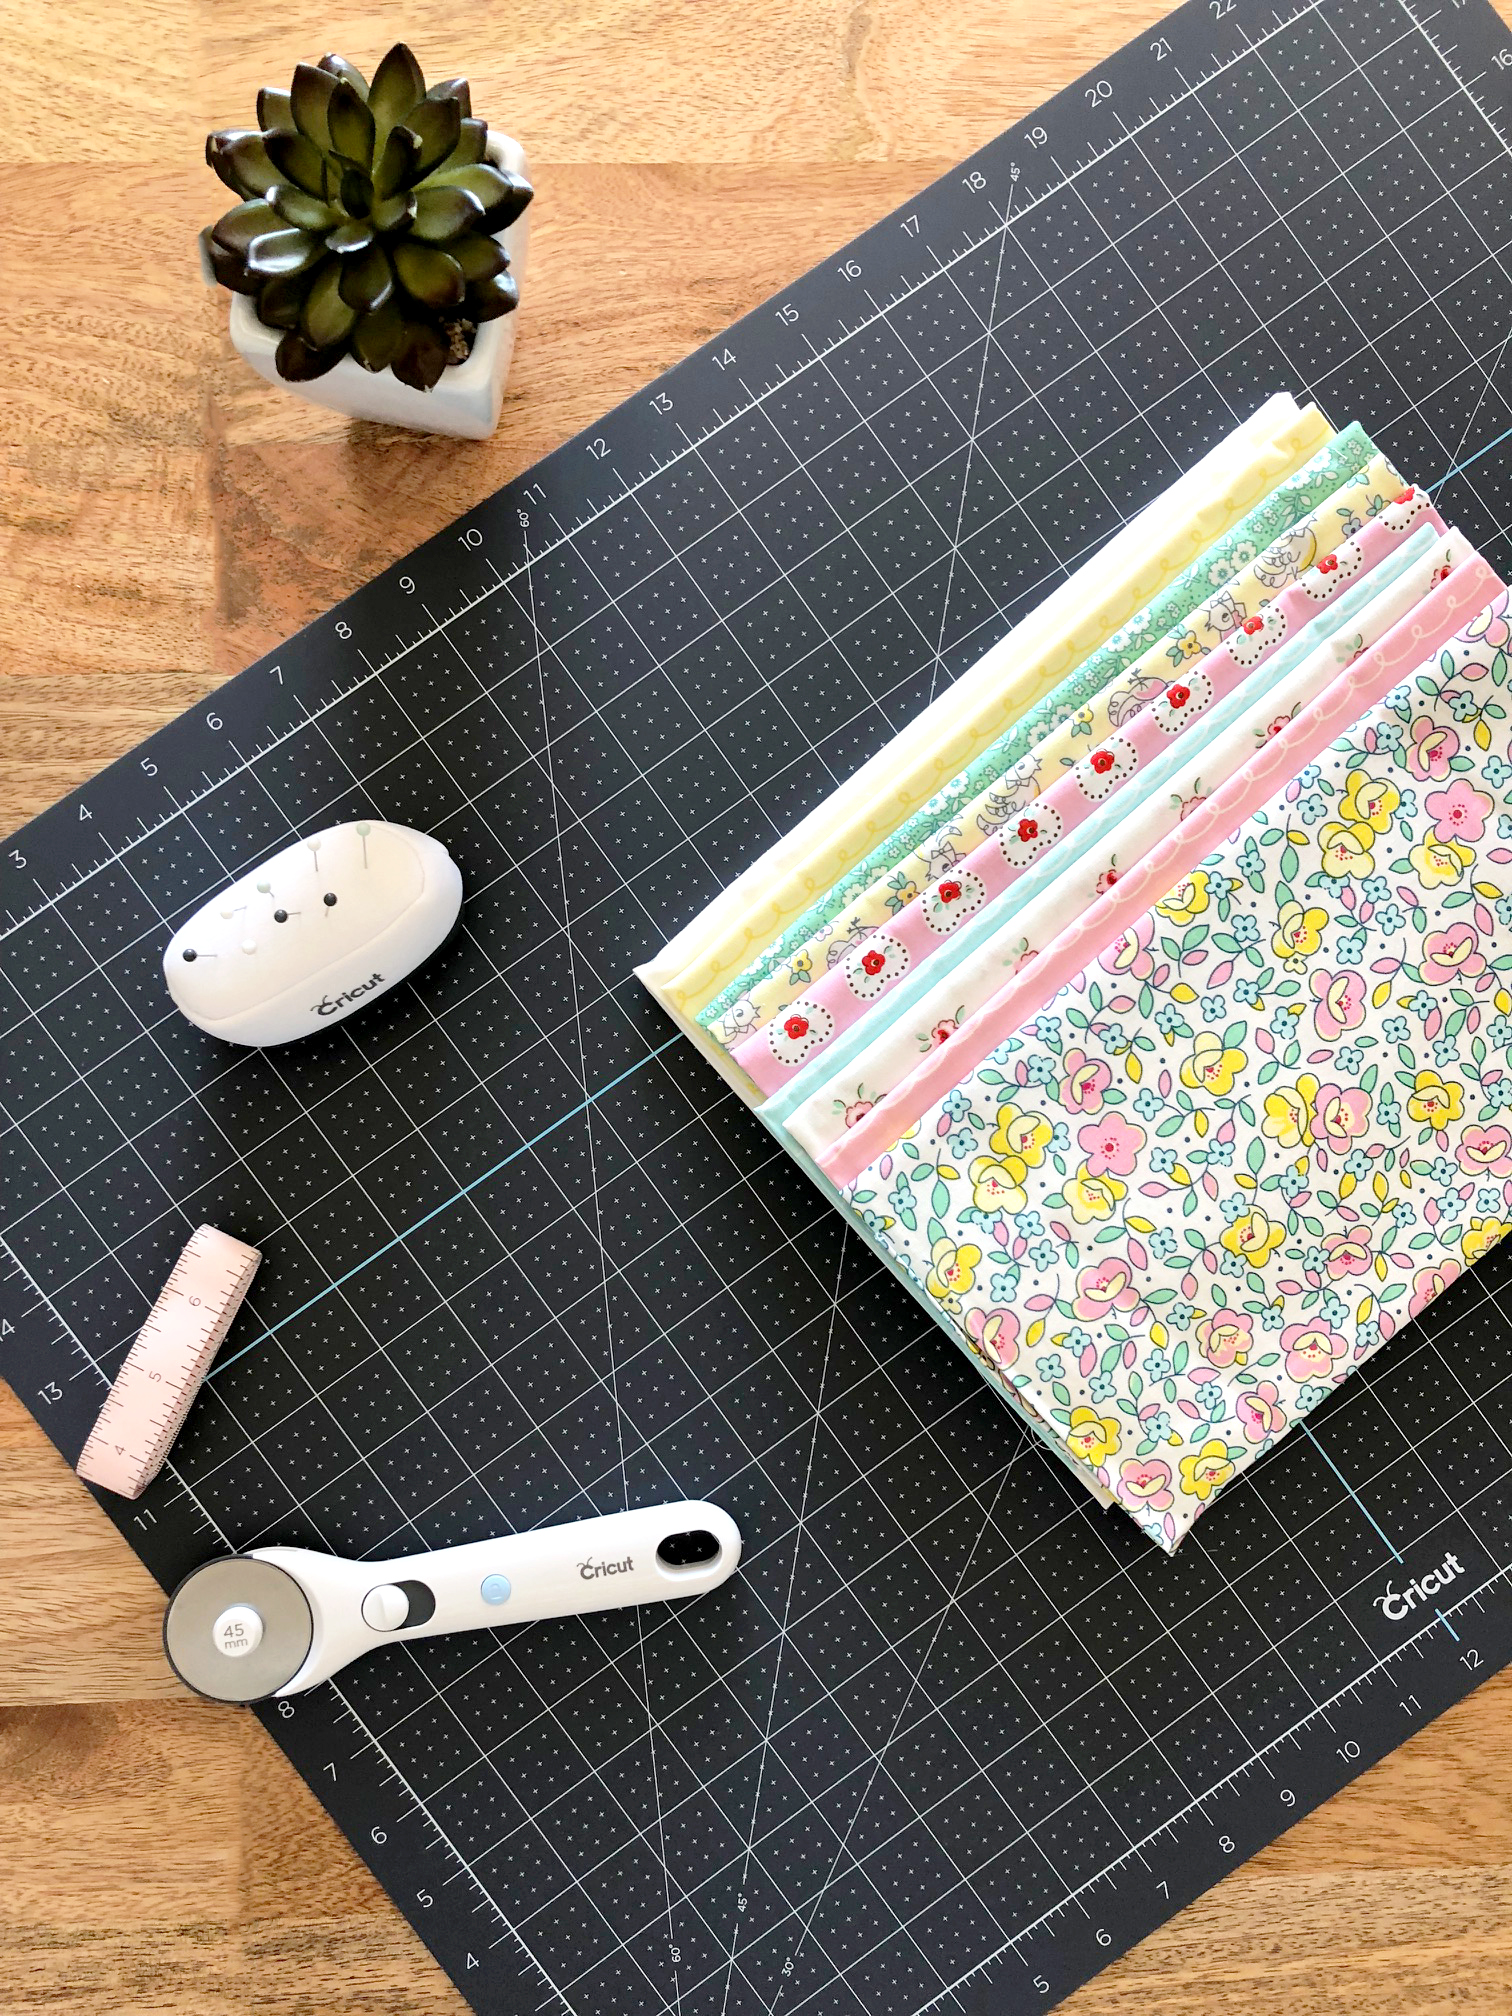
Craft Projects, Mini Quilt christopher thompson 8/16/18 Craft Projects, Mini Quilt christopher thompson 8/16/18 Riley Blake x Cricut Quilts Part 3 Read More
Fabric Line, Craft Projects christopher thompson 7/28/18 Fabric Line, Craft Projects christopher thompson 7/28/18 Riley Blake x Cricut Quilts Part 2 Read More
Fabric Line, Craft Projects christopher thompson 7/19/18 Fabric Line, Craft Projects christopher thompson 7/19/18 Introducing: Riley Blake x Cricut Quilts Read More
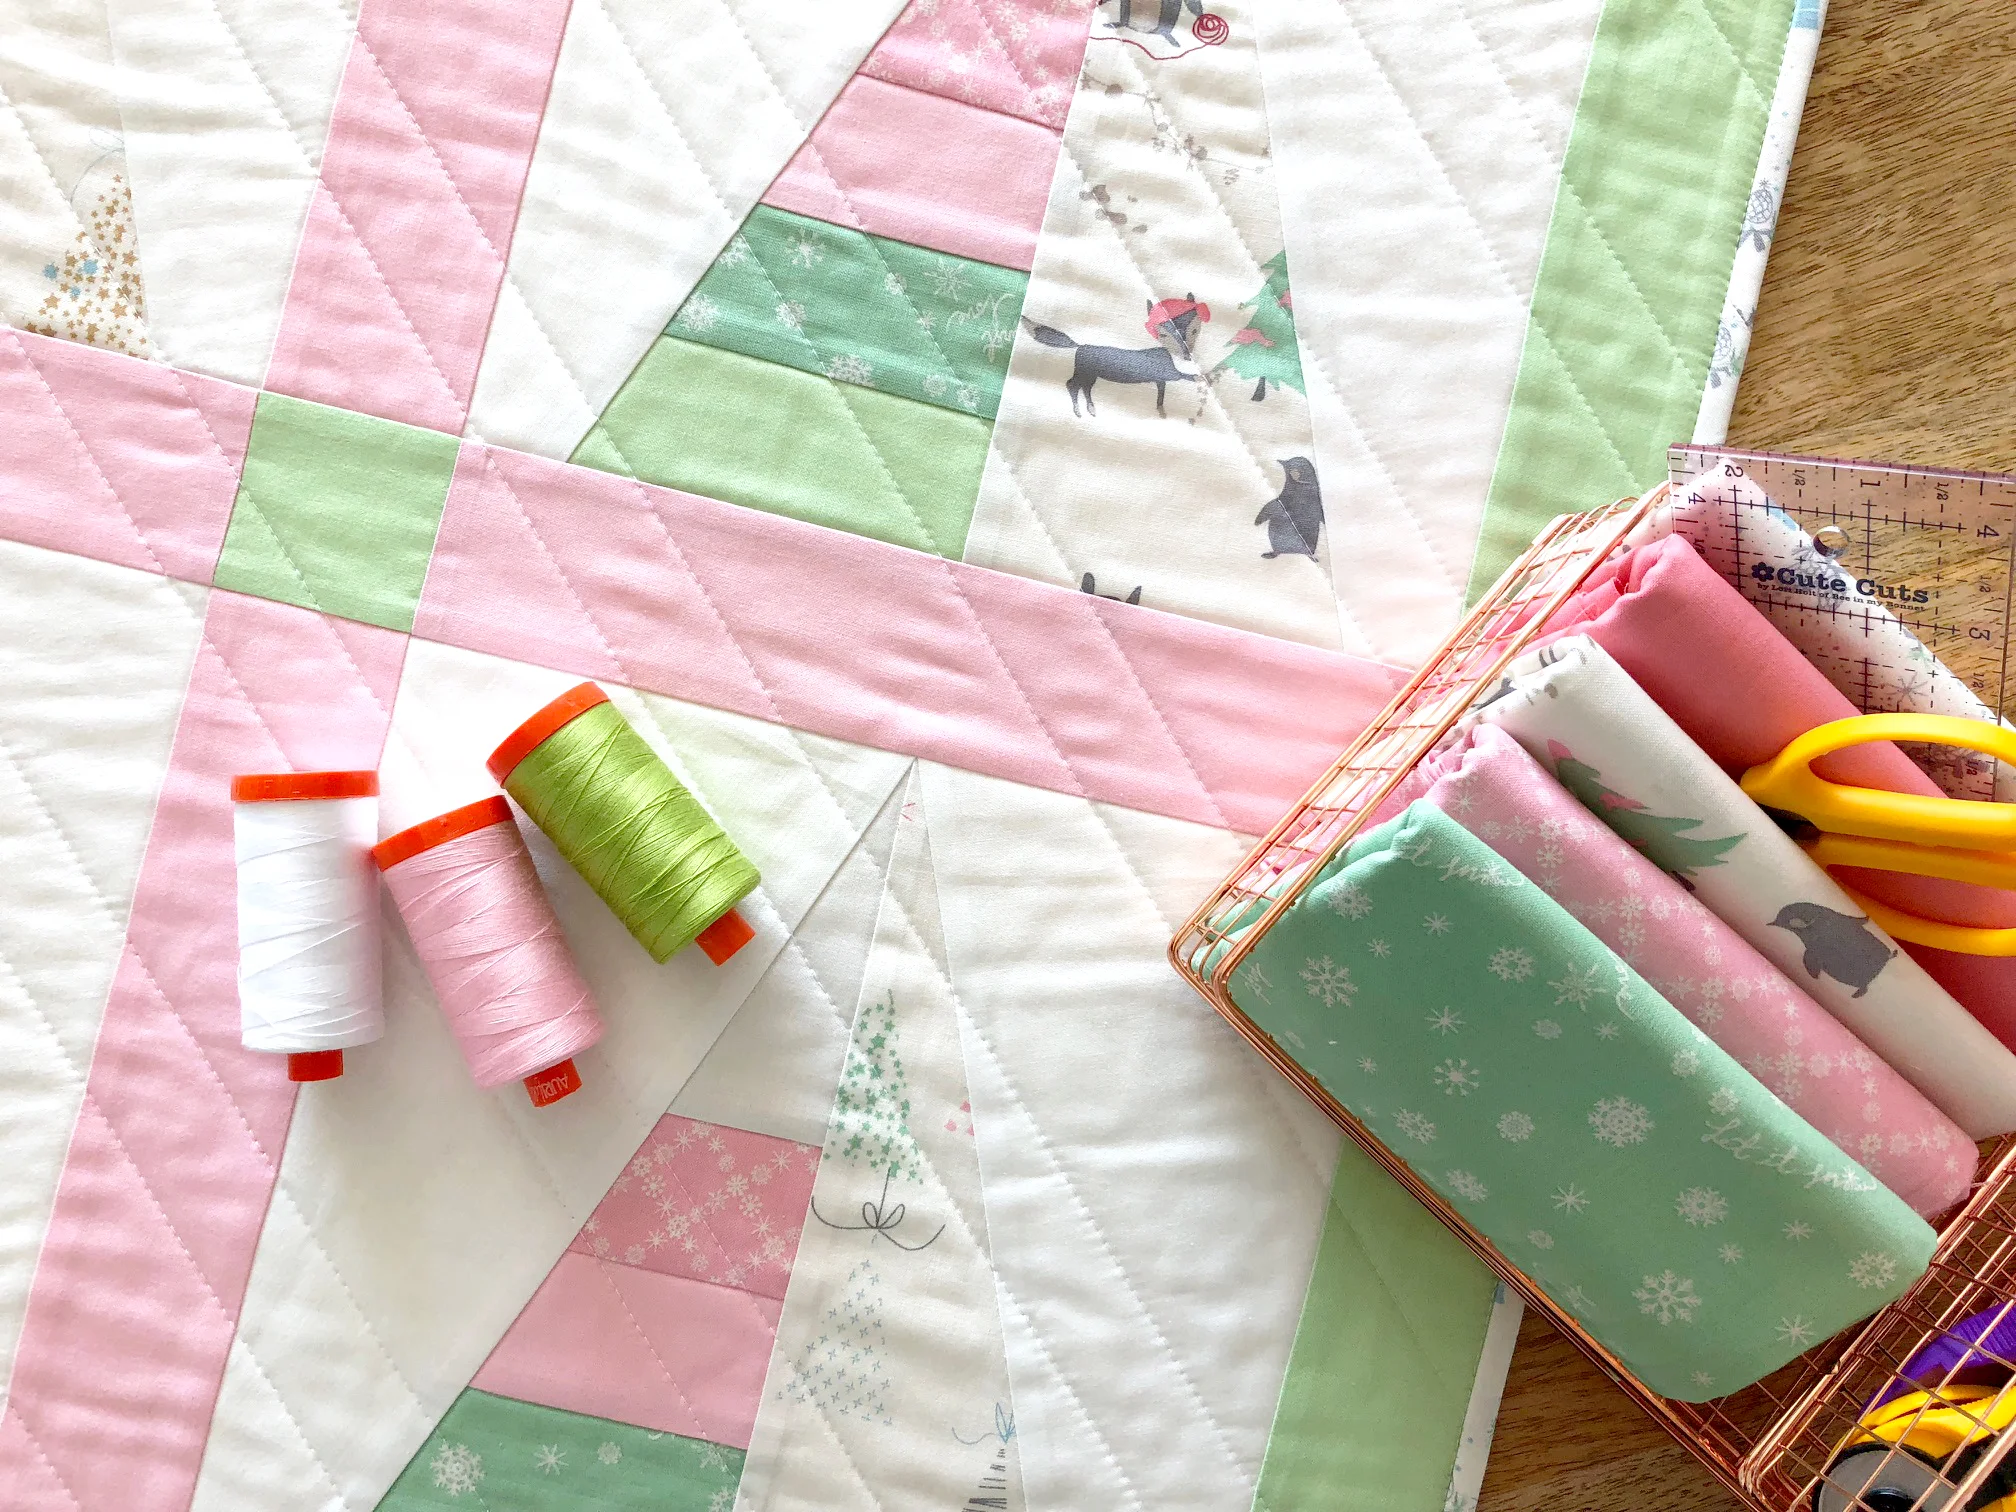
Fabric Line, Mini Quilt, Holidays christopher thompson 7/9/18 Fabric Line, Mini Quilt, Holidays christopher thompson 7/9/18 Introducing: Winter Tales Read More
Fabric Line, Mini Quilt christopher thompson 7/1/18 Fabric Line, Mini Quilt christopher thompson 7/1/18 Garden Getaway Mini Quilt Read More
Fabric Line, RBD Not So Basic, Craft Projects christopher thompson 6/22/18 Fabric Line, RBD Not So Basic, Craft Projects christopher thompson 6/22/18 Introducing: RBD Not So Basic Read More