Fabric Line, Craft Projects, Holidays christopher thompson 4/26/20 Fabric Line, Craft Projects, Holidays christopher thompson 4/26/20 Introducing: Miss Patch Doll Read More Fabric Line, Craft Projects, Holidays christopher thompson 4/21/20 Fabric Line, Craft Projects, Holidays christopher thompson 4/21/20 Introducing: Scaredy Cat Read More Fabric Line, RBD Not So Basic, Mini Quilt christopher thompson 4/18/20 Fabric Line, RBD Not So Basic, Mini Quilt christopher thompson 4/18/20 RBDNotSoBasic: Shades and a Finished Quilt Read More Fabric Line, Mini Quilt christopher thompson 3/26/20 Fabric Line, Mini Quilt christopher thompson 3/26/20 RBDNotSoBasic: Citrus Mini Quilt Read More FPP Patterns, Fabric Line, RBD Not So Basic, Mini Quilt christopher thompson 3/25/20 FPP Patterns, Fabric Line, RBD Not So Basic, Mini Quilt christopher thompson 3/25/20 RBDNotSoBasic: Strawberry Shortcake Read More Book Review, Fabric Line, Craft Projects christopher thompson 3/6/20 Book Review, Fabric Line, Craft Projects christopher thompson 3/6/20 Patchwork Gifts Book Read More Newer Posts Older Posts
Fabric Line, Craft Projects, Holidays christopher thompson 4/26/20 Fabric Line, Craft Projects, Holidays christopher thompson 4/26/20 Introducing: Miss Patch Doll Read More
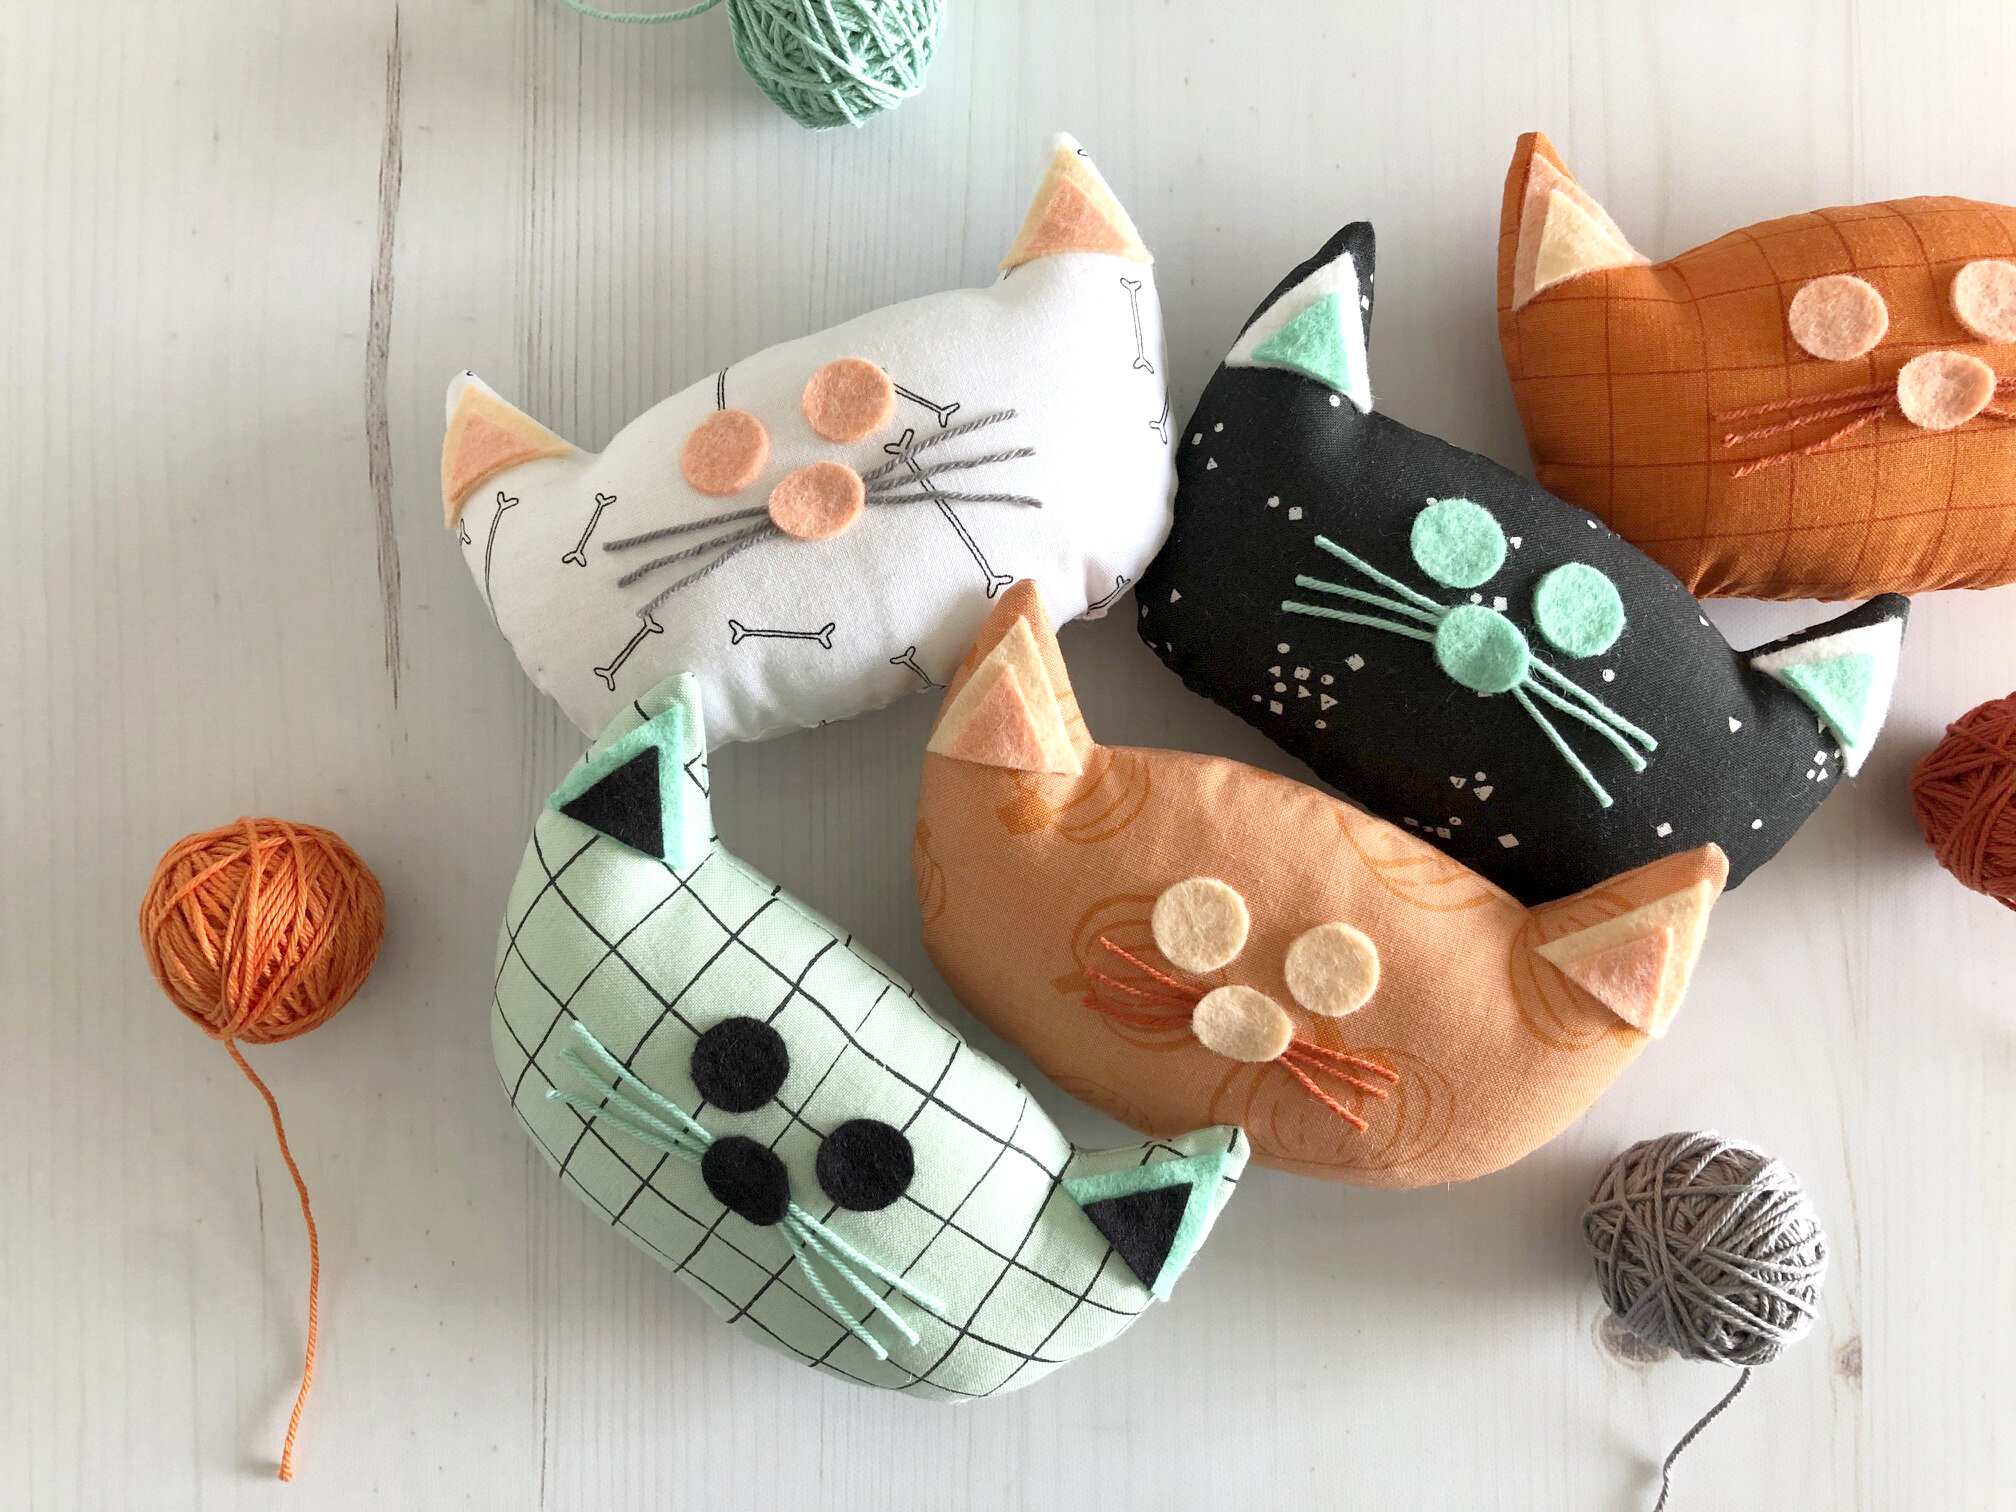
Fabric Line, Craft Projects, Holidays christopher thompson 4/21/20 Fabric Line, Craft Projects, Holidays christopher thompson 4/21/20 Introducing: Scaredy Cat Read More
Fabric Line, RBD Not So Basic, Mini Quilt christopher thompson 4/18/20 Fabric Line, RBD Not So Basic, Mini Quilt christopher thompson 4/18/20 RBDNotSoBasic: Shades and a Finished Quilt Read More
Fabric Line, Mini Quilt christopher thompson 3/26/20 Fabric Line, Mini Quilt christopher thompson 3/26/20 RBDNotSoBasic: Citrus Mini Quilt Read More
FPP Patterns, Fabric Line, RBD Not So Basic, Mini Quilt christopher thompson 3/25/20 FPP Patterns, Fabric Line, RBD Not So Basic, Mini Quilt christopher thompson 3/25/20 RBDNotSoBasic: Strawberry Shortcake Read More
Book Review, Fabric Line, Craft Projects christopher thompson 3/6/20 Book Review, Fabric Line, Craft Projects christopher thompson 3/6/20 Patchwork Gifts Book Read More